PLUSH BY MAKESHIFTWINGS
  • Home
  • Portfolio
  • FAQ
  • Guides
    • Tutorials
    • Mochi minky
    • Sublimation
    • Plush Making Resources
  • About
    • The Artist
    • The Mascot
  • Contact
  • Shop
  • Patreon

Patterning Floppy Ears

1/3/2022

0 Comments

 
Picture
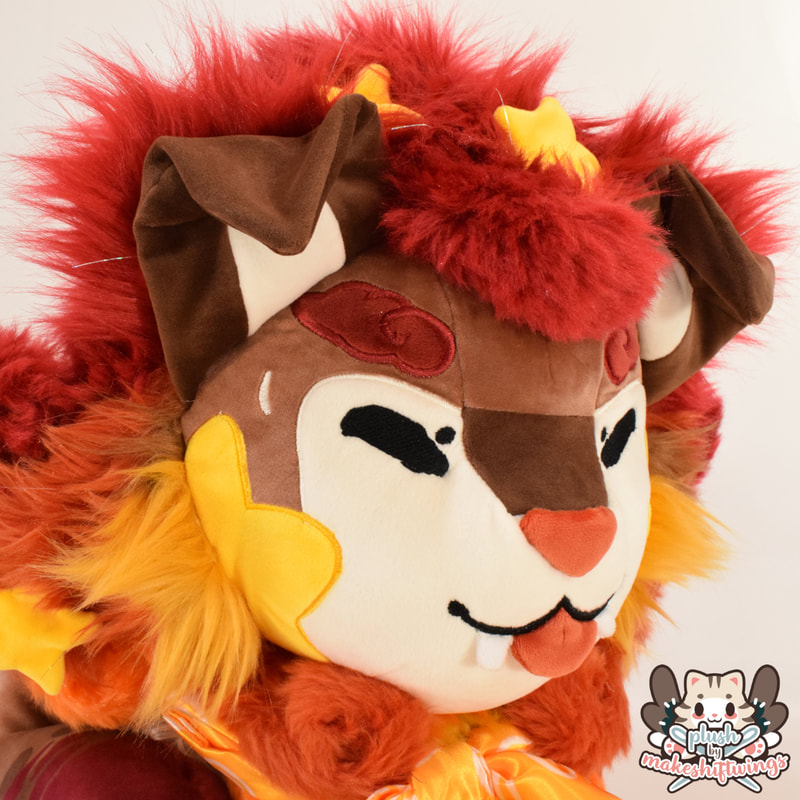
Leo has super cute floppy ears. Because hand sewing is the bane of my existence I wanted to pattern the ear to flop on its own. It's super easy to do!
​This was the pattern for the front of the ear. The flop is formed by a dart that is only sewn on the front side (the eyeball shaped cutout in the middle). I color blocked in the inside of the ear, which is the gap below the dart.

You can also use the front pattern for the back of the ear; you just don't trace the dart onto the back side.

The depth/height of the dart will depend on how much you want the ear to flop. Taller darts will flop more; shallower darts will flop less. You can test how deep it should be by taking the back side of the ear and pinching it along where you want the ear to fold to get the amount of droop you want. Look at how much fabric you've had to pinch, and make the dart about that tall.

If you don't extend the dart to the very edges of the ear, you don't have to compensate for the dart on the back side of the ear (the length of the ears will still match on front and back).
Picture
Picture
Fold over the ear with right sides together and sew along the shape.
Picture
Place the front of the ear on the back side of the ear, right sides together. It's going to be strange because the front ear is going to want to bend due to the dart, so it helps if you start by pinning the 2 sides at the bottom and the tip. (I know I pin the opposite way of a lot of people; do what works for you)
Picture
Pin along one edge, easing the fabric between pins. The edges should still line up exactly as long as your dart did not go to the edge of your pattern.
Picture
Continue pinning the whole piece.
Picture
Sew the edges together. I sew over my pins, which helps keeps things together, but if you're not comfortable with this you don't have to. Silk pins are better to sew over than standard pins.
Picture
Trim your seam allowance and flip the ear right side out. You can also press the ear to help flatten it and further define the fold. Sew the ear onto your plush as you normally would.

Now they hold their flop all on their own without any hand sewing!

If you need stability added to the bottom of the ear for it to stand upright, check out my tutorial on adding stability without wire.
0 Comments


Leave a Reply.

    Archives

    December 2022
    September 2022
    July 2022
    June 2022
    May 2022
    April 2022
    February 2022
    January 2022
    December 2021
    October 2021
    September 2021
    August 2021
    July 2021
    June 2021
    May 2021
    April 2021
    March 2021
    February 2021
    January 2021
    December 2020
    November 2020
    October 2020
    September 2020
    August 2020

    Categories

    All
    Advanced
    Applique
    Beginner
    Business
    Clothing
    Dyeing
    Ears
    Embroidery
    Faux Fur
    Hair
    Materials
    Mochi
    Patterning
    Plush Writeups
    Scent
    Sublimation
    Timelapse
    Tutorials

    RSS Feed

  • Home
  • Portfolio
  • FAQ
  • Guides
    • Tutorials
    • Mochi minky
    • Sublimation
    • Plush Making Resources
  • About
    • The Artist
    • The Mascot
  • Contact
  • Shop
  • Patreon