|
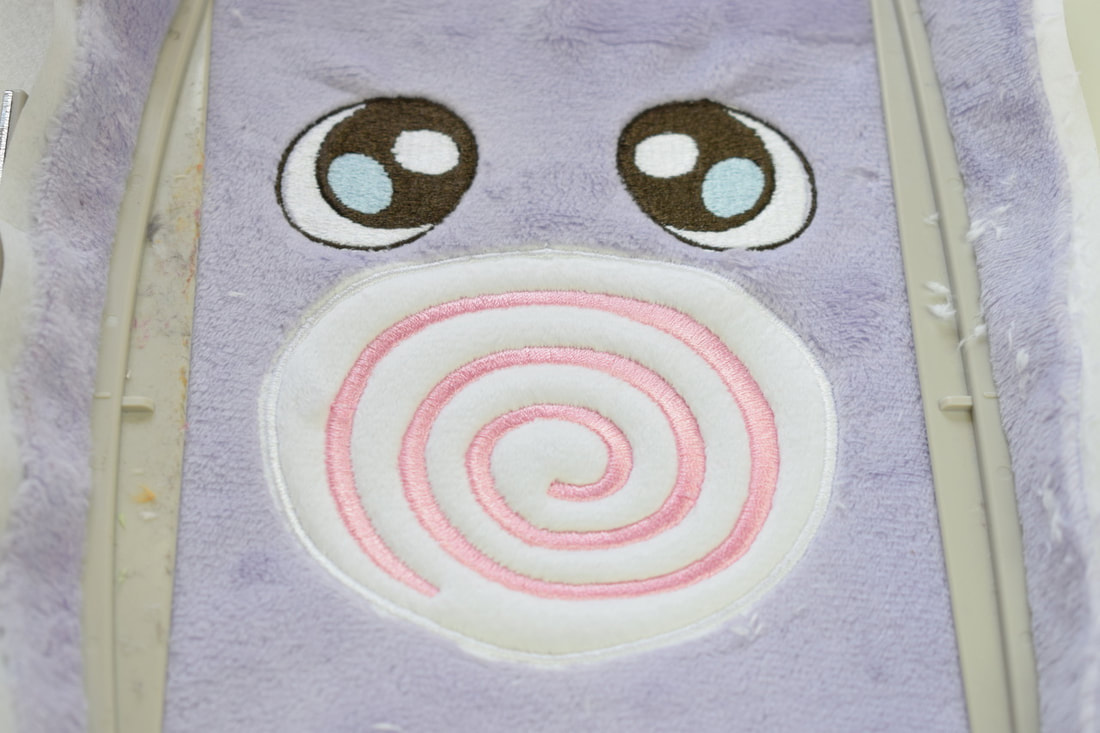
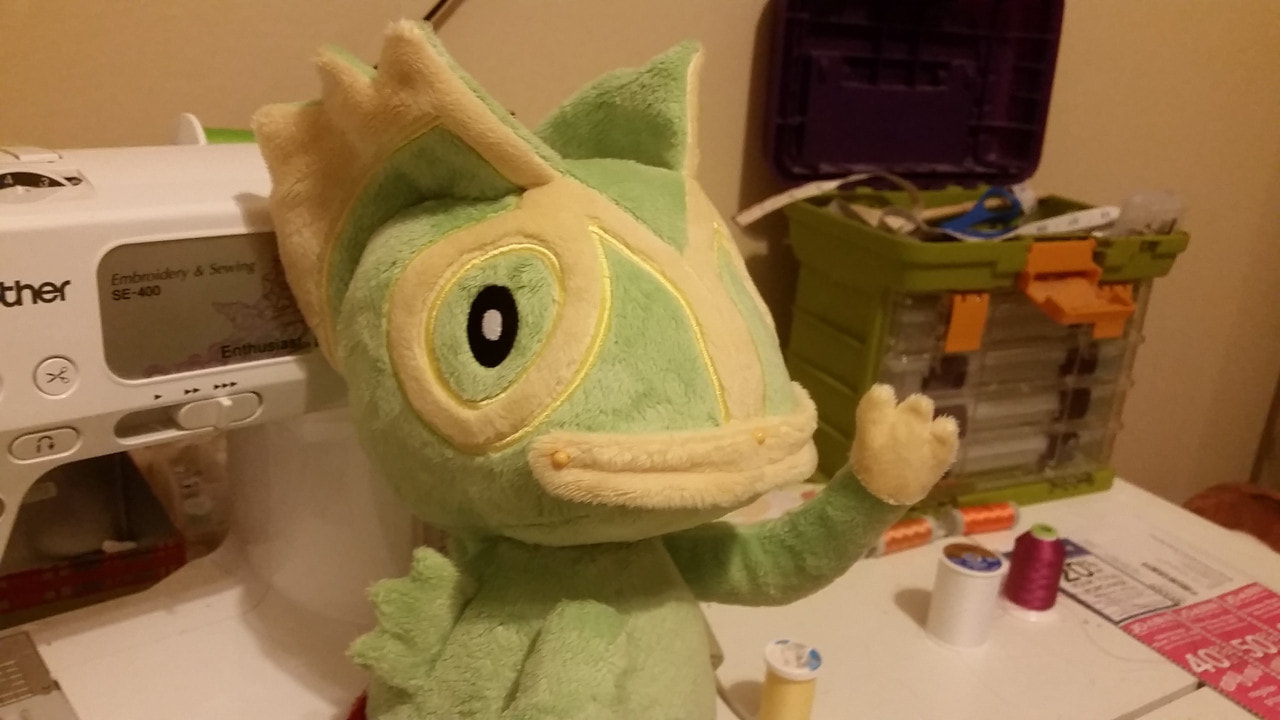
Applique is when you take one piece of fabric and attach it to another piece of fabric by satin stitching (tight zigzag stitches). This can look more professional than top-stitching and makes it easier to add complex designs to your piece. Applique can be done two ways - what I call “by hand” (still sewn with a sewing machine, but not programmed with an embroidery program) or with an embroidery machine (with the stitches sewn by an embroidery program). This tutorial will go over the latter method.
Each method has its pros and cons: by hand takes less up-front work, but tends to be messier depending on the skill level of the maker; by machine takes a decent amount of prep up-front, but is very clean and isn’t dependent on the skill of the maker. I generally prefer the embroidery machine method, unless it is a very small piece on a part of the plush that is not a “focus point”.
2 Comments
“Paper towel patterning, where have you been all my life?” I’ve been asking myself while working on my current plush. I’ve seen people do it but never have tried it myself. But now I have and boy, am I glad I did! So here I am to try and encourage you all to join the club.
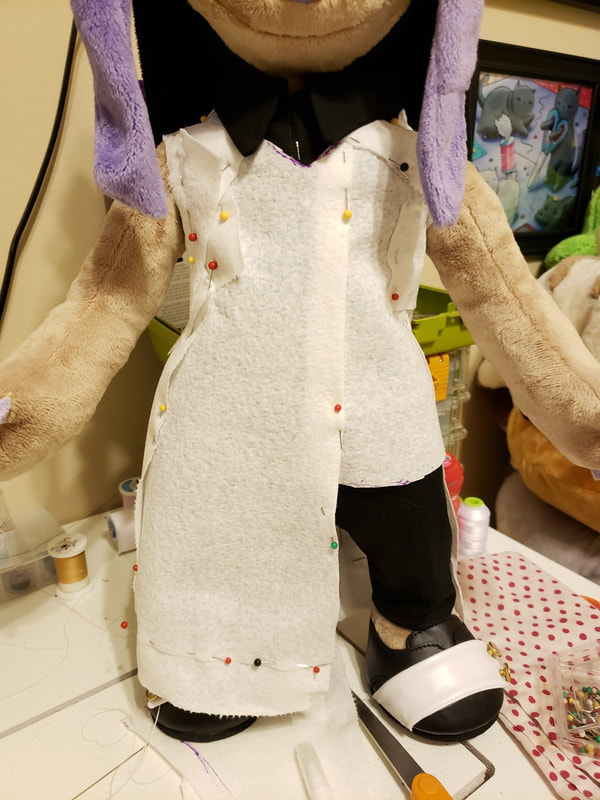
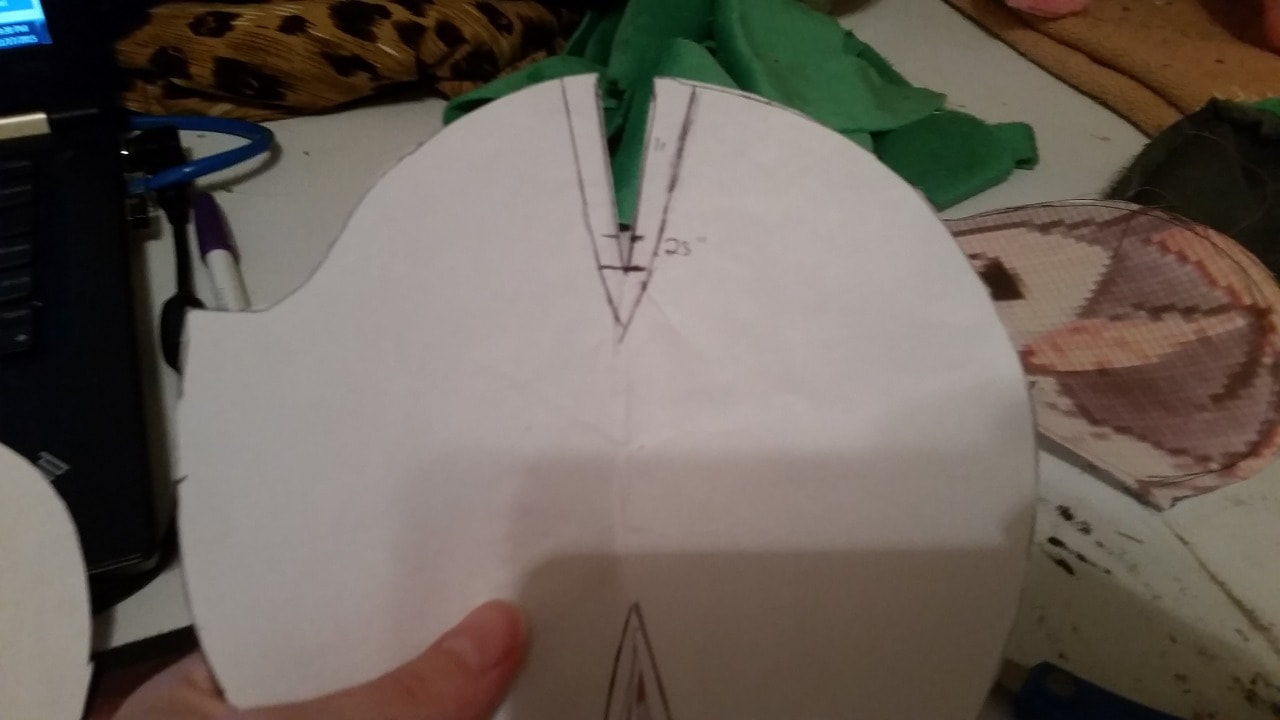
Using paper towels to pattern is great for draping clothes, hair, or any other flowy things on a plush you have in your hands. It would not be good for patterning bodies from scratch. You can easily cut it, draw on it, add extra pieces to it, etc. Paper towels will act more like fabric than normal paper would! I use Viva paper towels. They are a bit more cloth-like than most paper towels, but any should work; they just might not lay quite as nicely. Patterning darts was always confusing to me. Sure, I could draw a triangle on my pattern, but slashing my pattern and twisting it by exactly the amount you adjusted your pattern by was not intuitive to me. Now that I found this method I don’t have to worry about that anymore!
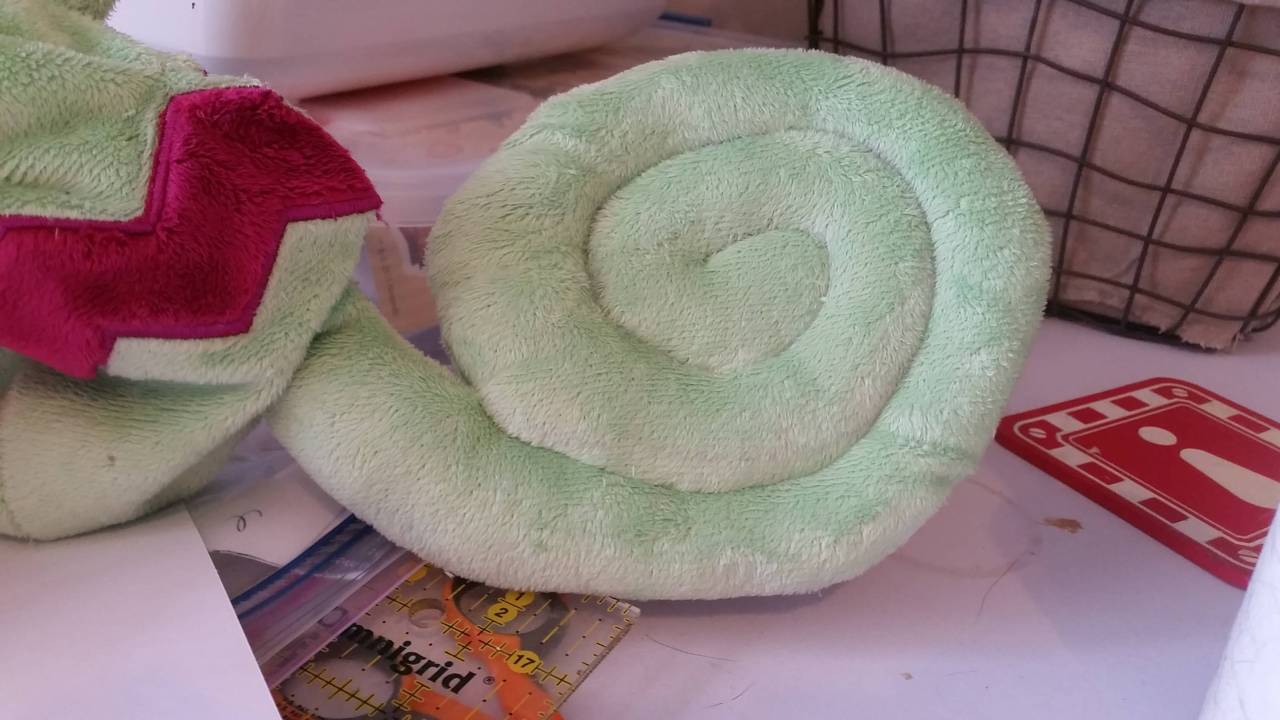
You can machine stitch objects after they are stuffed to give them dimension. This can be used in a variety of ways - ears, feathers, or tails, as seen here.
Jointing limbs on a plush is simple and instantly adds character. It won’t detract from cuddliness and sometimes is even easier than sewing a limb on the normal way!
This technique should be used for skinny limbs like arms and some legs. This won’t work for heads, unless the head is extremely small. If you have a smaller to medium size piece on your plush, like an ear or open wings, you can avoid using wires for stability and instead use stiff felt sewn inside of the piece. This is especially desirable for any plush that will be for snuggling!
Sewing little tiny pieces is a big pain, and unfortunately all too common in plush-making. They get pulled in the feed dogs and are difficult to maneuver the foot around.
This was kind of a ‘duh’ moment for me when I realized how to do this the easy way. Many people have probably already figured this out, but maybe there are some that don’t know! Sewing squared or triangular seams can be very awkward. Many will use applique for pieces like this (which isn’t a bad solution by any means) but if you have other pieces that are sewn on the ‘normal’ way it can look inconsistent with the rest of your plush. I’ll demonstrate sewing together a squared piece here, but triangular pieces are similar.
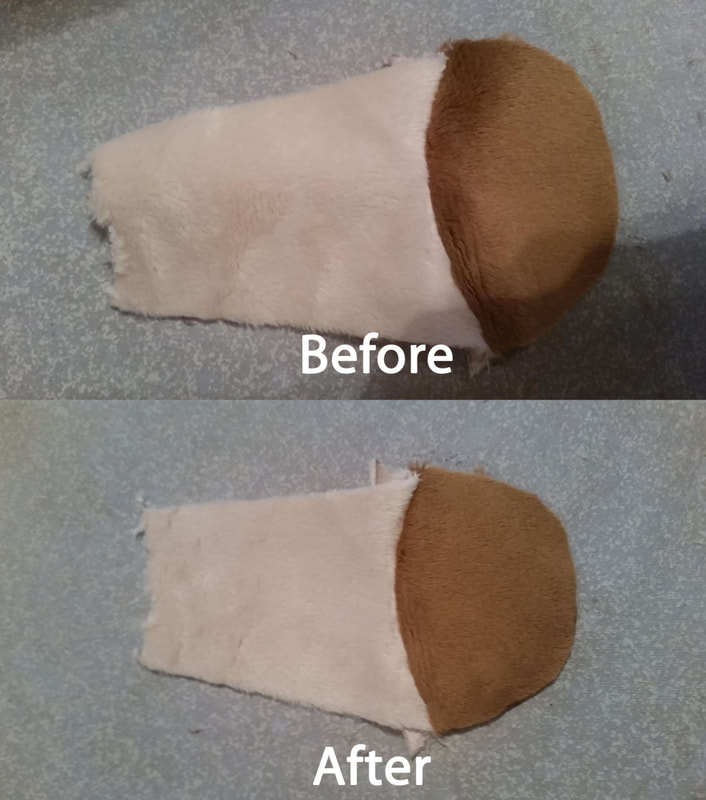
Ironing seams is really important when it comes to making clothing, as it makes things look clean and professional. My guess is that people don’t think to iron seams when sewing plushies, too!
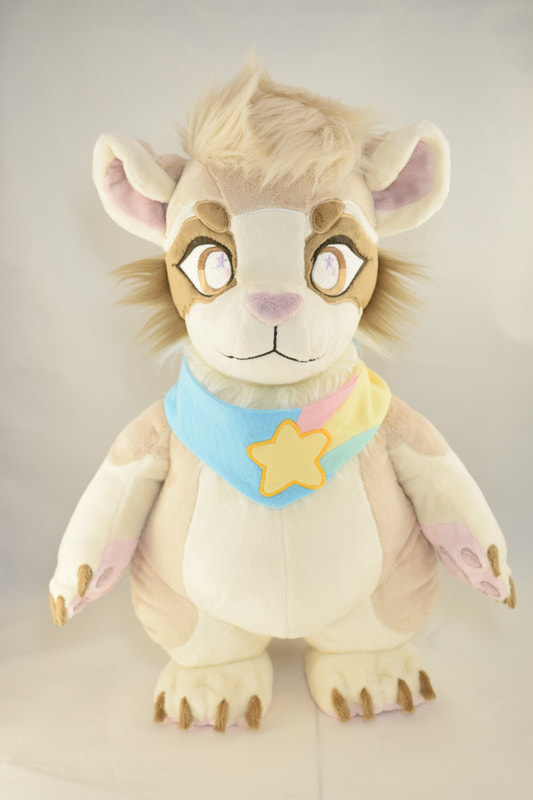
I don’t iron every seam when I make a plush; but I do iron every seam that joins together two different colors. The overall effect is subtle but will help add to the overall ‘finished’ quality of your plush. Cookie Startail the raccoon is such a cute character, I couldn't resist picking her for one of my commissions! Her owner is a real sweetheart too, it was a pleasure making her! Check out the writeup by clicking "Read More" below!
|
Archives
December 2022
Categories
All
|


 RSS Feed