|
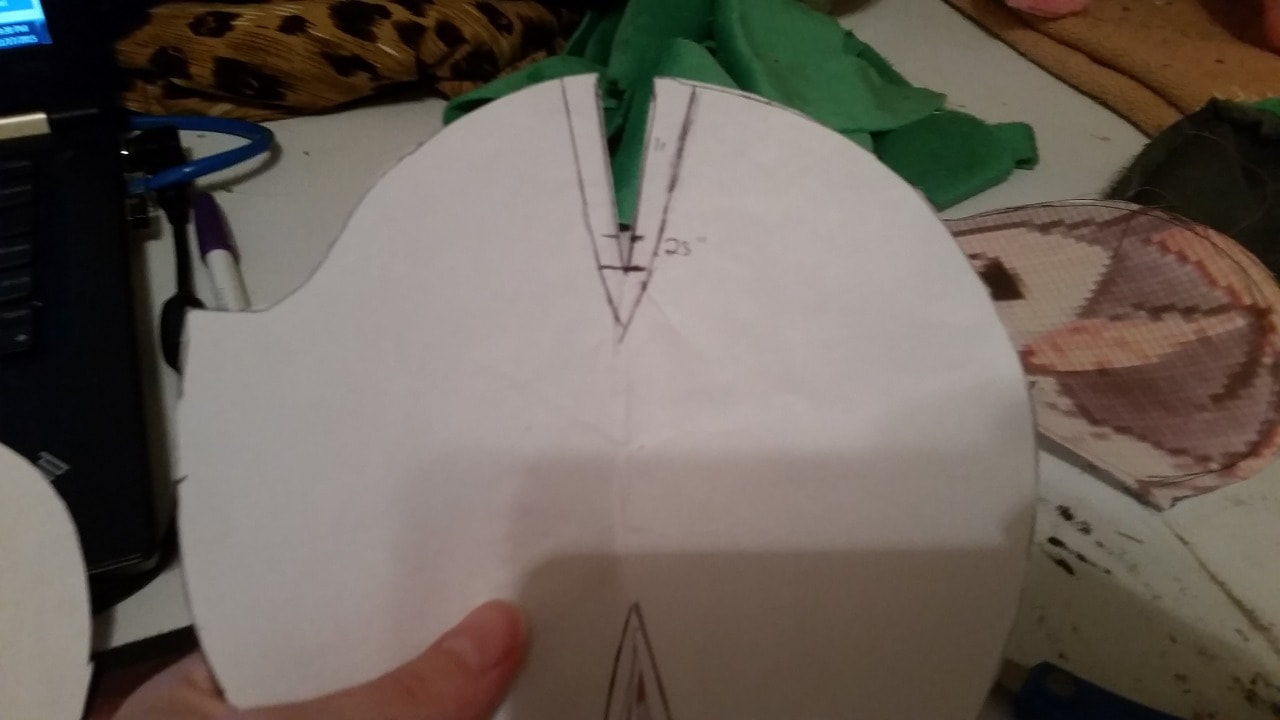
Patterning darts was always confusing to me. Sure, I could draw a triangle on my pattern, but slashing my pattern and twisting it by exactly the amount you adjusted your pattern by was not intuitive to me. Now that I found this method I don’t have to worry about that anymore! This is the beginning of Vaporeon’s head pattern. It’s not even close to being complete, but I know I want a dart in the top area marked with a line. Measure how long you want your dart to be. Now, the end goal is to fold the paper so the sides of the triangle meet. I find it easiest to begin by folding the paper along the 3 long lines you just drew. Now fold the paper together, meeting the sides of the triangle. Your paper will no longer lay flat. That’s perfectly fine. Smooth it out the best you can by creasing the paper. Lay your pattern over the fold you just made. Have the top of the pattern meet the top of the dart, and the bottom meet the line where you added seam allowance. Have the folded line and your drawn dart line exactly line up (mine is a little off here). Trace your pattern onto the paper. Now when you unfold the paper and straighten it out, your pattern automatically adjusts itself for the width of the dart! I like to draw in the additional seam allowance on the sides and cut out the original triangle for easier transferring to patterns. That's it! If you'd like to see more tutorials or have a request for one in particular, let me know!
0 Comments
Leave a Reply. |
Archives
December 2022
Categories
All
|


 RSS Feed