Alfie's owner, fosbat, reached out to me a while ago about making a long nyanko style plush of their opossum. So I was thrilled when they applied for my spring 2022 commission round! I've been wanting to make another nyanko style plush since I made long Shifty in early 2021!
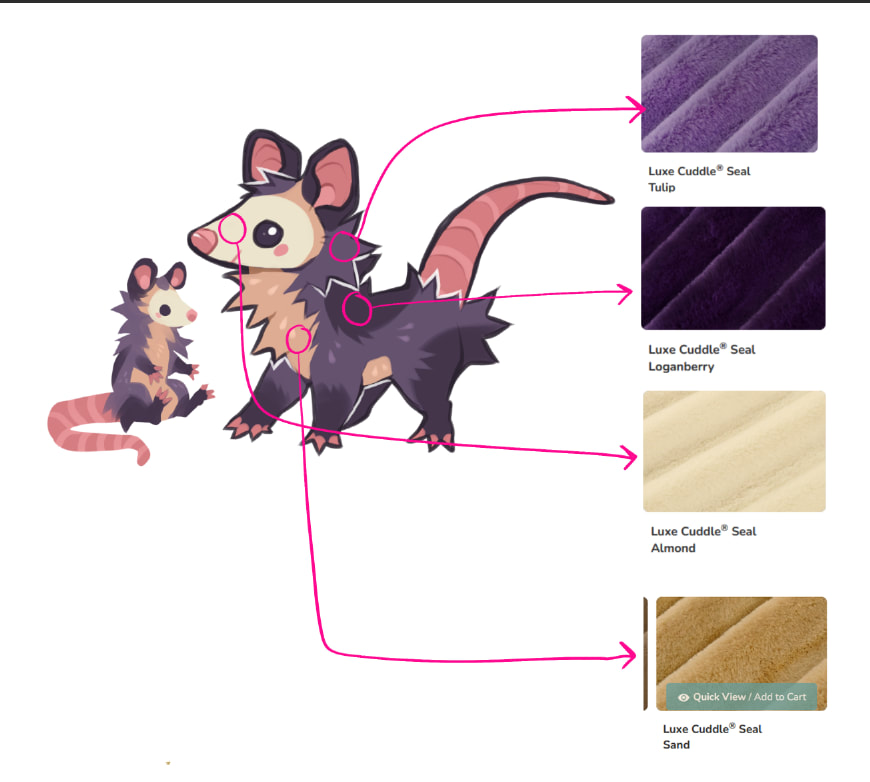
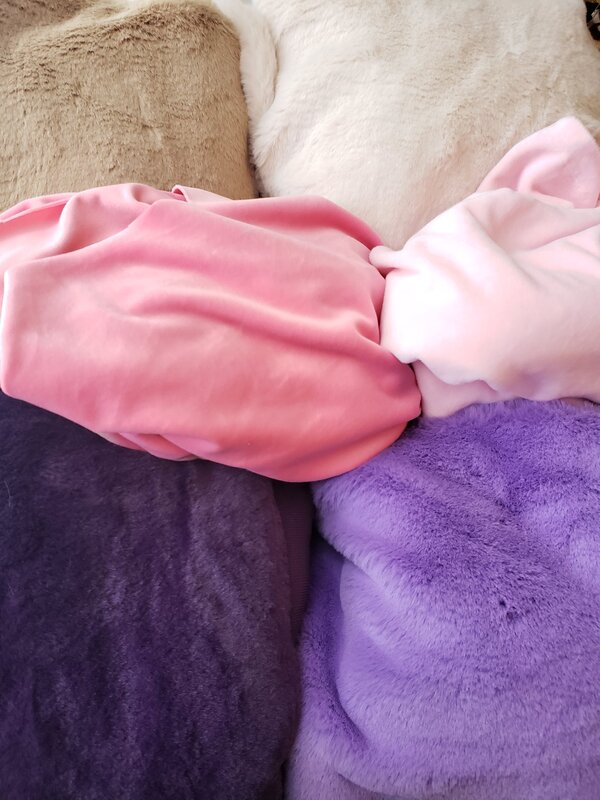
Fosbat wanted luxe cuddle seal minky for Alfie's coat and I suggested mochi minky for the tail, fingers, inner ears, and nose since the low pile suggests skin more than plain 3mm minky. The color palette of the seal and mochi minky was GORGEOUS!
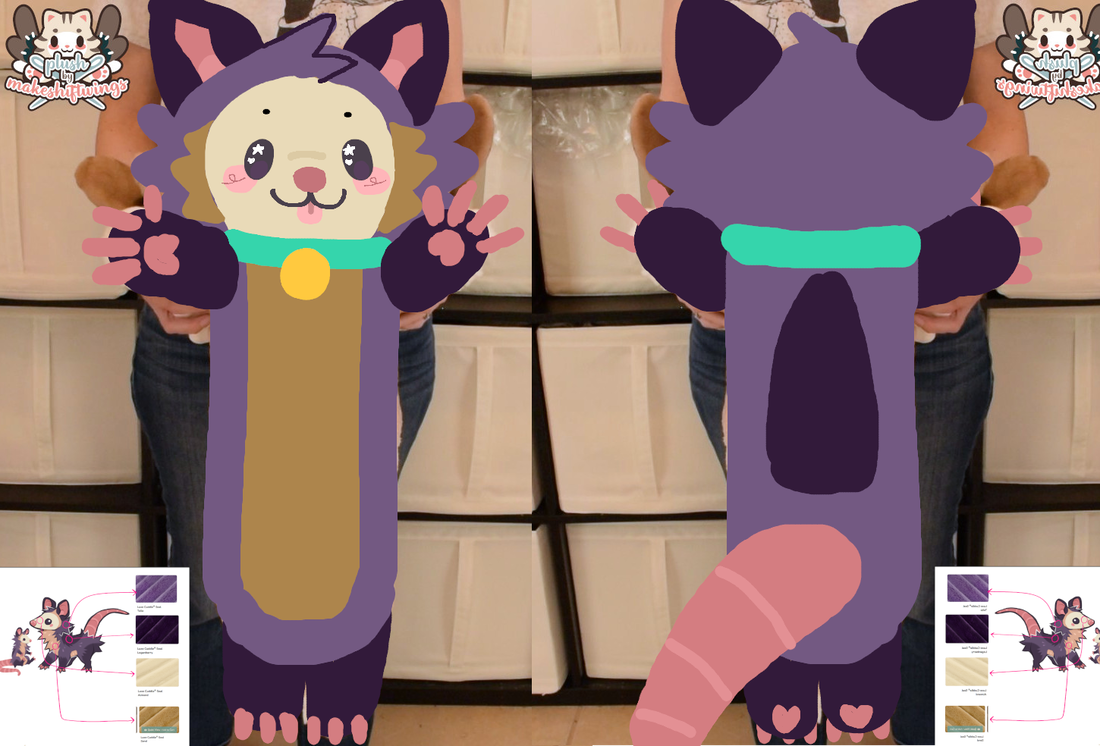
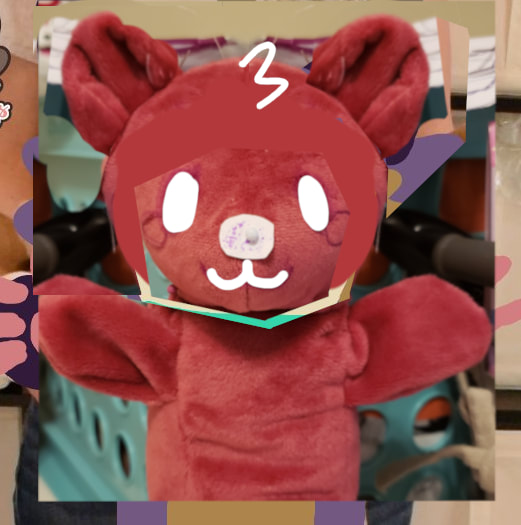
I did a crappy drawover on my long Shifty pics to block out the colors. I thought it'd be cute to add a blep! Alfie would also have a 3D face, unlike long Shifty, so my pattern needed to be adjusted.
I made a small test plush out of normal minky to come up with the head pattern. I wasn't concerned about using minky instead of seal for the test plush. Even though there would be a stretch difference, it's a chibi plush so minor differences were not going to be a big deal.
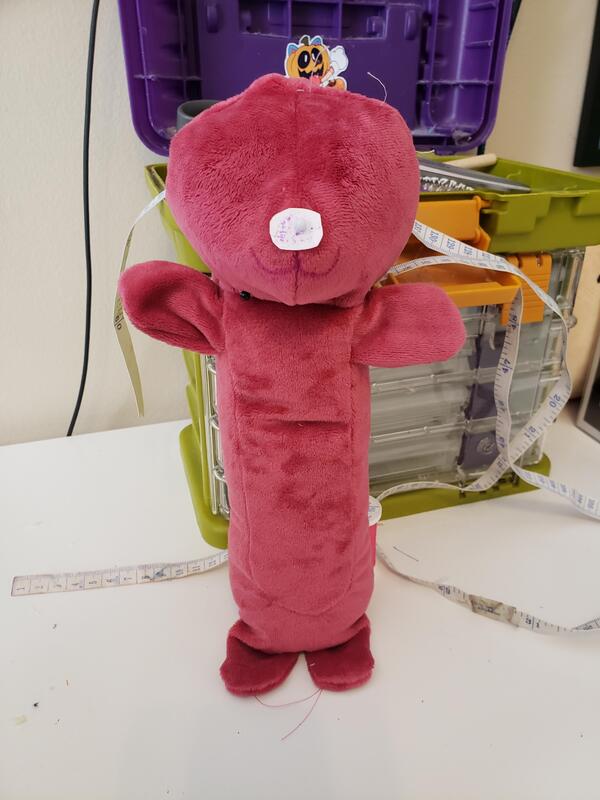
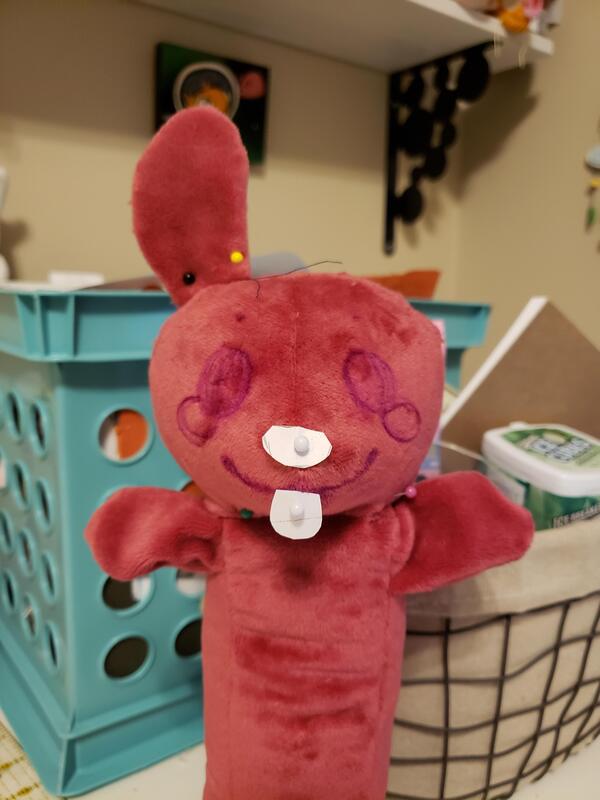
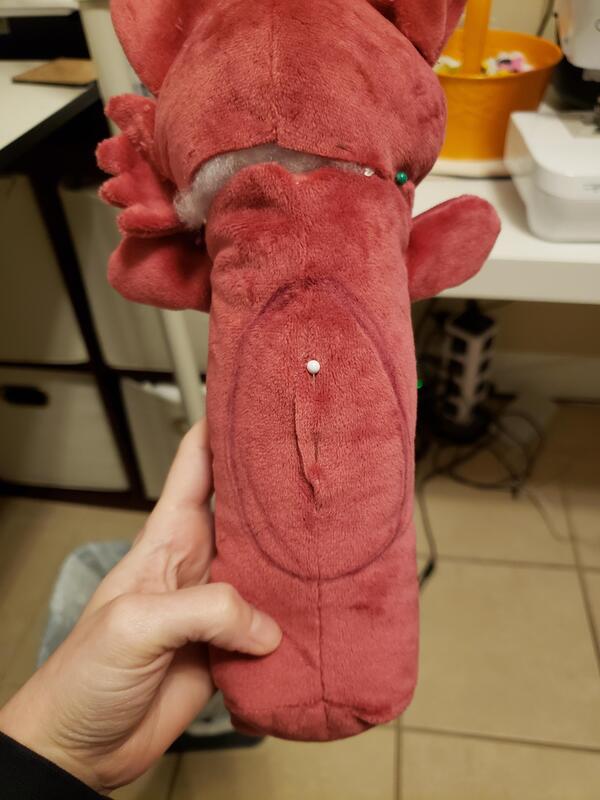
Since I'm not the best at drawing, it always takes me a few tries to draw the face on. Here I liked the mouth but the eyes were bad, so they were washed off in this image.
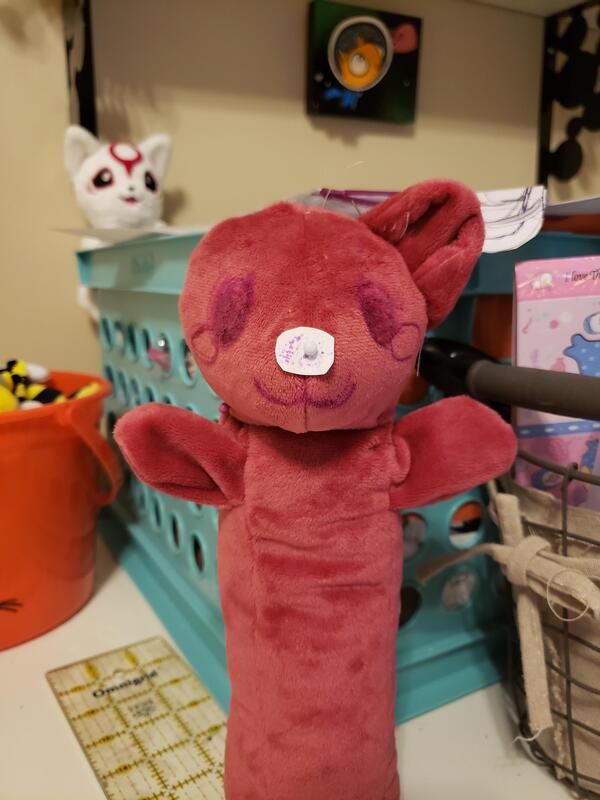
Attempt #2 at the face; better, but not perfect. I wanted it to be smaller. Instead of redrawing again (which requires washing the face and waiting for it to dry) I did a crappy photoshop on the right to help me visualize it and to show my client.
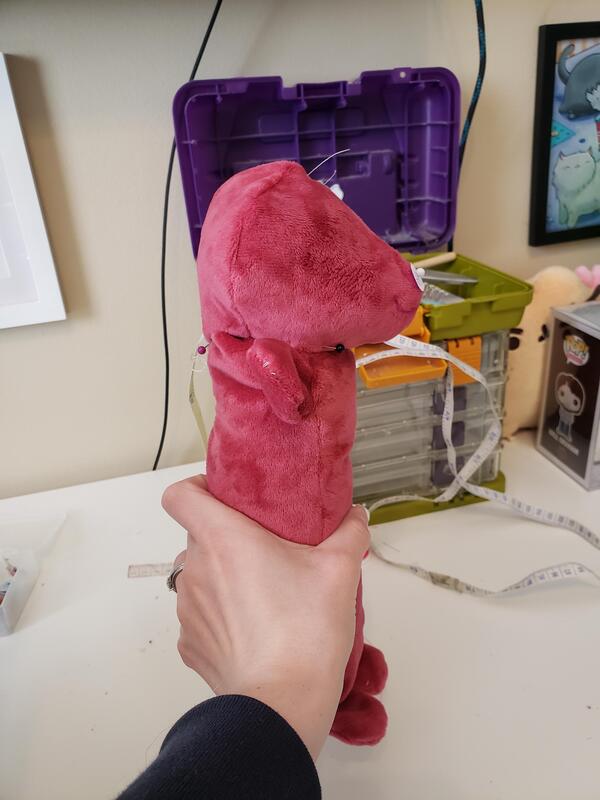
Having a better guide, I redrew the face on. I ended up editing the mouth to be longer and more opossum like!
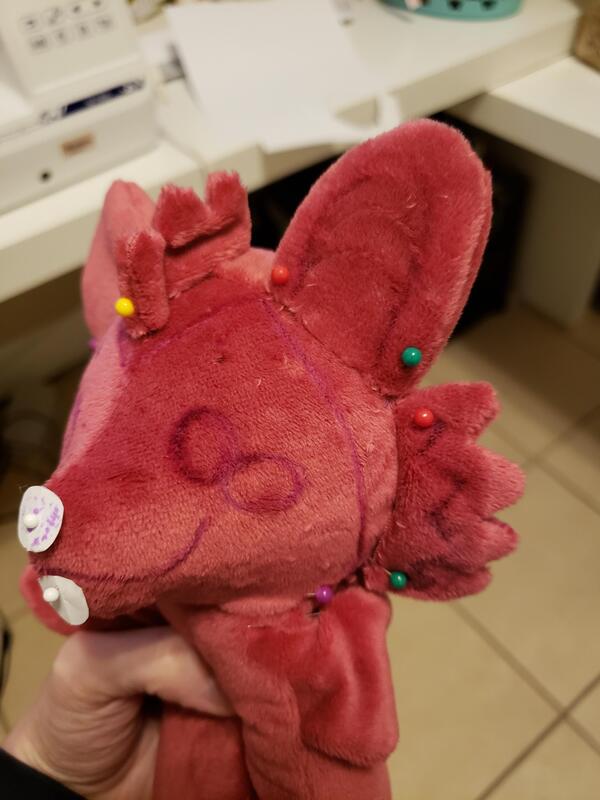
Alfie's ears are not set in stone, so I had freedom to do what I wanted.
The first attempt I patterned in two folds in a single pattern piece. This involved some fiddly darts that would have been too difficult for luxe cuddle minky, and I wasn't too happy with the overall shape either. The second attempt I went for longer and much more stylized like some of the art of Alfie, but it went too into the rabbit territory for me. The last attempt I decided to just to a flat pattern piece and would add separately sewn pieces to the front to mimic the ear folds (not shown here!)
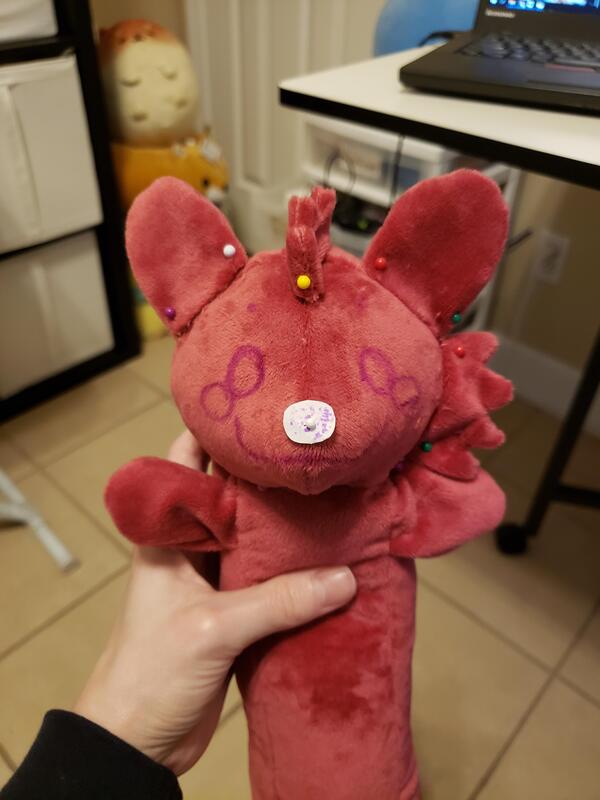
I sketched on the remainder of the markings and now we were good to go!
From here I took apart the pattern, transferred the markings onto the paper pattern, and scanned them into my computer so I could design the embroidery and scale up the head pattern. 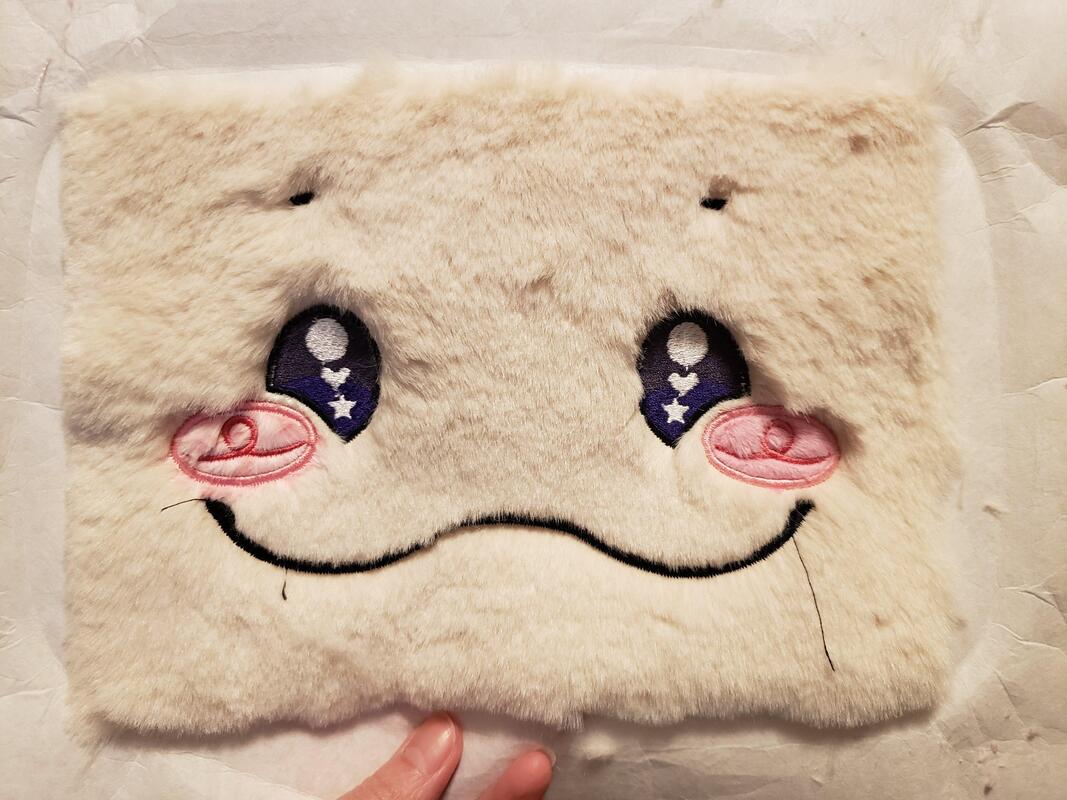
I decided to make a "smiling eye" design instead with heart and star shines! This was the first test run, which I purposely omitted the tongue for. I did not do anything special with the embroidery that I would not do for normal minky, even though this is luxe cuddle.
The eyebrows were small satin stitches which just got lost in the long pile fur. They needed to be larger. 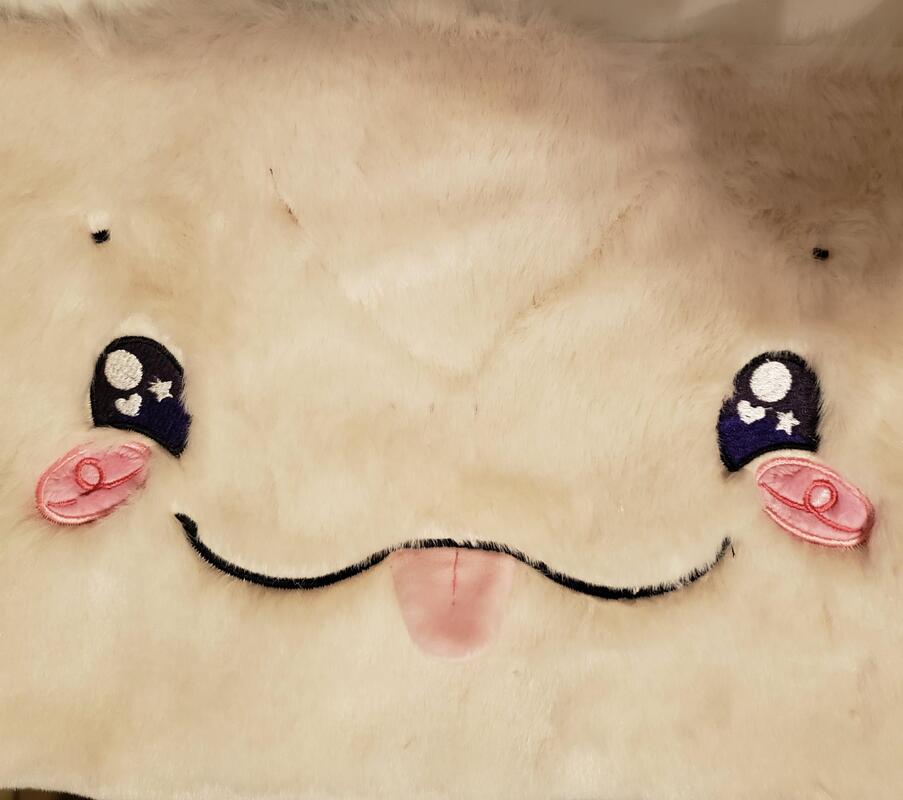
The embroidery for the actual head (which would end up being redone). Looks much different on the pattern, since there's a huge dart that runs down the middle XD
The tongue is done with a similar method to my 3D fang tutorial. 
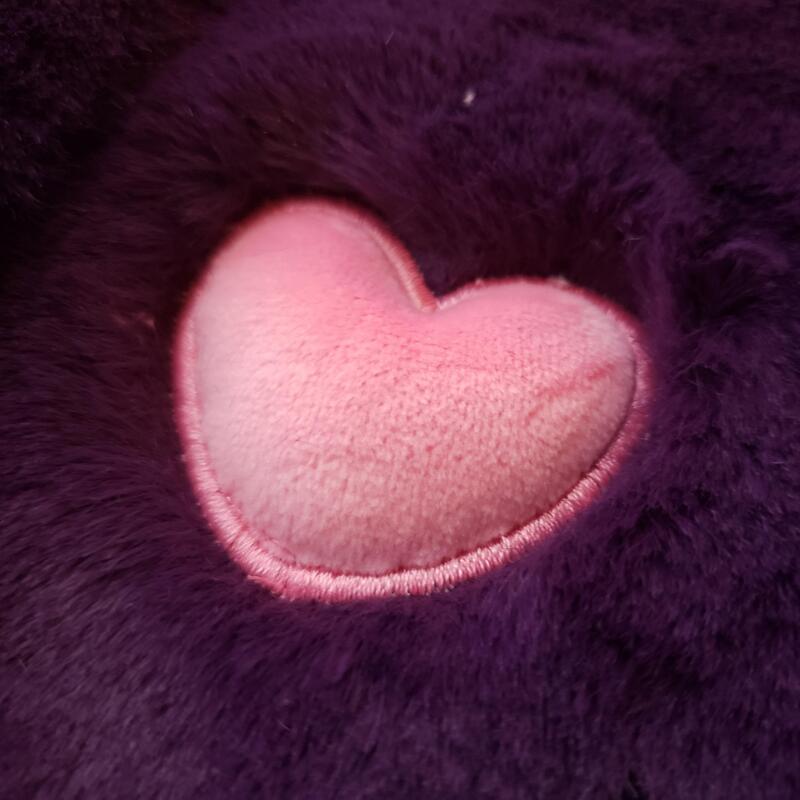
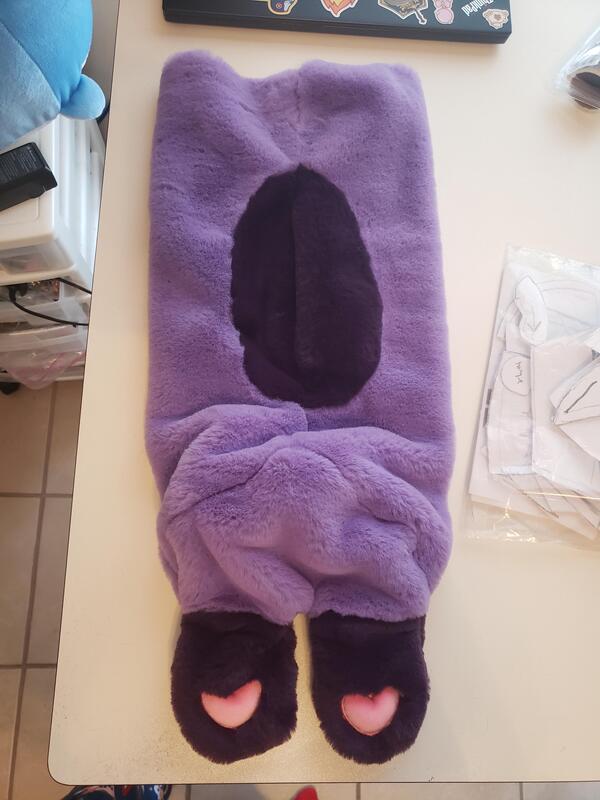
I just looove how soft Alfie's paw pads look on the luxe cuddle!
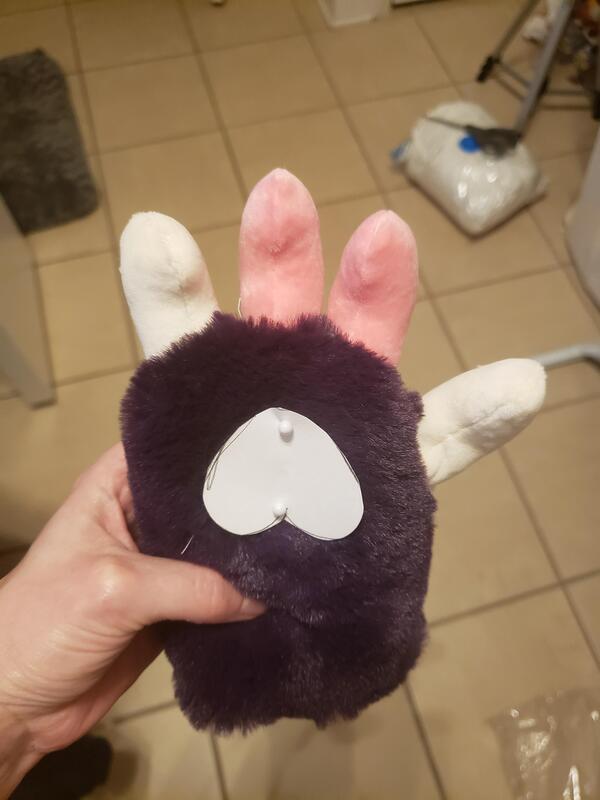
The fingers would be sewn separately and hand-sewn on for precision. It took me several tries to get them right; I wanted something vaguely human-like, like actual opossum fingers, but stylized and chubby. The thumb here was the first attempt, with the 2nd one being the leftmost finger and the final being the rightmost finger (focused in the bottom pics).
The thumbs were 3 pieces each: 2 to form the bottom bumpy shape with a gusset running on the top. 
Rather than sew the bottom pieces for all 12 fingers together by hand I let my embroidery machine do the hard work! I did this on tear away stabilizer for easy removal.
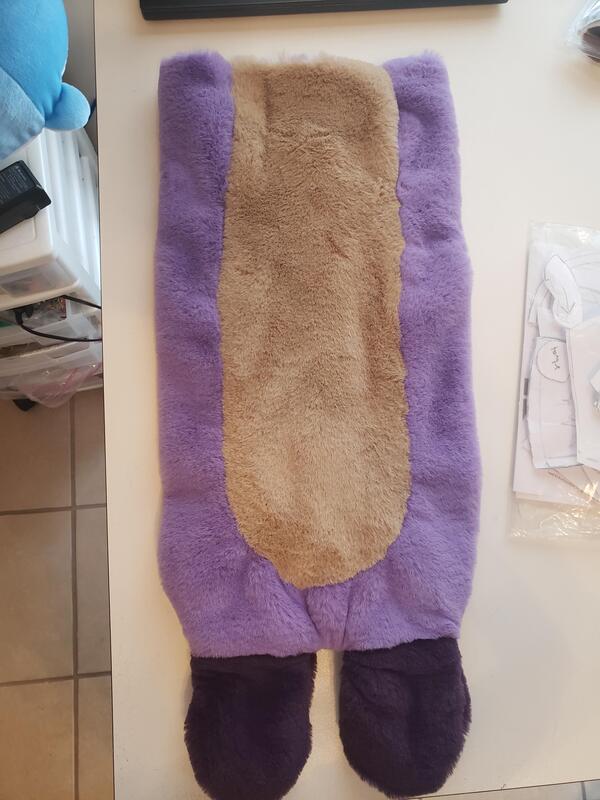
Here was the body sewn together! I used lots of pins, clips, and my walking foot to sew the luxe cuddle minky. The walking foot helped the most!
When I sewed together the head, I wasn't happy with the embroidery. The face was too small. I should have increased it more to compensate for the luxe cuddle minky; especially the satin stitch of the mouth needed to be widened. I also decided not to do satin stitching for the eyebrows, but did a fill stitch instead (this was even after widening the stitch from the first attempt). I also wanted to make the tongue shorter.
This is all pretty par for the course - I usually have to redo the head on each plushie I make at least once! 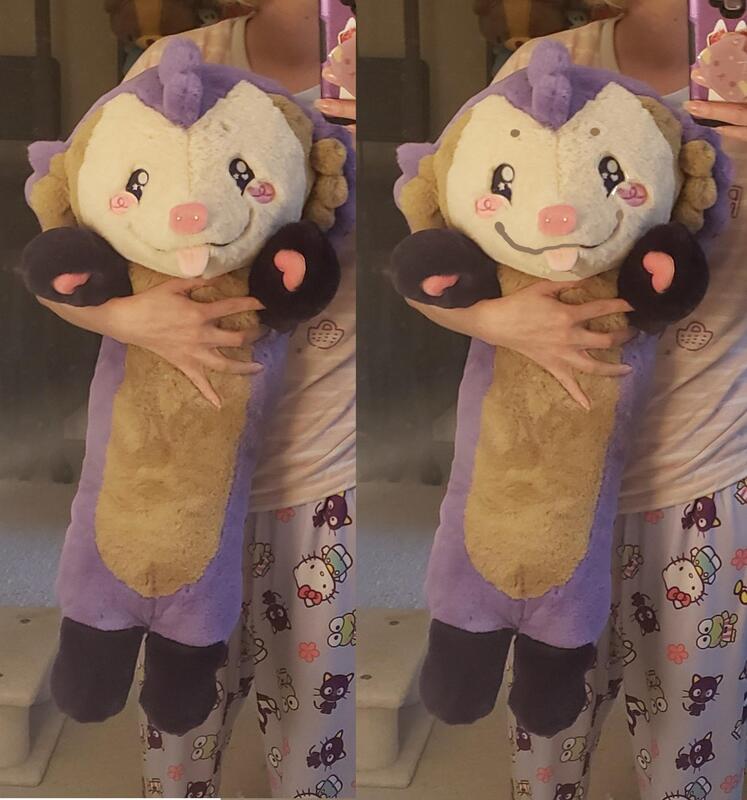
Even with a messed up head, he was still very cute!
I did my favorite mock-up method again to see the changes for the face: the eyes & eyebrows needed to be larger; the eyes rotated; the mouth more defined; the tongue shorter. By making these edits in a photo editing program (I use GIMP) I can see the exact percent and degree each item needs to be adjusted by and transfer those changes to my embroidery program. 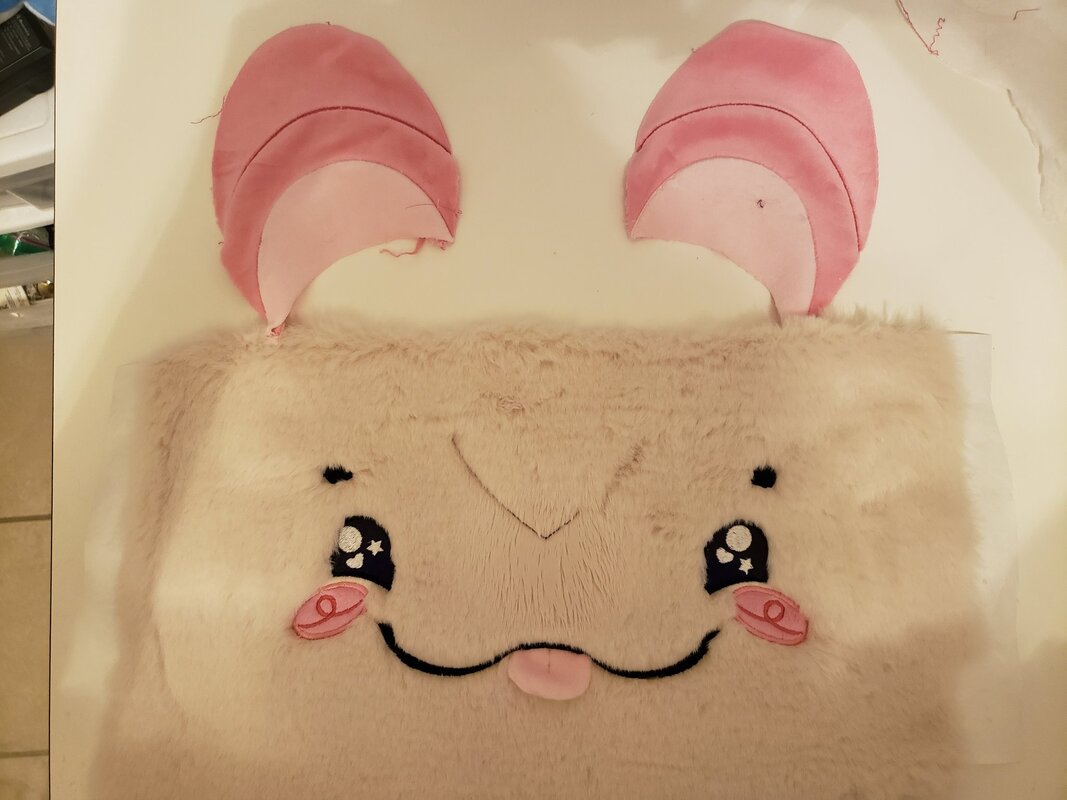
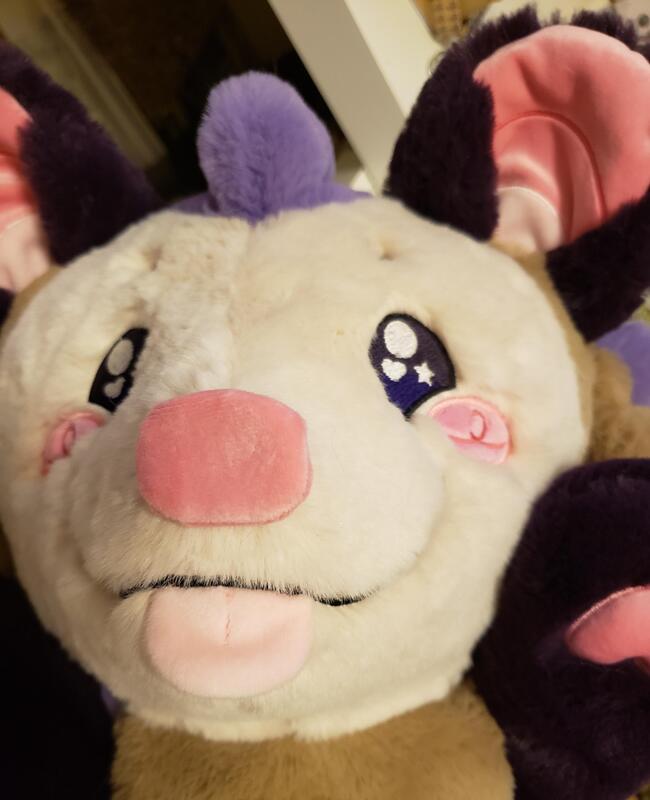
The final face and ear embroidery!
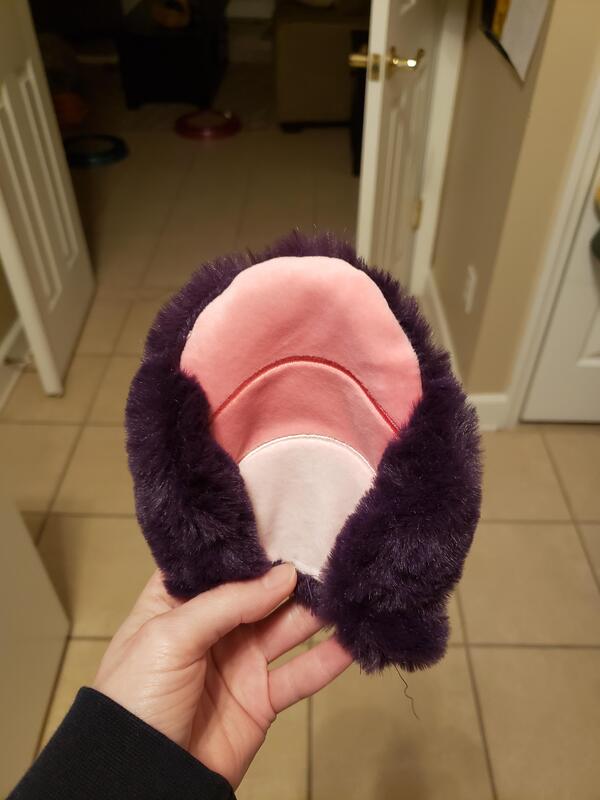
The ear folds were made by sewing 2 separate double-sided pieces and sandwiching them between the inner ear and outer ear piece. When flipped right-side out, the 2 separate pieces are on the front and look like ear folds (and function like them too, since they are double sided and only attached along the outer edge).
The long faux fur of the luxe cuddle minky sticks out enough along the top of the ear where a fold up top is not needed! 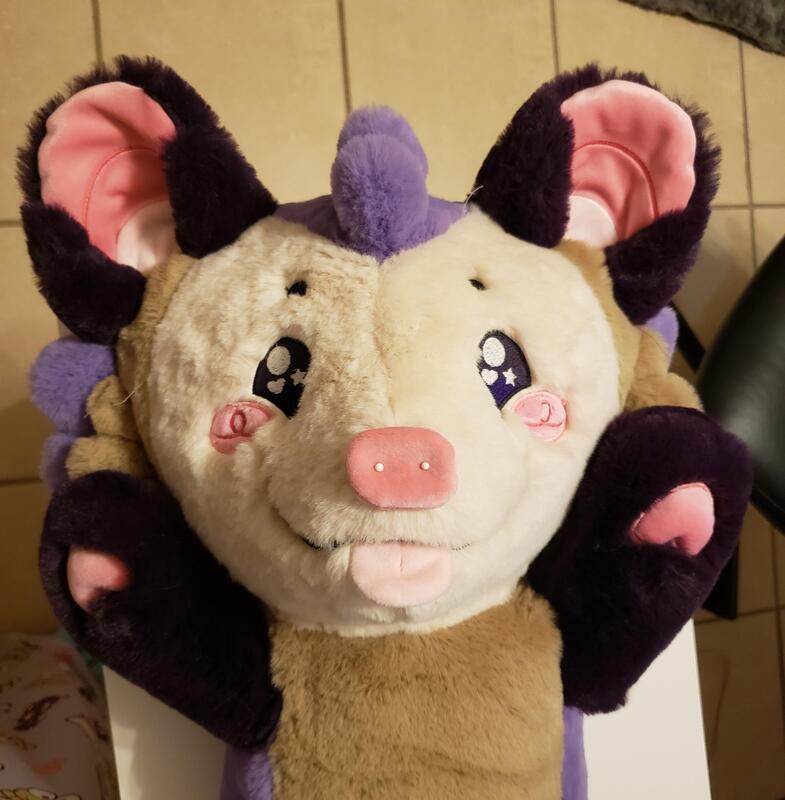
I got the new face sewn in as well as the ears. Looking super cute!
Blep!
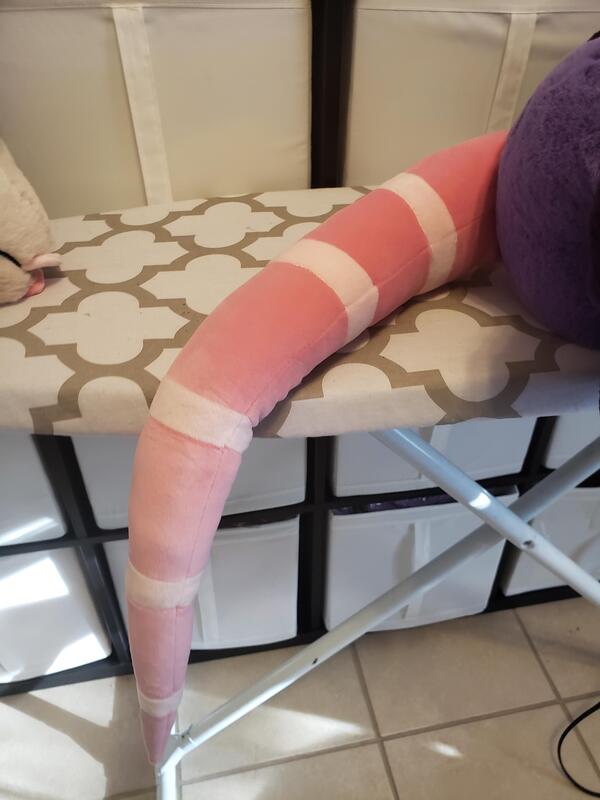
The tail... o m g I love this tail. It is unironically one of my favorite things I've ever made. The weight and movement of it is so incredibly satisfying.
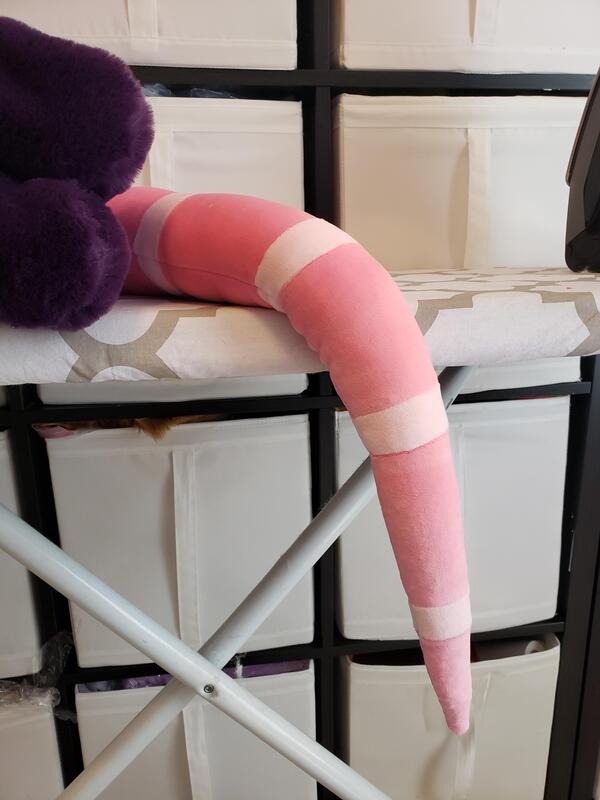
I also just love how it lays. This was achieved with polypellets and mochi stuffing (and mochi minky just being awesome for movement). I ended up making a pocket for the polypellets out of muslin because you could see the shape of the individual pellets through the mochi (you can kinda see that in the top right picture of the tail). This extra layer of fabric helped prevent that without sacrificing softness or movement.
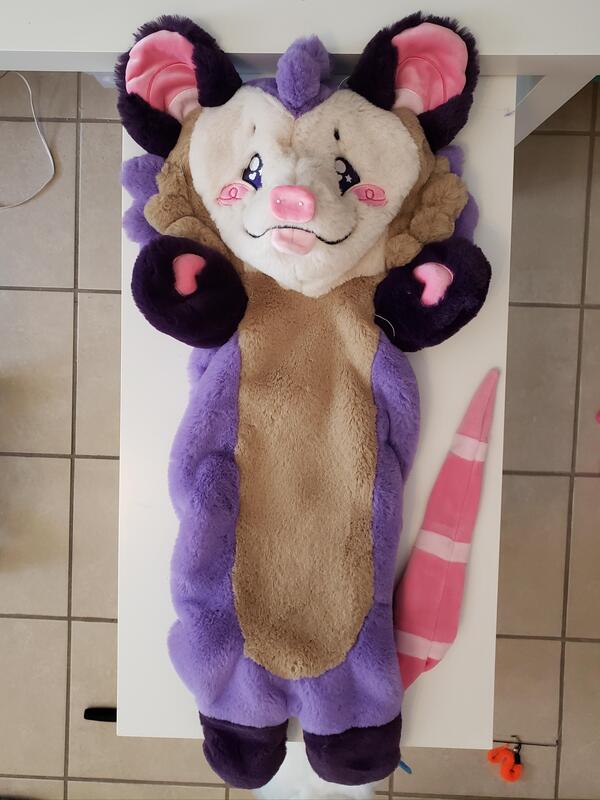
Alfie FLOP!

So.. many... fingers! These were all sewn by my embroidery machine, but then I had to sew gussets onto every single one. Very fiddly work!

How rude, Alfie!
Each one was hand-sewn on for precise placement.

I also made a simple bell collar for Alfie, which was removable with a snap. We both liked the idea of a blue/teal, and we both liked the bottom color option!
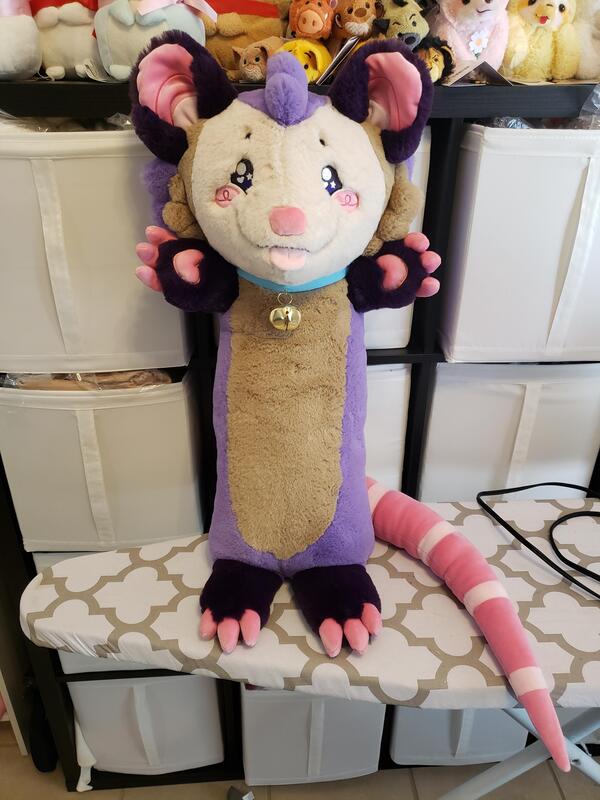
I ultimately decided to omit the thumbs from the hands. It would have gotten really crowded around the face with the thumbs, and I think it helped sell the overall chibi/simplified design of this plush more.
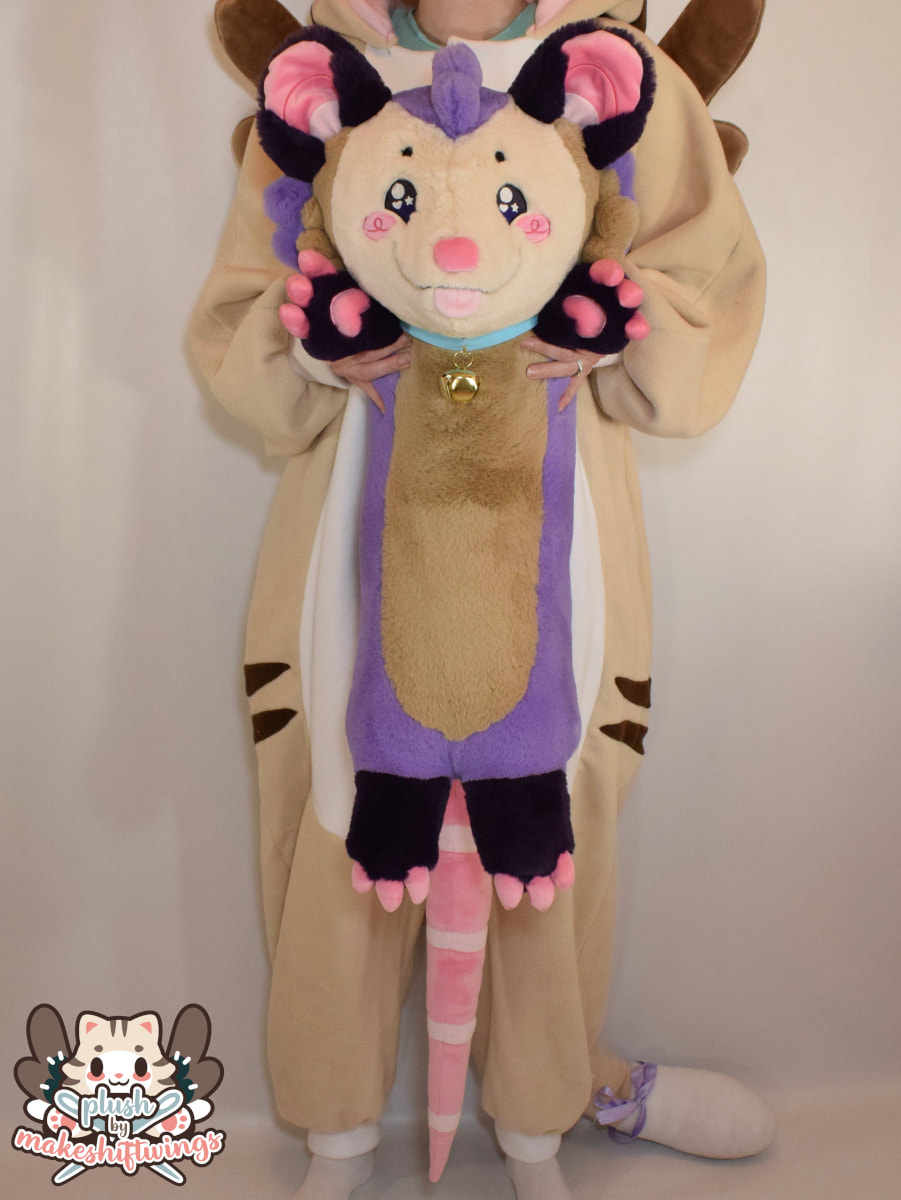
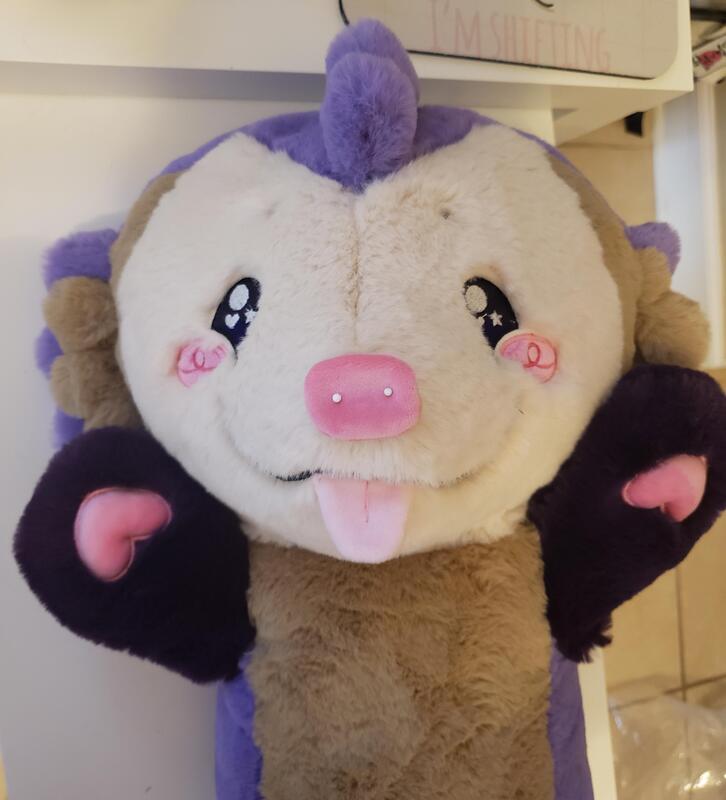
So, Alfie was done!
0 Comments
Leave a Reply. |
Archives
December 2022
Categories
All
|


 RSS Feed