|
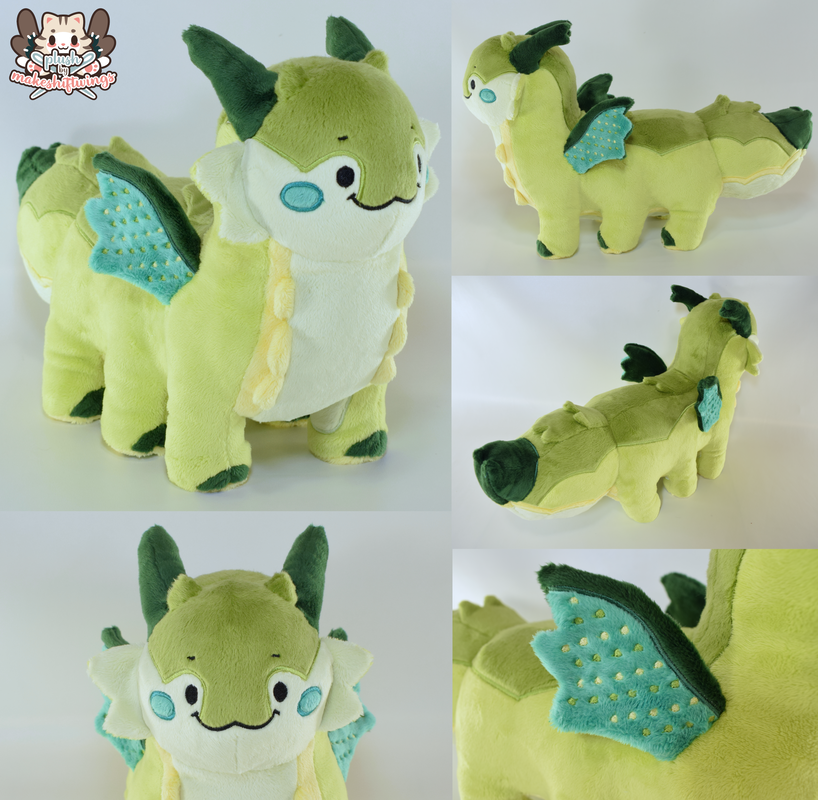
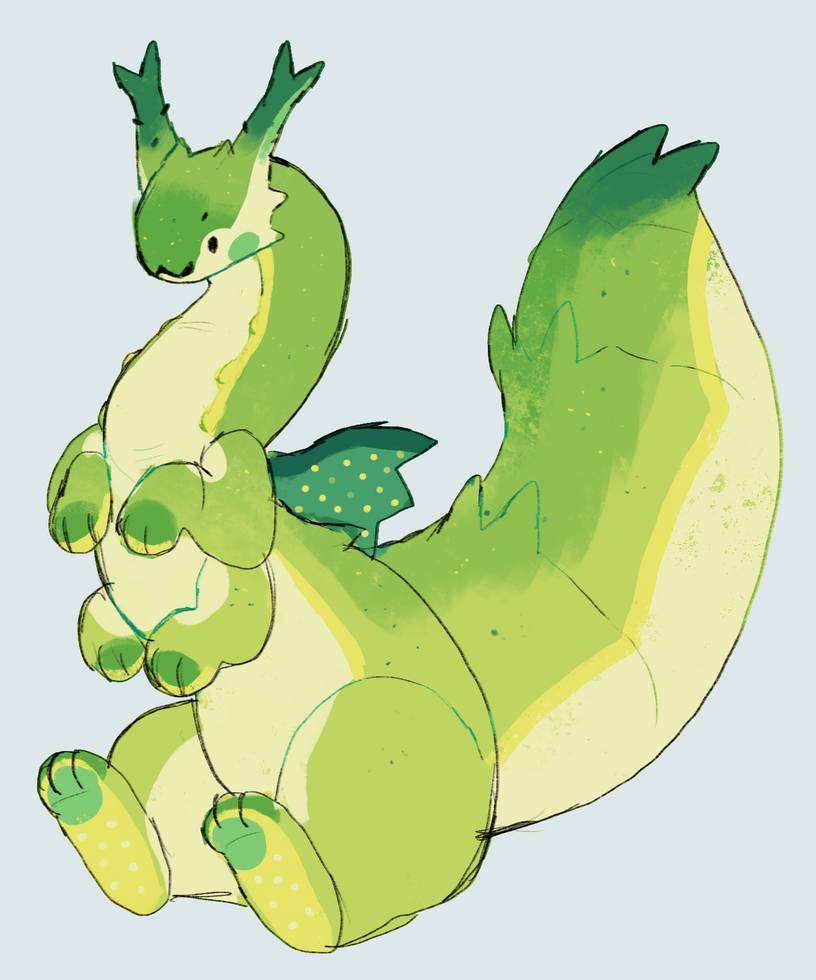
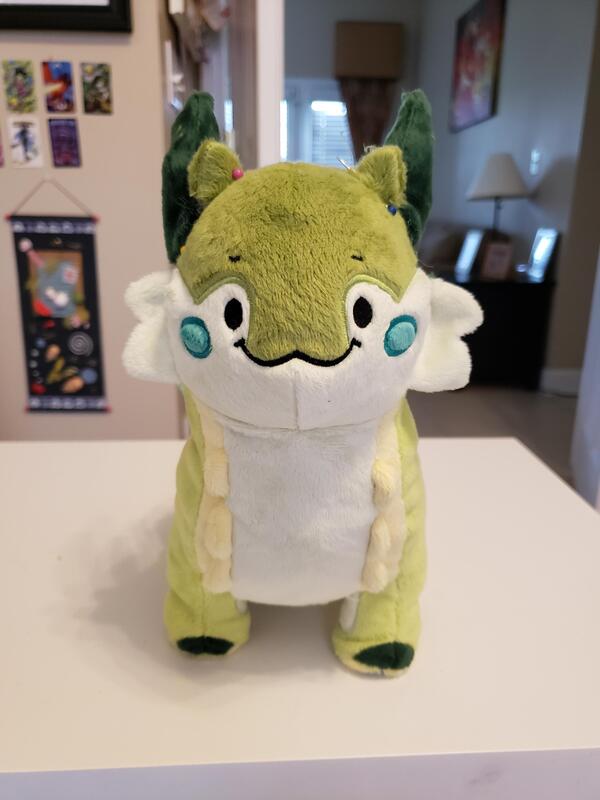
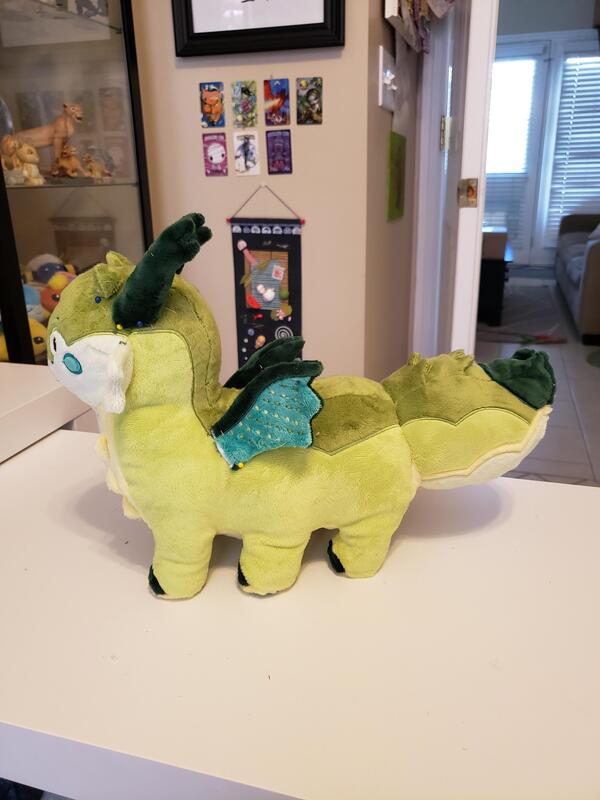
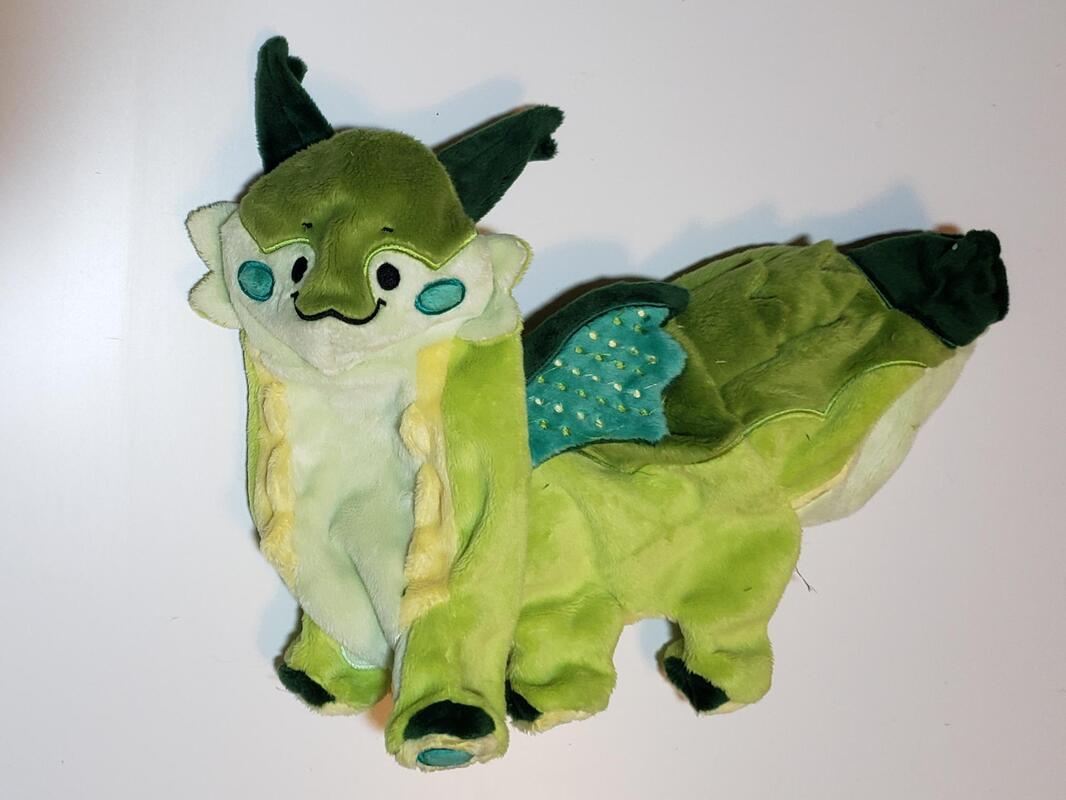
I love this character so much! Matcha is such a happy character with a pleasing color palette. My client asked for a chibi plush based off my standing Neko Atsume pattern. This plush presented more challenges than I initially expected, due to the color transitions and my lack of experience patterning standing quadruped patterns. But, I thoroughly enjoyed making him and I think he's one of the cutest plushies I've made with lots of fun details! When looking at the available fabrics, I decided to use green apple Shannon minky for the main part of the body. This is a discontinued color, which is a shame because it's a beautiful yellowy green. None of the other Shannon greens really fit the color palette for his back, so I landed on color #135 from Hopen Textiles.
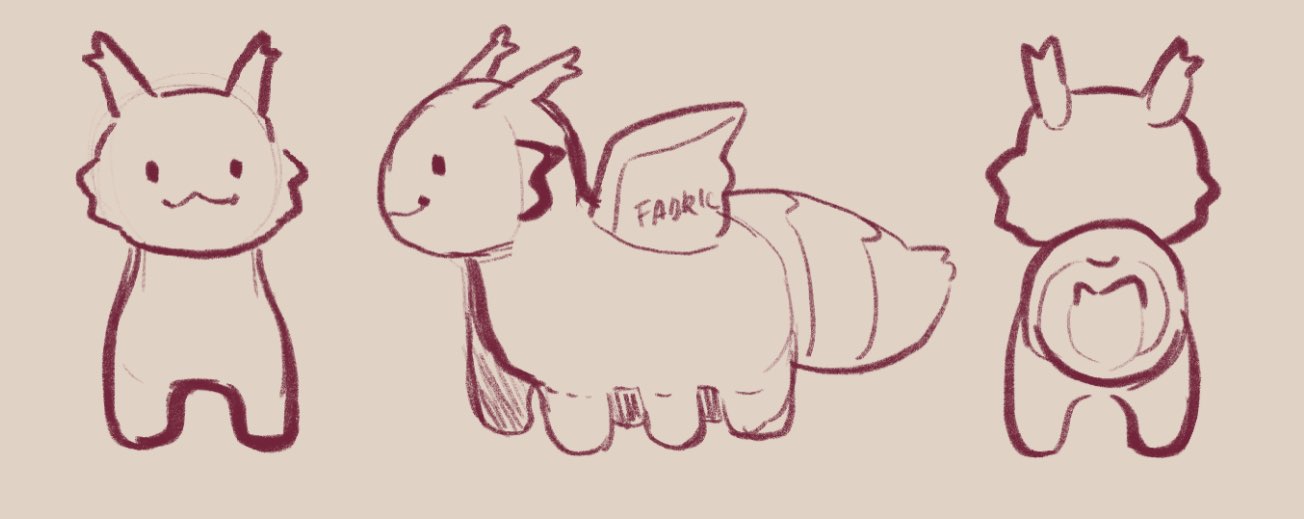
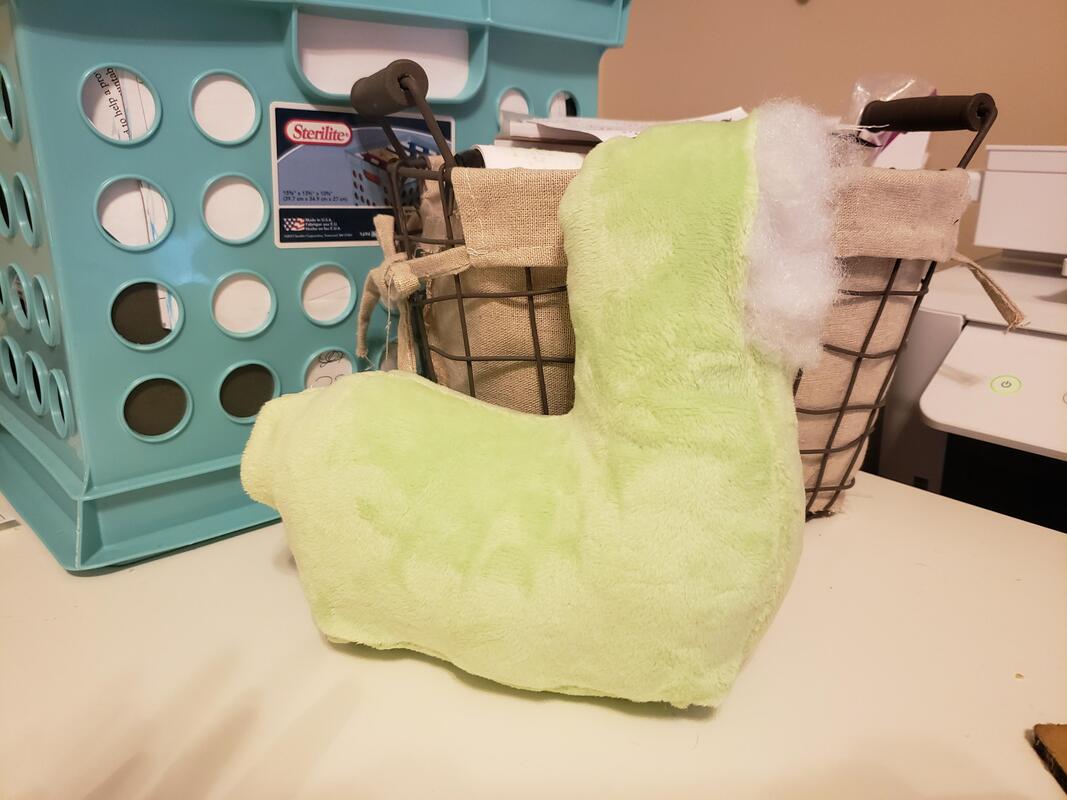
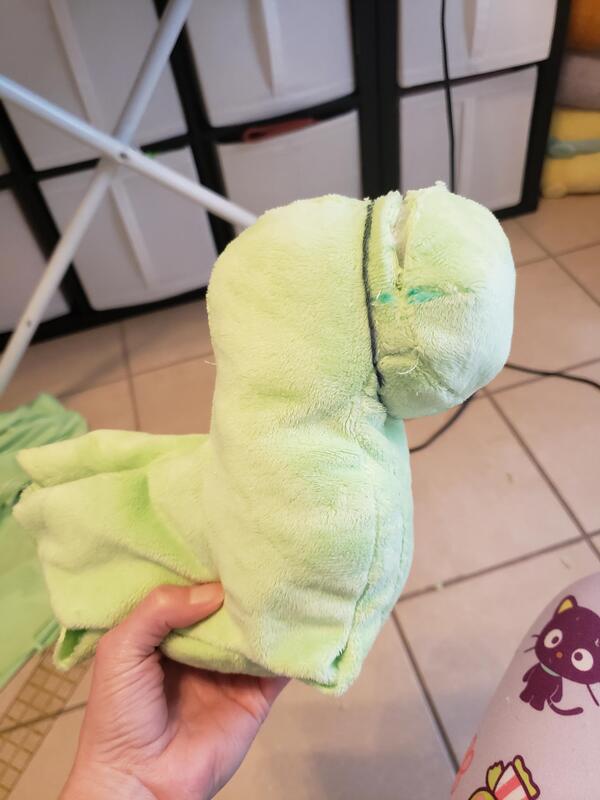
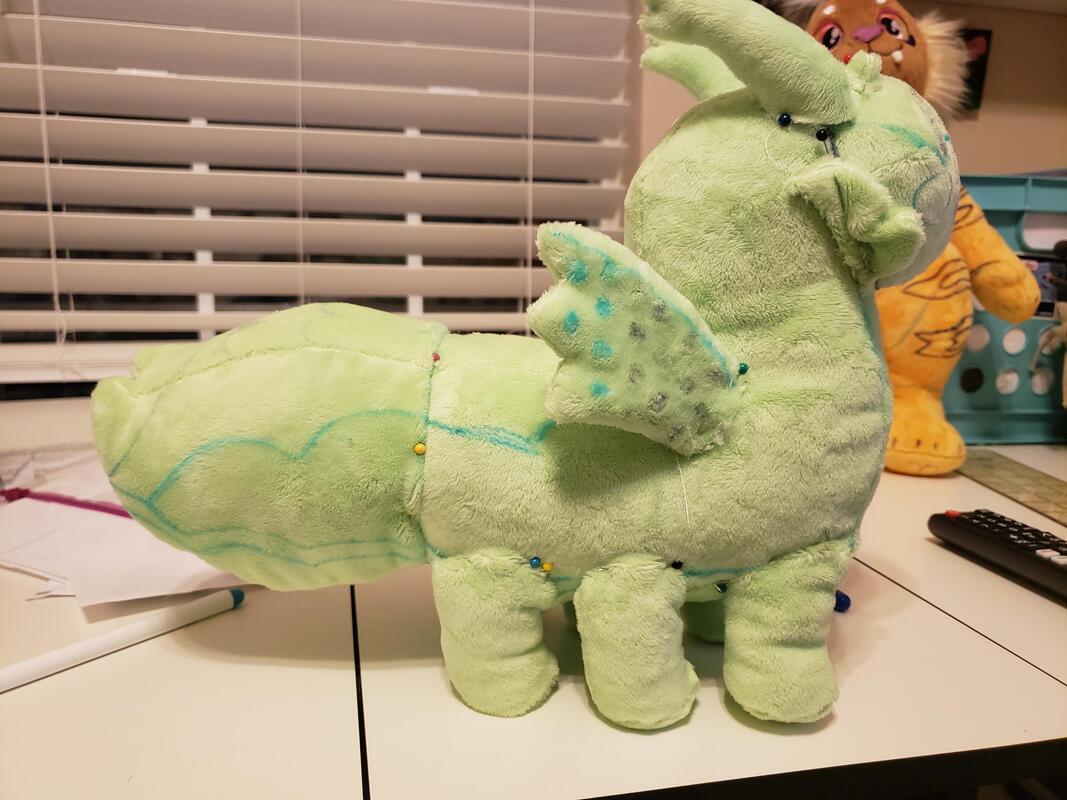
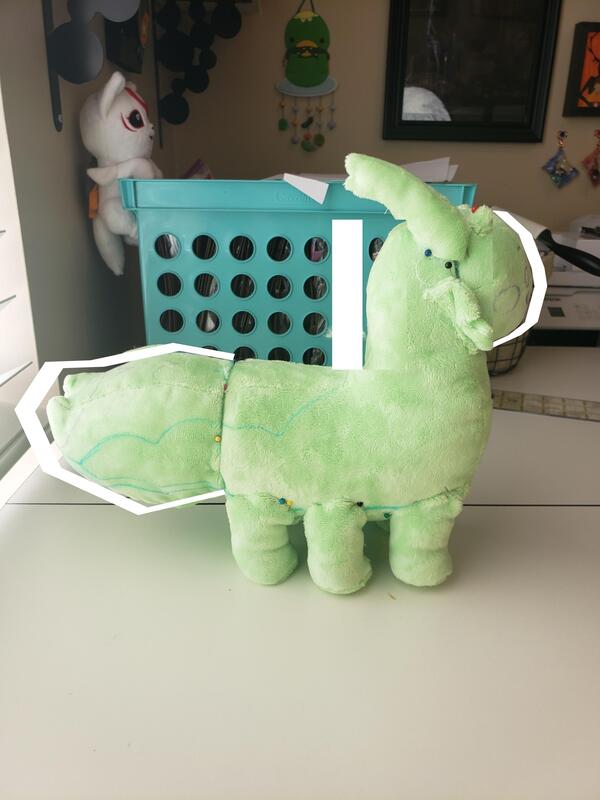
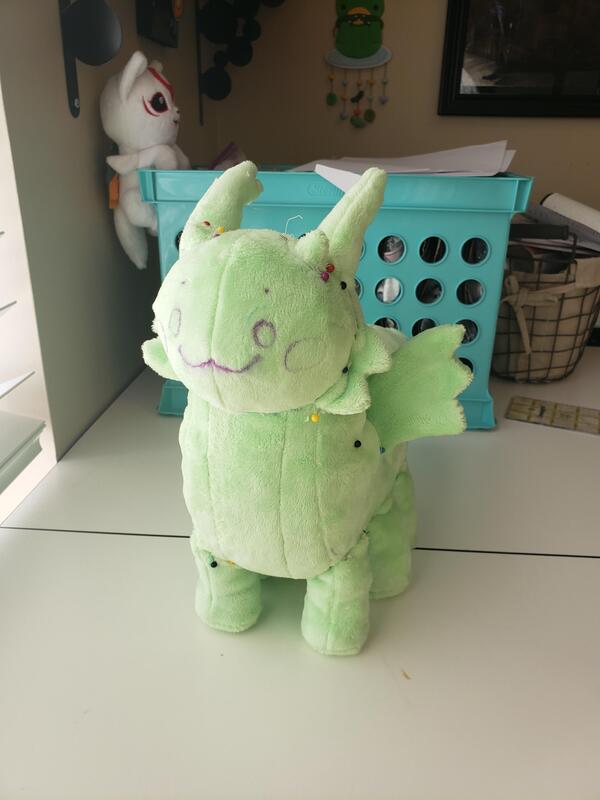
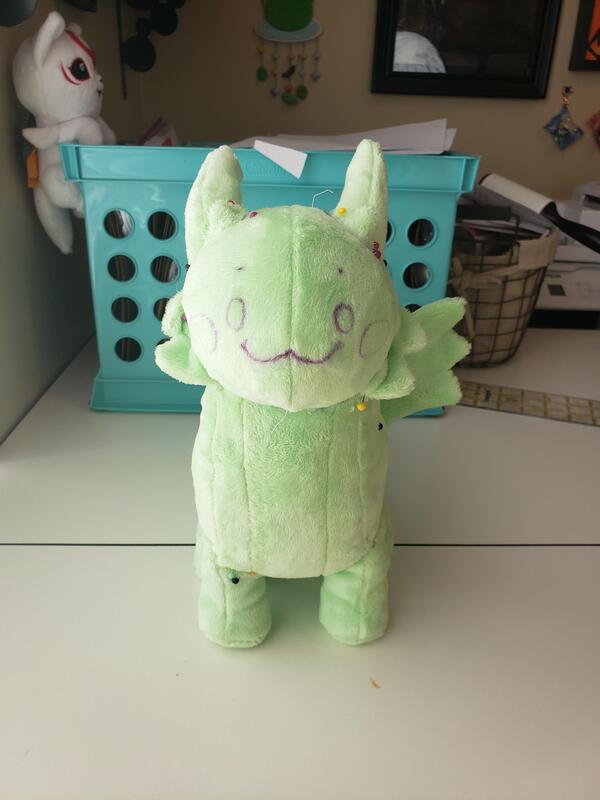
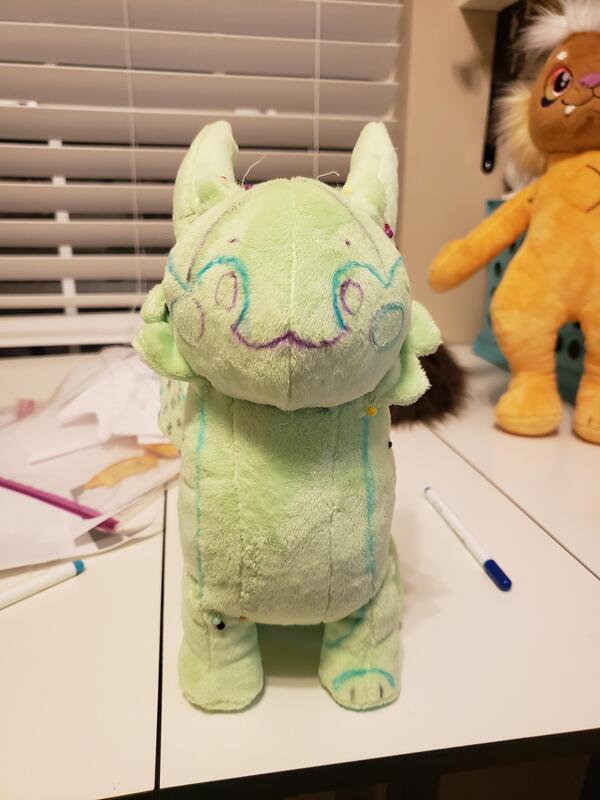
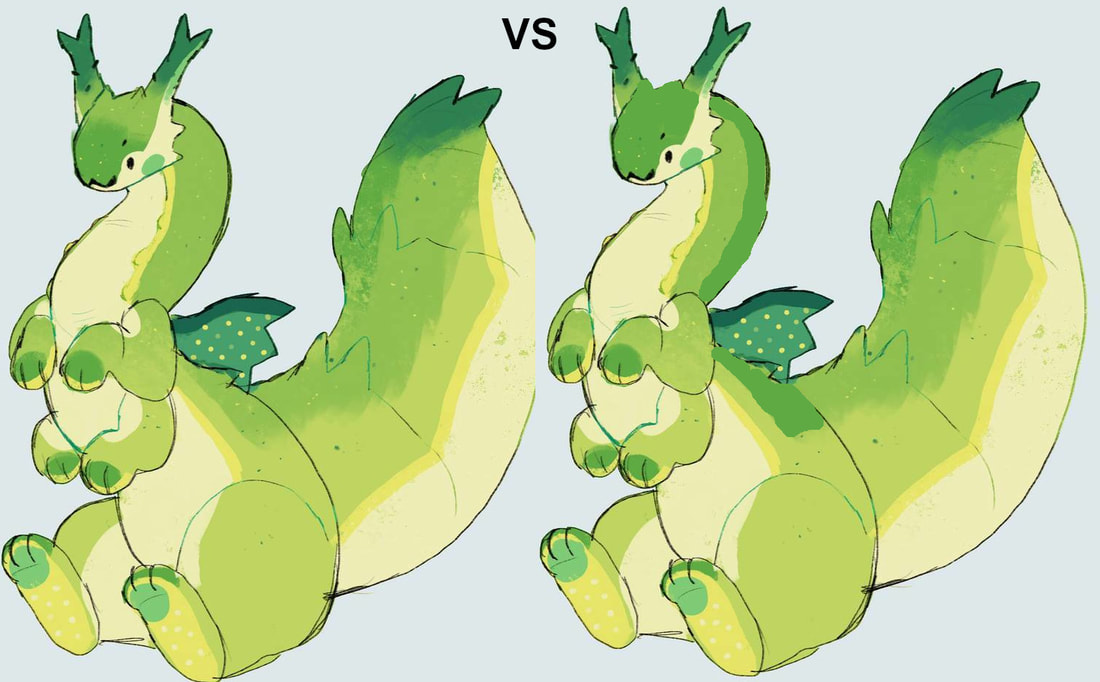
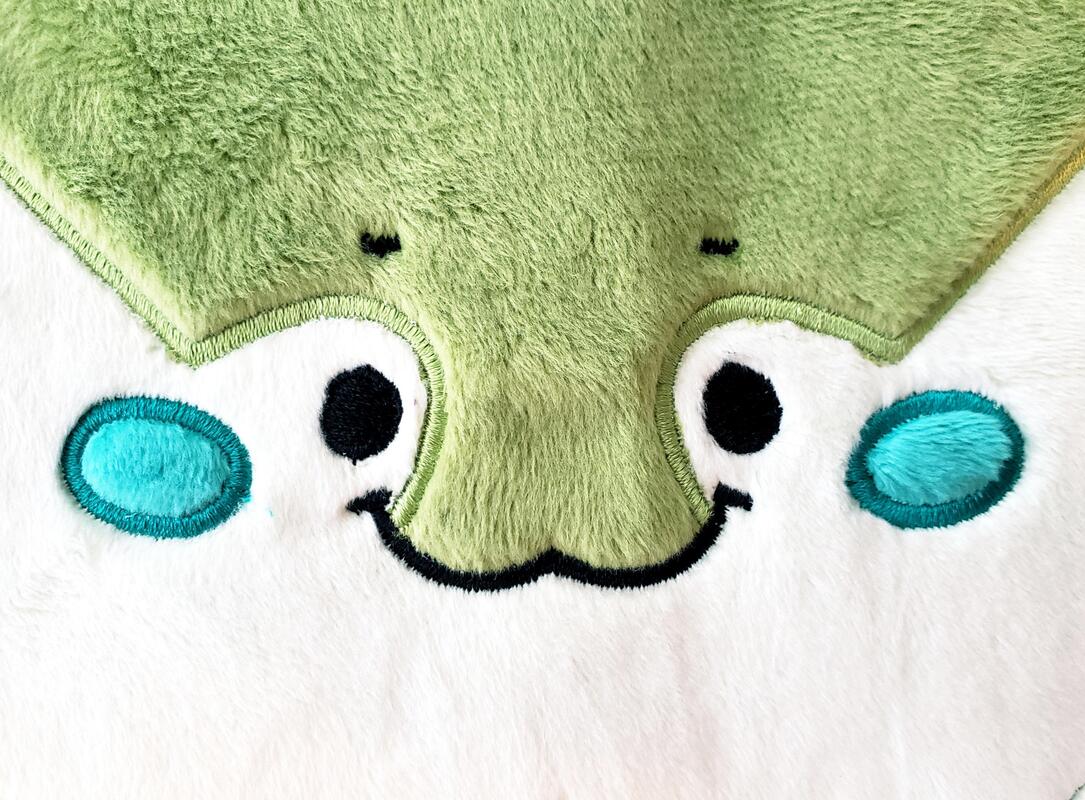
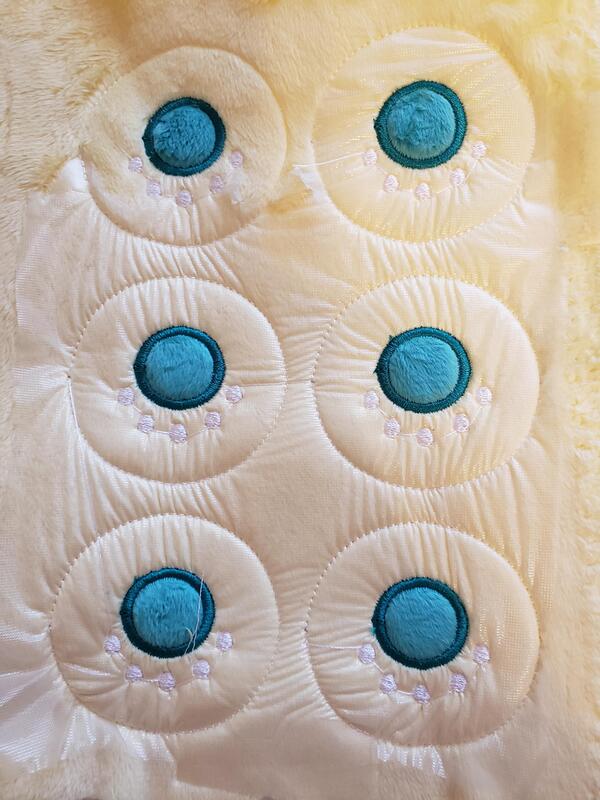
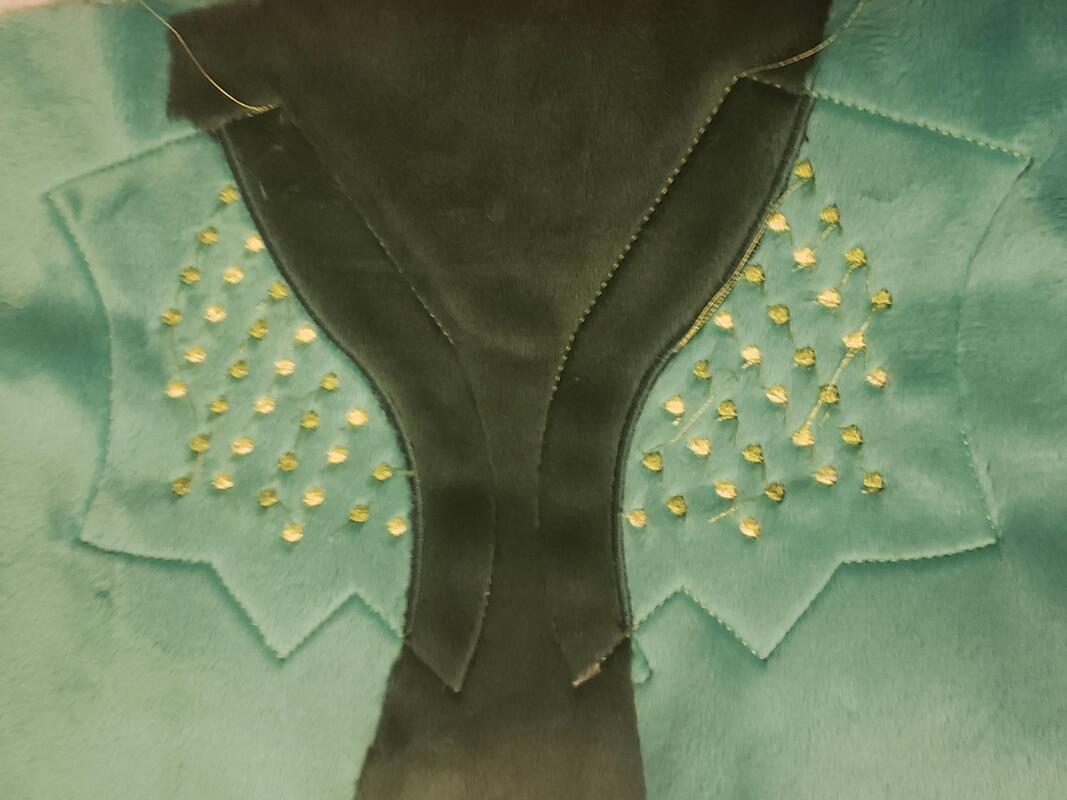
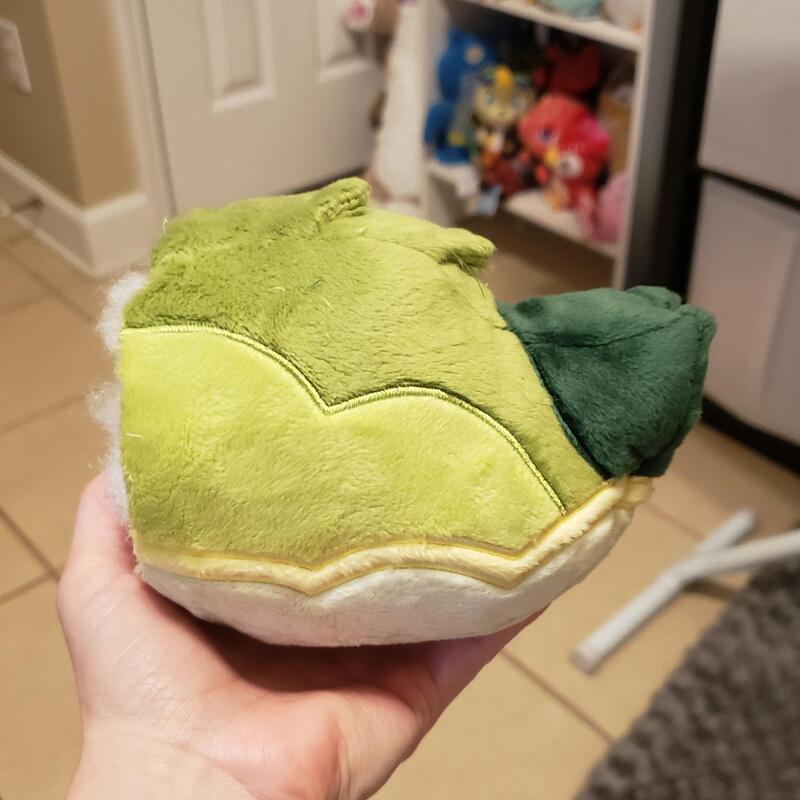
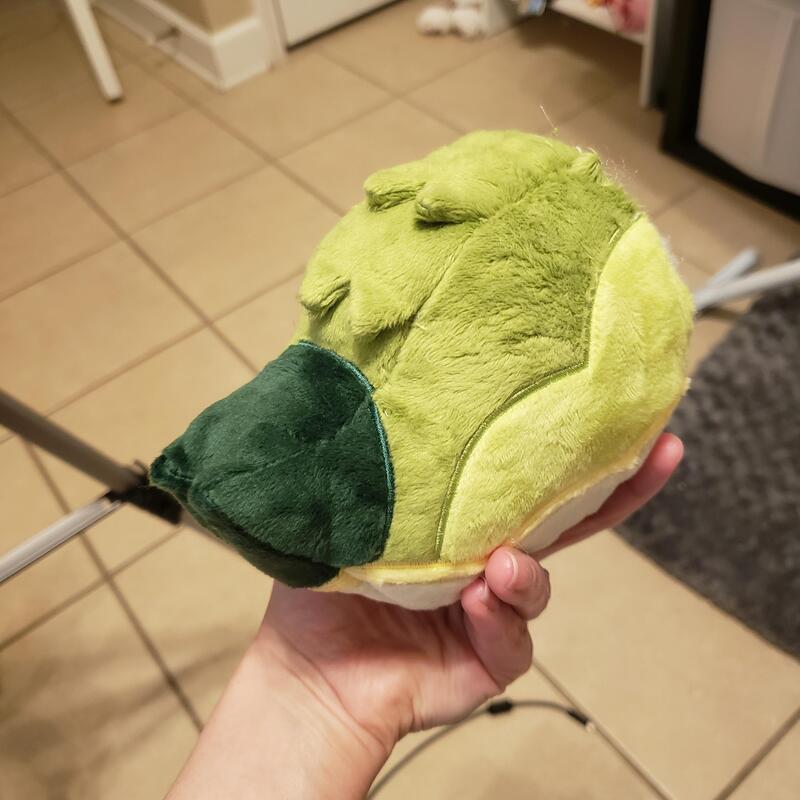
I added the extra pair of legs, but they came out too skinny and I wanted less of a gap between the legs. One of my patterning/prototyping tricks is to only do a test on 1 side if the thing I'm working on is symmetrical. So in this case, I only completed the legs on one side. Rather than remake the entire plush, I just tucked the legs that were on the side of the plush into the plush itself so I could pin on a new set of legs. I also needed to add a gusset to the back of the plush. I wanted to pattern the face and tail next so that the next set of legs was proportional to the rest of the body. I added the face next and boy, was it ugly. Some serious ET vibes going on here! The face pattern was simple enough, just a basic circle with a dart on the top, bottom, and each side. But the front of the face was also too flat. And since it stuck out too far, I just ended up sewing a seam down the front of the face so I could get the round shape I was looking for and bring the face in more. I would end up removing this seam in the final pattern and sticking with the 4 dart technique. I prefer not to have a seam running down the front of the face when I can, especially on a simplified plush like Matcha. It also makes embroidery easier. But, it's easier and quicker to sew the seam and then remove it rather than fiddling with darts. The seam is removed by seam ripping the darts on the top and bottom up to the point where the seam is almost a straight line. Then the pattern would just be mirrored along this straight line, once again creating a circular pattern shape with just 4 darts in it. Another issue was that the body wasn't chubby enough for my liking. Again, rather than seam rip the gusset and start from scratch, I cut down the middle of the gusset and added a vent piece instead, which widened the body. These extra seams would not be there on the final plush but it saved time & material from having to remake a piece over. I was worried about patterning the tail but it actually came out nearly perfect on the first try! It's a 4 part pattern, with a gusset on the top and bottom of the tail. I wanted the spikes to be integrated into the pattern itself rather than hand sewn onto the end. To achieve this every pattern point ended in a triangle. The gussets were shaped like a W and M where they met at the end. The spikes needed to be a little longer on the final plush but the shape was really nice overall! Matcha also has spikes on the top of his tail. My client said these didn't need to be 3D, but I had a neat idea for achieving a 3D look in a simple way - but I didn't need to prototype that for now. I made 3 separate legs and pinned them on. I went back and forth on how I was going to do the legs. I considered having them being separate from the body and being sewn to the body with a seam and the dart at the top of each to give them more definition. But ultimately I decided this was too complex for a simple plush design, and the added complexity would not add much value but just detract from the overall sleek look of the plush. This pattern had a number of several more issues that needed to be fixed: the tail was too large, the neck was too wide, and the head still stuck out too much. So I used my favorite technique, adjusting the image in a photo editing program, to see how much they should be reduced so I can translate that to my pattern. Looking much better! I wrote down the percentage smaller each adjustment was so that after I scan in my pattern pieces I can adjust accordingly. But ohh my godd, Matcha was already looking so cute!! The only request from my client was to change the wings to lie flat against the body. I was planning on sewing them into a dart that would be added along the shoulder blade, but this would make them stand straight out like they are n the picture. I think that having them flat against the body is better for the silhouette! Next was to draw on the markings. There was one color I wasn't sure how to handle which was the dark spot around his face. On the reference it's a soft color transition but it would need to be a hard transition on the plush. I thought it would distract from the look of the plush to have a dark color here, so I mocked up a different version: This version removed the dark muzle and kept the entirety of the top of the head the medium green. My client agreed and we went with that instead! Time for embroidery! Matcha has such a friendly face!! He only needed one embroidery test for the face to make sure that the tiny satin stitch around the eyes lined up, which it did! So cute, so friendly, so soft The bottom of the feet are one of my favorite details which is a shame they won't be seen! Little tiny round paw pads with white polka dots! The polka dot details continue onto the front of the wings! Time for the 3D spikes on the tail! My technique was to duplicate the gusset pattern piece but have it end in the 2 points. This required sewing 2 pieces with right sides together and flipping them out to avoid having a raw edge underneath the spikes. These extra pieces were basted to the bottom gusset piece in the seam allowance to keep them together. So the gusset became quite thick after 2 layers, but it didn't cause any issues at all and it looks great! It was so easy to do also. I also repeated this detail on the back of Matcha. I absolutely love how this tail came out! The applique was quite complex as it had almost every color in Matcha, and I had to be sure to get the order of laying down the fabrics correct when designing it. I usually always stuff my plushies temporarily to make sure things are coming out correctly. At this point I realized I should make the back of his cheek spikes green apple to make that color transition "correct". So, those needed to be seam ripped out and redone. Thankfully, I baste my entire plush together before I decide everything is final so it wasn't too bad! Matcha FLOP! Matcha was stuffed with Fairfield silky polyfil stuffing for extra softness. It has a bit more structure than Hopen's mochi stuffing which is good for a standing plush. Matcha required minor handsewing to attach the wings and smaller horns. After that, he was all done! Specs
Here is a timelapse of sewing this plush! Here is a vlog version of this writeup!
0 Comments
Leave a Reply. |
Archives
December 2022
Categories
All
|











 RSS Feed