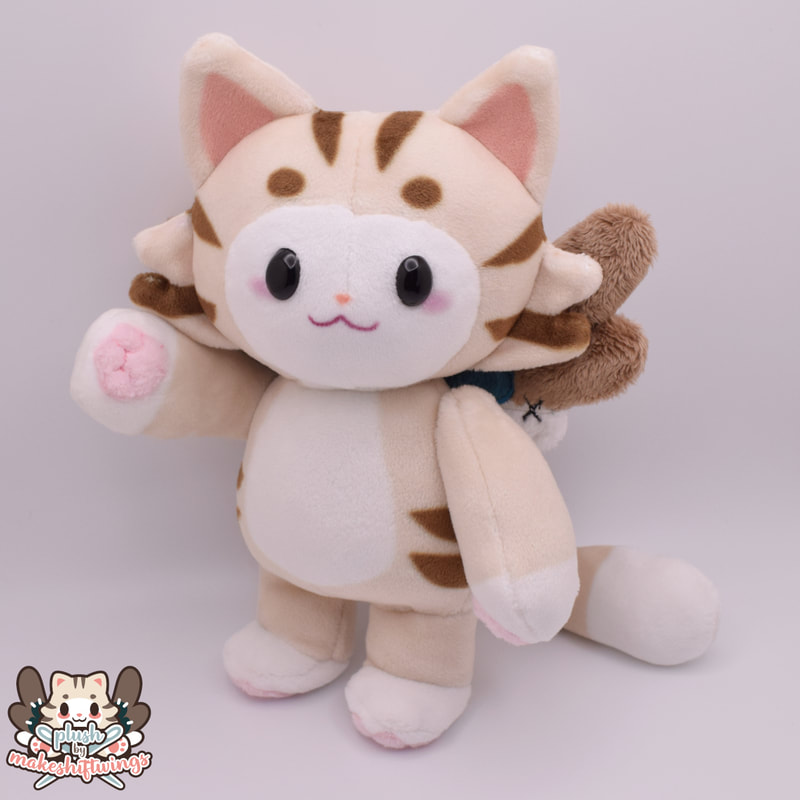
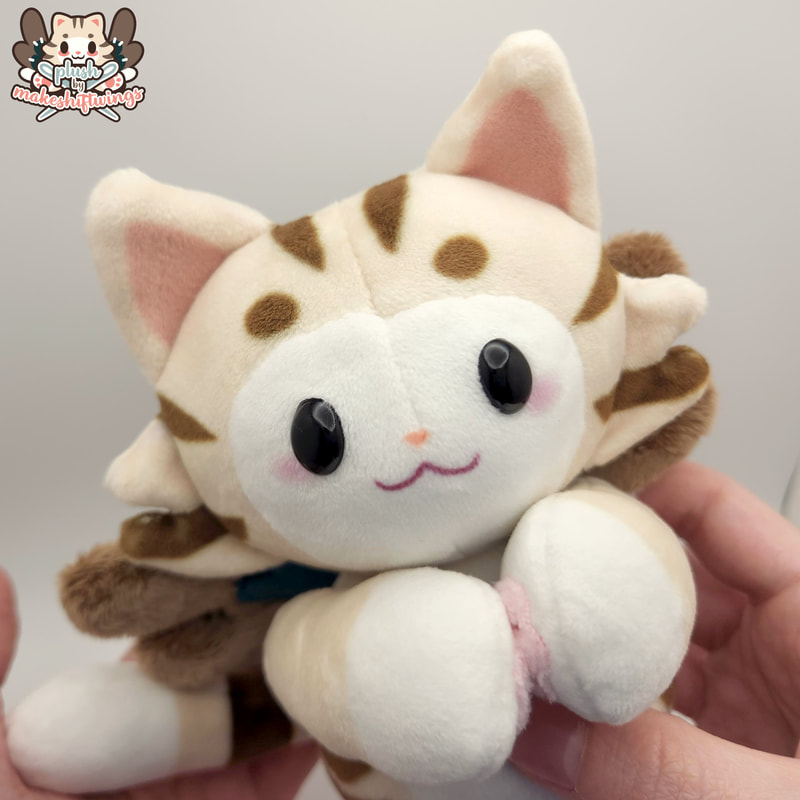
Another Shifty plush in my growing collection! I don't remember what inspired me to make a nuiMO inspired pattern, but boy am I glad I did!
This little girl was tons of trouble with lots of learning about sublimation and wasted materials, but I'm in love with how she turned out! 
What I liked about nuiMOs were how posable they were and all the clothing available! For Shifty, I wanted her to be significantly chubbier than standard nuiMOs. I also wanted her to have a jointed head. I knew the chubbier proportions would mean it would be hard for her to fit into some nuiMO clothes, but I wanted the chubbier look more than the clothes!
nuiMOs are very small, so a standard 3mm minky would have been too long of a pile and look strange. 1.5mm minky would have been fine, but I didn't have any on hand, so I decided to use mochi minky instead. Mochi loses its stretch and can warp with significant embroidery/applique. Doing embroidery and applique at such a small scale would be difficult as well. Because of that I wanted to do most of the markings with sublimation - after all, I just got a new giant heat press anyway! It was a good first project for that. 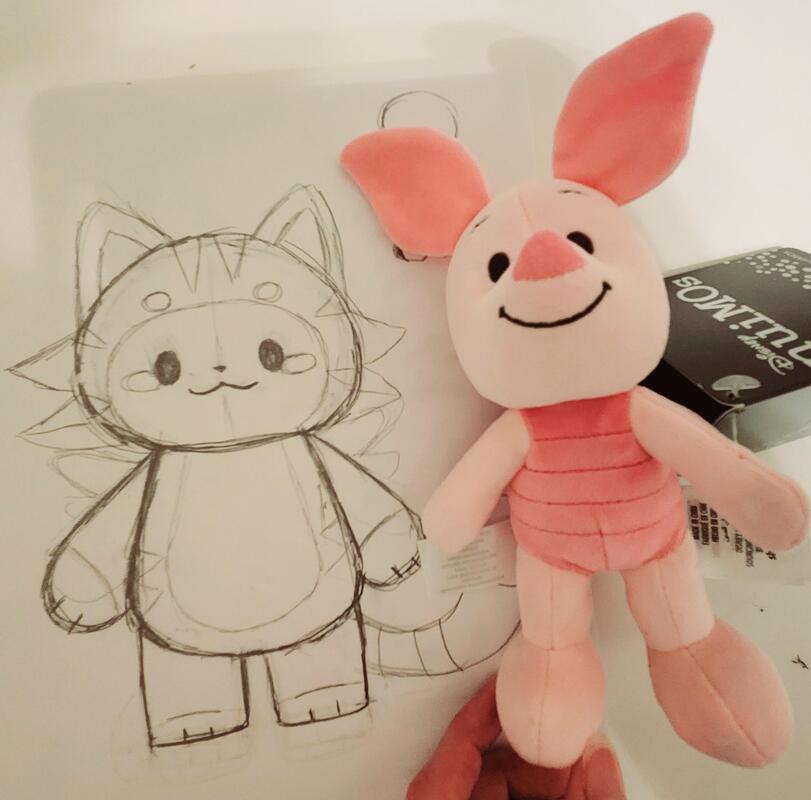
I ordered a nuiMO and some clothing for test purposes and ohhh my god are they small. I knew they were small but just seeing them in real life was eye opening! I typically do not work on this small of a scale; I find it very difficult and fiddly, and prefer to work on much larger scales. So it would be a unique challenge!
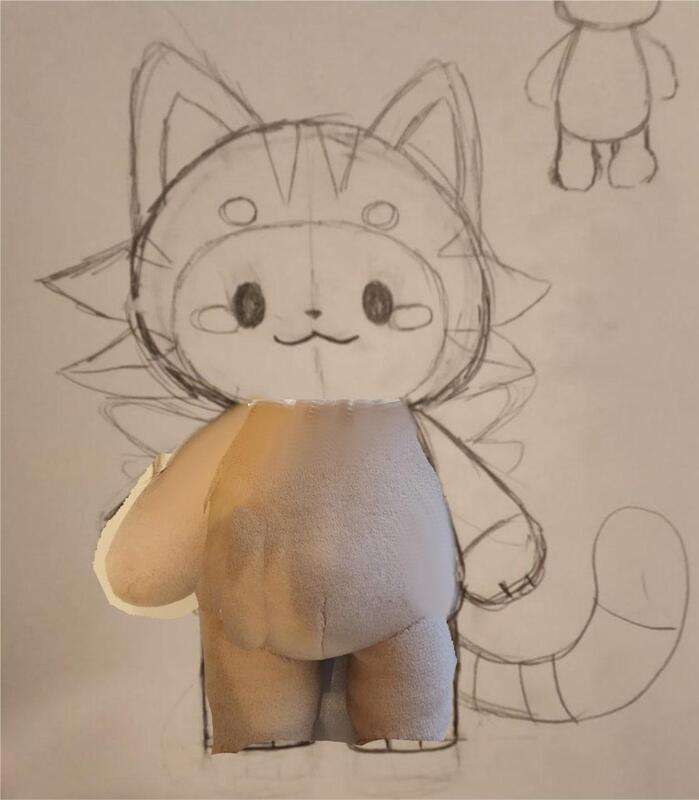
My K-Pop style doll was similar in shape to what I was going for. The image on the right is me adjusting a photo of the doll in Gimp to fit the proportions I wanted. This way I can keep track of the % adjustments I make to each piece and adjust the paper pattern by that % in an imaging program. It's a fast way to make adjustments to an existing pattern!

As usual, the first attempt came out very ugly. The area where the legs meet the body needed to be bowed outward to suggest the bean shape of the body I was going for. And of course, the arms were much too large. Part of the poor body shape was due to sewing the arms to the body instead of having them separate. Because the arms needed to be large and chonky, I decided to joint them instead of having them move with armature.
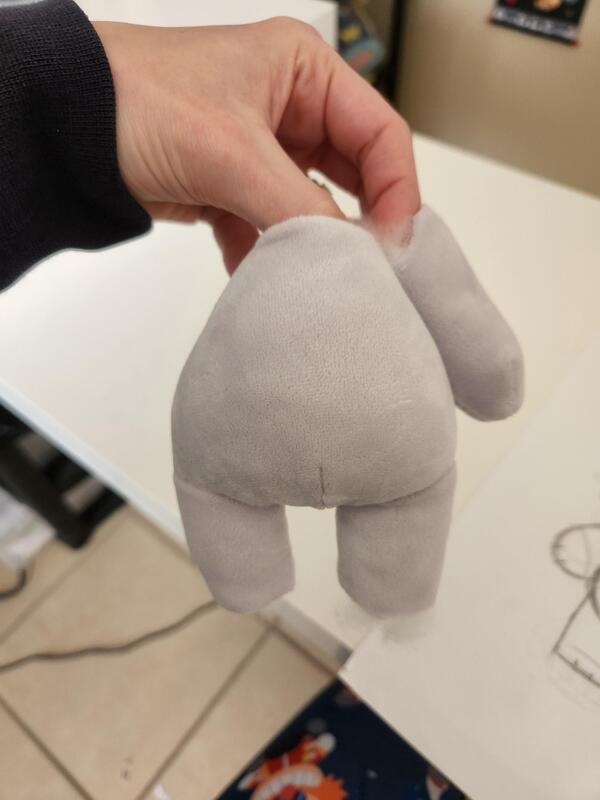
I adjusted the seam where the legs met the body which was done by lowering it. Removing the arms also helped me get that bean shape I was going for. I wanted the legs to be a little chubbier and closer together, but this test was promising!
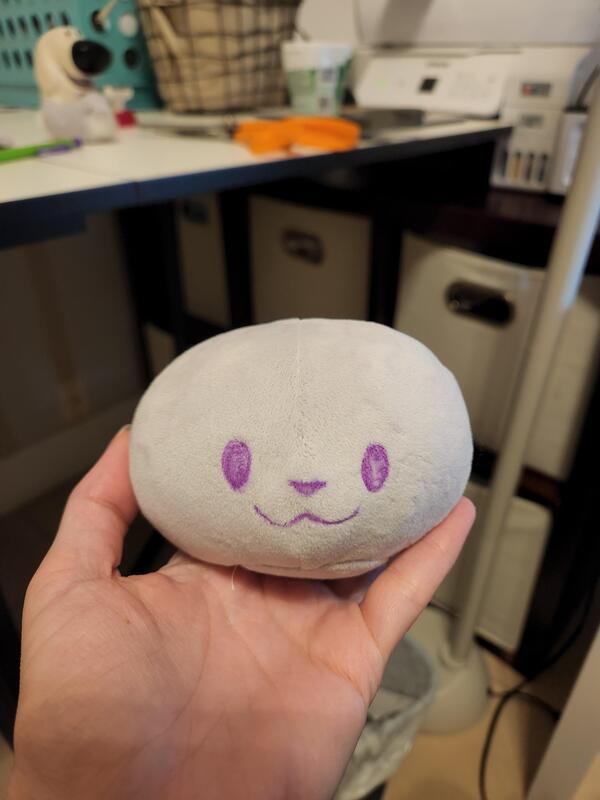
I made the first test head which was made with the pattern I always use that does not have a gusset running down the nose. Since it was entirely mochi, the nose would stick out more than with normal minky, so I made it stick out less just by taking in the seam more. I would remove the seam below the nose for the final product.
The head needed to be a little smaller to fit the proportions I was going for, and the entire plush needed to be smaller as well! It was crazy, I was already struggling to get the plush this small, and it was still over an inch too big! 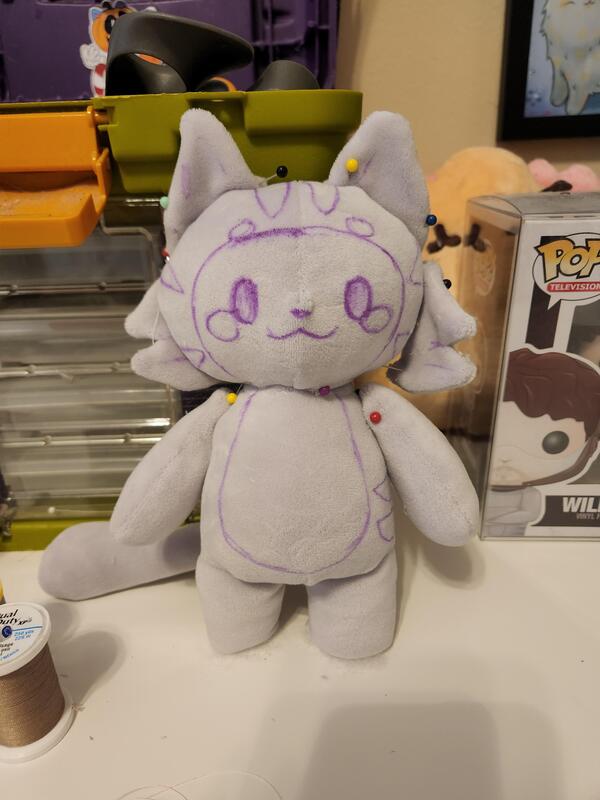
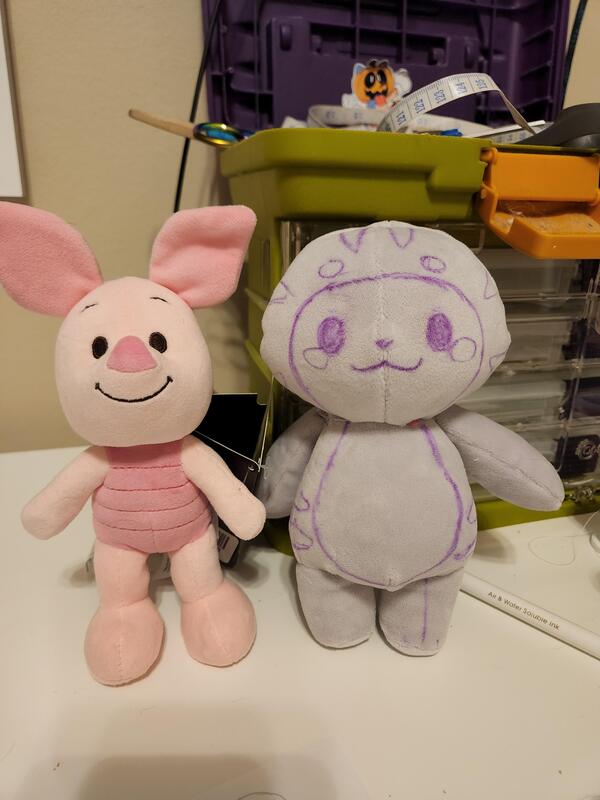
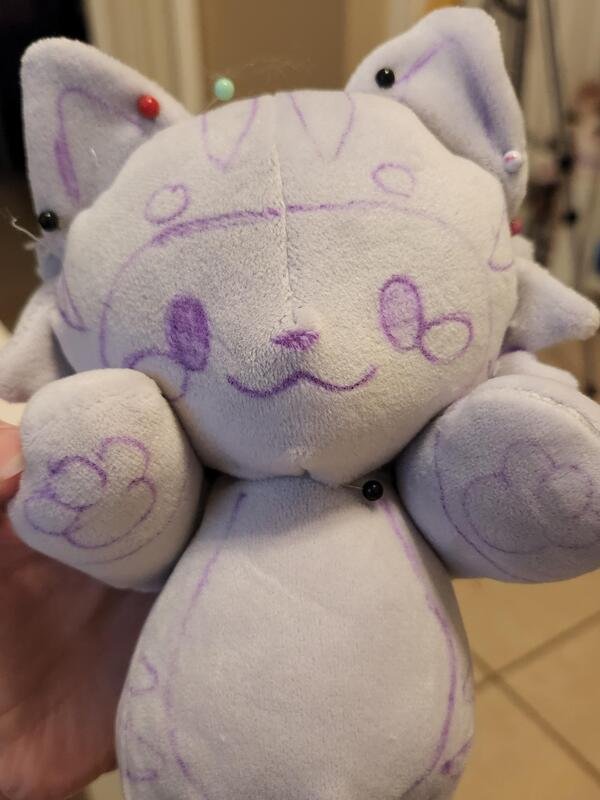
The plush was resized and the head redone, including removing the seam in the area around the mouth. However, I still felt like the head was too large and out of proportion compared to the concept art I had drawn.
I felt like her face was also lacking the cuteness I was going for, but only because of my inability to draw well, lol. I could adjust that more easily when designing the sublimation. But the pattern was shaping out to be so cute!
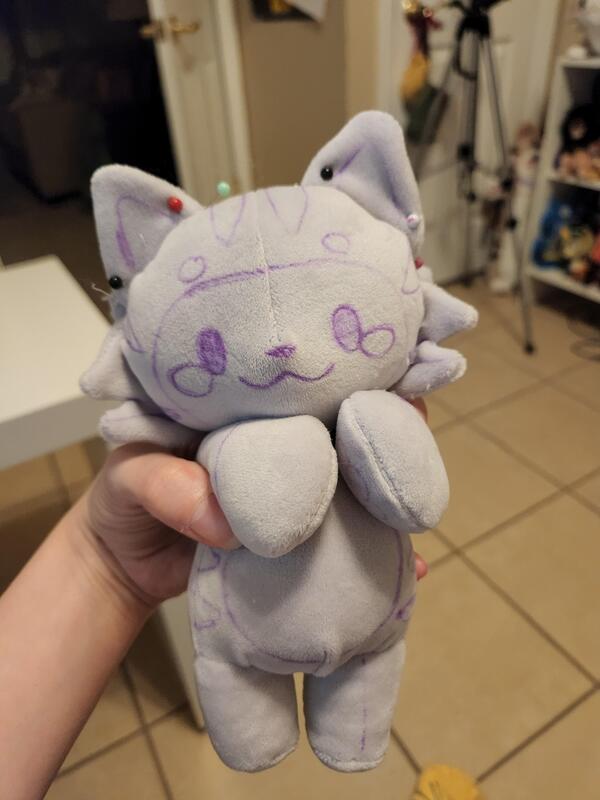
I drafted a shorter head and also added in the circle gusset in the neck area that was necessary for jointing the head. Both the head and neck would have this circle piece with a hardboard joint in the two to have them rotate. I still wasn't happy with the proportions of the face, but again, I wanted to make those adjustments when designing the sublimation since it's easier to do that in an image editing program rather than real life where I'd have to continually wash and dry off the marker.


Getting the right sublimation colors for Shifty was indescribably hard. I would use plain white mochi and replicate the latte Shannon color with a close match to either simply taupe, cocoa, or brown for the stripes. My technique is to make small squares of test colors, print them out, press them on my desired settings, and make adjustments to the colors as needed. Because of differences of monitors, printer ICC profiles, sublimation ink, and the combination of time, temperature, and pressure, colors that you see in your program do not match what comes out during the sublimation process. I also had a new factor of a new heat press in play.
At this point I was still using Gimp to test my sublimation colors. I found a nice color that was close to latte within a couple hours of testing. I moved to Inkscape to design the sublimation since I'm more comfortable with vectoring programs than freehand drawing. When I started printing the pattern pieces with the exact colors I chose, the colors started printing differently across different files, despite it being the exact same hex code! Even if I copied a file where I knew it would print the right color and adjusted it, the color was coming out differently. If I went back and printed an old file that printed fine once, it would misprint again. I wasted so much paper and so much fabric trying to figure out what the hell was going on!
I had this issue back when I very first got my sublimation printer and was making sugar cookie dittos. I found a color I liked and suddenly it started printing differently for no reason. I tried everything to try and fix this including cleaning the printer heads countless times, printing in other programs, creating new files, etc. But for some reason I could not get that color to print the same way again. My suspicions were related to pasting in images to draw over to create the sublimation design. I also found out that Inkscape does not handle CMYK which could be another cause. I decided to buy Affinity Designer since I refuse to support Adobe. Affinity Designer is a one-time purchase and supports vectoring and CMYK. Overall, I like the program a lot, and for the most part, I stopped having the issues once I switched entirely to AD to find the colors I want and to design the patterns. I did end up having this issue again with the purple on Taro, but... I wasn't exactly convinced it was an issue with the program and not me forgetting what printer settings, time, and temperature I used ? To this day, I do not know why a color can suddenly change, and I've still experienced it in the new program I use as well... Maybe one day I'll figure it out! 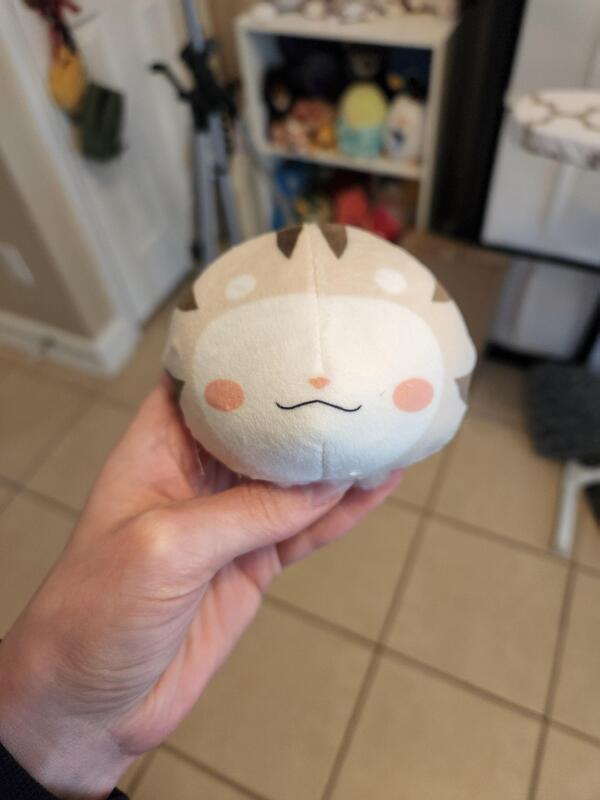
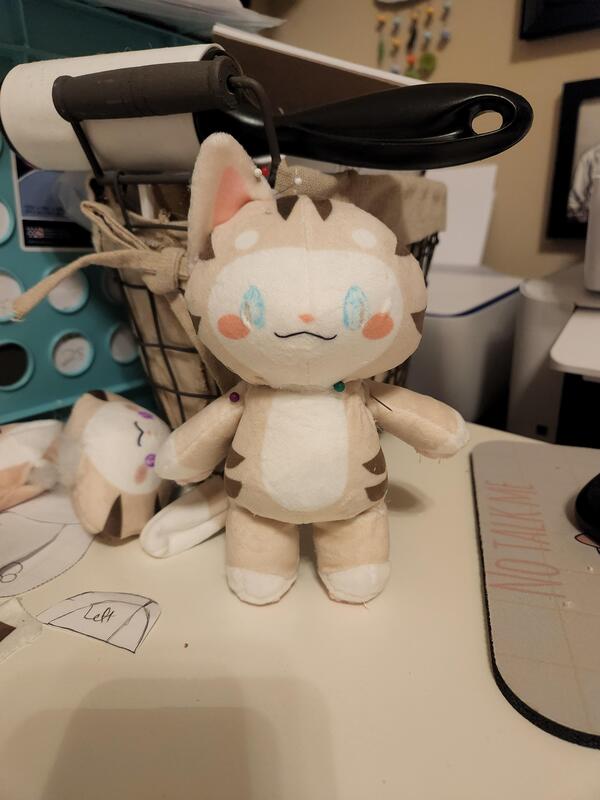
The plush would have safety eyes, but I wanted to do some tests on the head with sublimation before moving forward. Overall it was looking cute, but I wanted to make the mouth smaller and bring her cheeks and stripes closer to the middle of the face. I also noted how crisp the sublimation was coming out!
When I put it together, the head was still looking too big to me. I made another smaller head with the sublimation adjustments I wanted, but it still just wasn't looking right to me.

While struggling with the head proportions, something else started to bother me. Shifty just wasn't... soft. After sublimation, the mochi was now rough to the touch when running it the opposite way of the pile. I didn't know why this was happening. It was reminding me of printed Spoonflower minky that has a very similar phenomenon of being soft in one direction but rough in another. The sublimation was also much crisper along the edges than what I used to get when I did long 5 minute presses with my easy press. I didn't have the issue of softness being lost with it, either.
Then I realized, there was one factor I never had to account for that came into play when I got my new heat press... pressure! There is no pressure setting on the easy press. The pressure is determined by how hard you press (or not at all). In my long presses, I just sat the easy press on top of the fabric and left it for 5 minutes. On my new press, I had to shove the heat press closed. That meant there was a LOT of pressure being applied.
I decreased the pressure significantly and ran more tests. At first, it was too light, and the dye was not being transferred at all. Eventually I found a nice pressure that was enough to transfer the dye but preserved the softness of the mochi. But, the edges of the sublimation became fuzzy and less defined. So you win some, you lose some.
Of course changing the pressure also meant... the colors changed again ? which meant I had to do EVEN MORE TESTS.
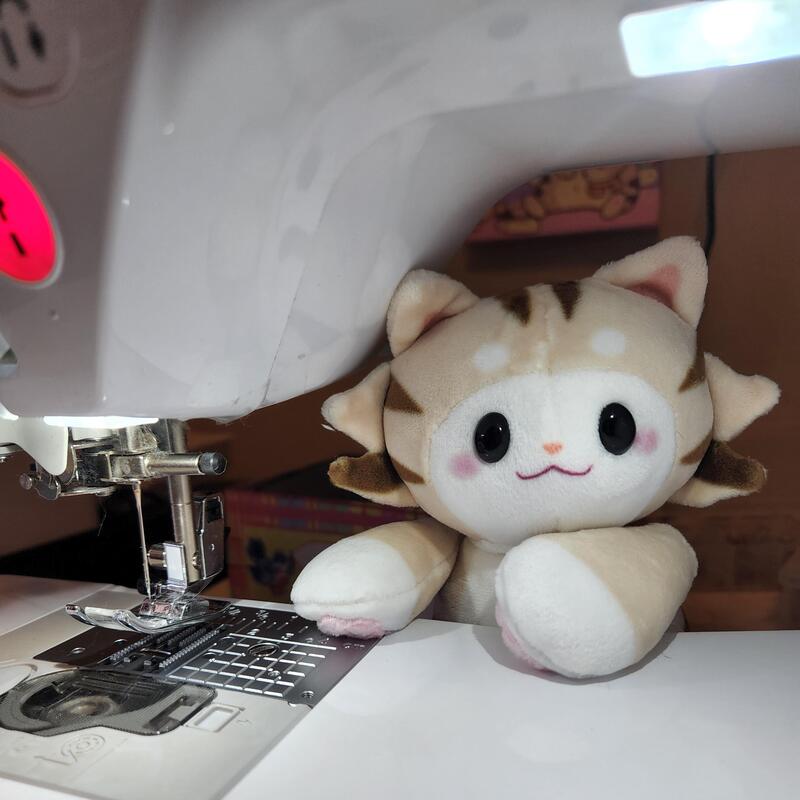
I redid the plush with the new sublimation technique.
I jointed her arms with plastic safety joints. And... I cut the hole on the wrong side of one of her arms. D'OH! I was not about to remake it at this point with how wrong this project was going, so I hand-sewed the hole shut. This plush was just for me - had it been a commission, I would have redone it. At this point I was very close to flushing the project. Between the mistakes I was making, it still just was not looking like I had envisioned. I was tired of having to continually redo the head and the legs were just not right. I wasn't happy with it. And then... I put the safety eyes on. 

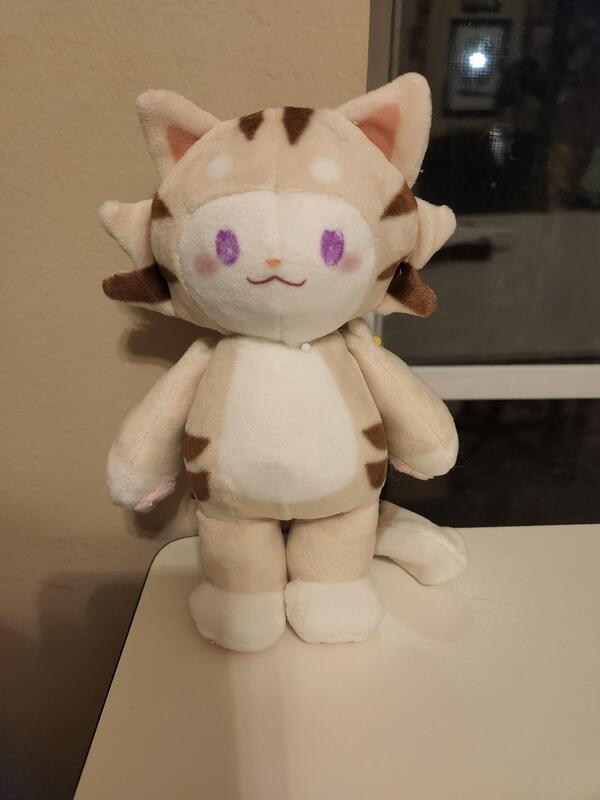
OHHHH, precious, precious baby ??? I could save this project! It gave me hope!
And then I realized.... I GOT HER EYEBROW COLORS WRONG!!! They are supposed to be brown, but somehow, I forgot my own OC's eyebrow color! She looks like she has shaved eyebrows!!! This was truly the project from hell! 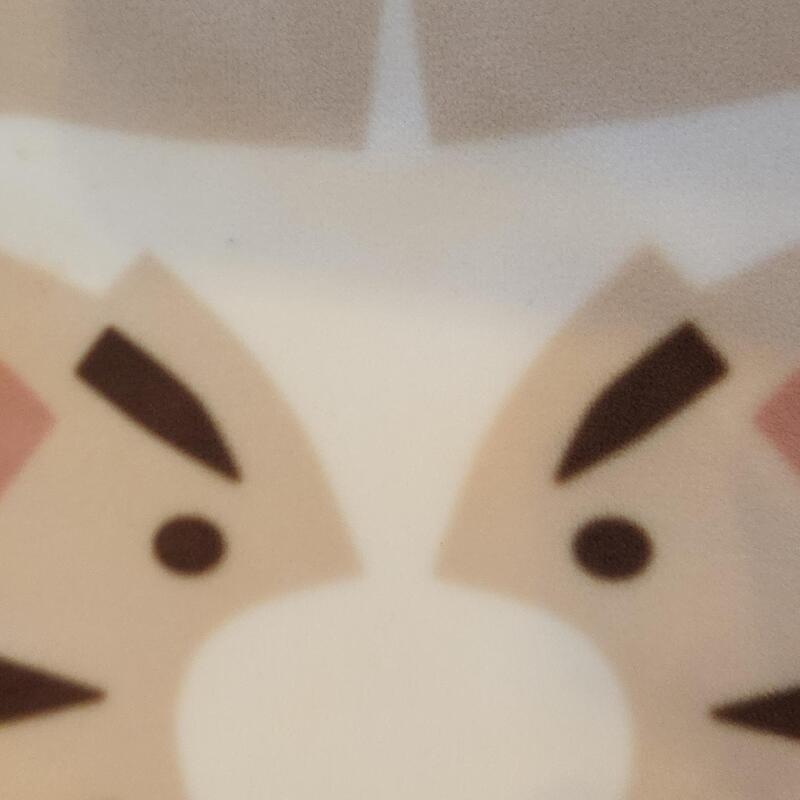
>:[
Back to the press... again!!! Thankfully since the head was jointed I could just remake that piece rather than having to take apart the entire plush.
This time I decided to approach the ears and cheek fluff a different way. Instead of making them separate pieces and sewing them into the head seam, I decided to add them to the head pattern itself. The outer seam of the head is sewn together including ears and cheeks. After it's turned right side out, I top-stitch the bottom of the ears and cheeks to separate them off. This way stuffing cannot get into these pieces. It simulates sewing the ears and cheeks into the head without having to worry about getting them even! The only downside is that you cannot do anything fancy with the shape of the ears, but this was fine for Shifty.
Just look how deep the sublimation gets into the fibers this way! A lot of peoples' dislike of sublimation is that you can see the base color. While it is still an issue, especially on darker colors, if you do a long press the problem is decreased significantly. I also love how the colors with the blurry lines give this plush an antique-y feel!

Do you think forgetting my eyebrow color is funny, mother?

Shifty's head is attached with a hardboard joint. Rather than use the cotter pins that come with it, I use a technique taught to me by planetplush. Using two of the hardboard disks, I thread a bolt through the disc that goes into the neck and glue it in place. This bolt sticks outside of a hole in the neck part of the plush. The head also has a hole where the neck meets. The bolt is put through this hole, and another hardboard disc is placed on top as well. This disc is fastened with a hex nut and a locknut.
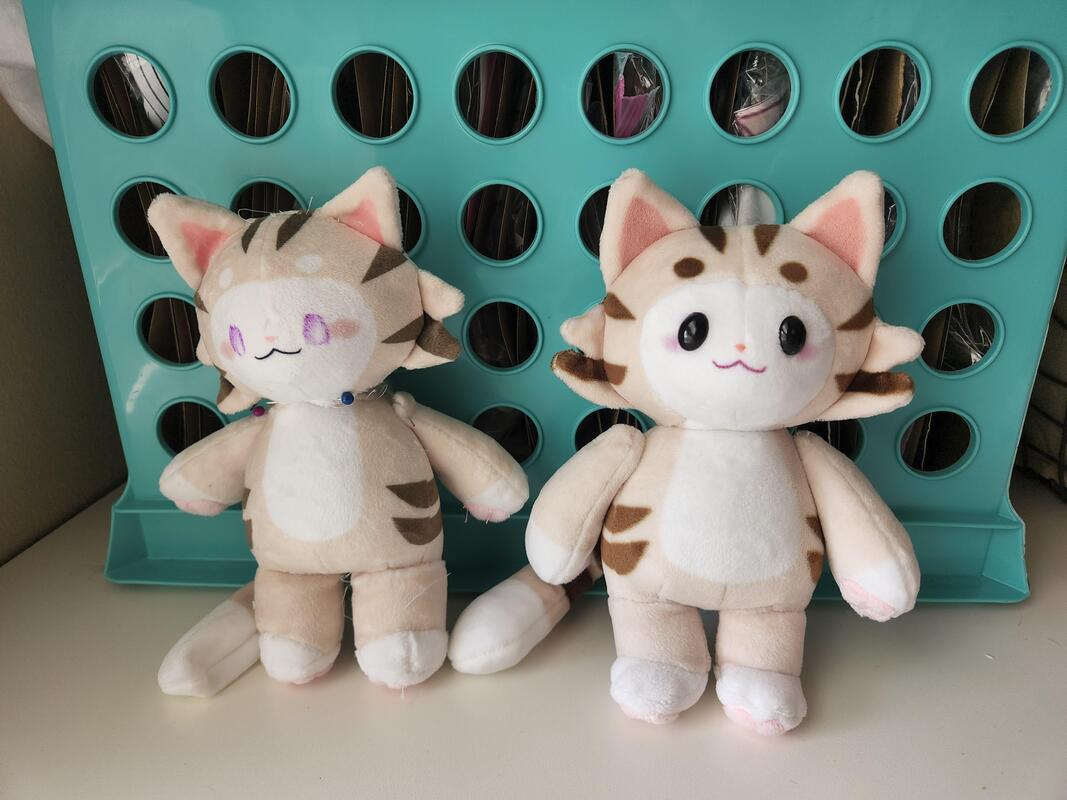
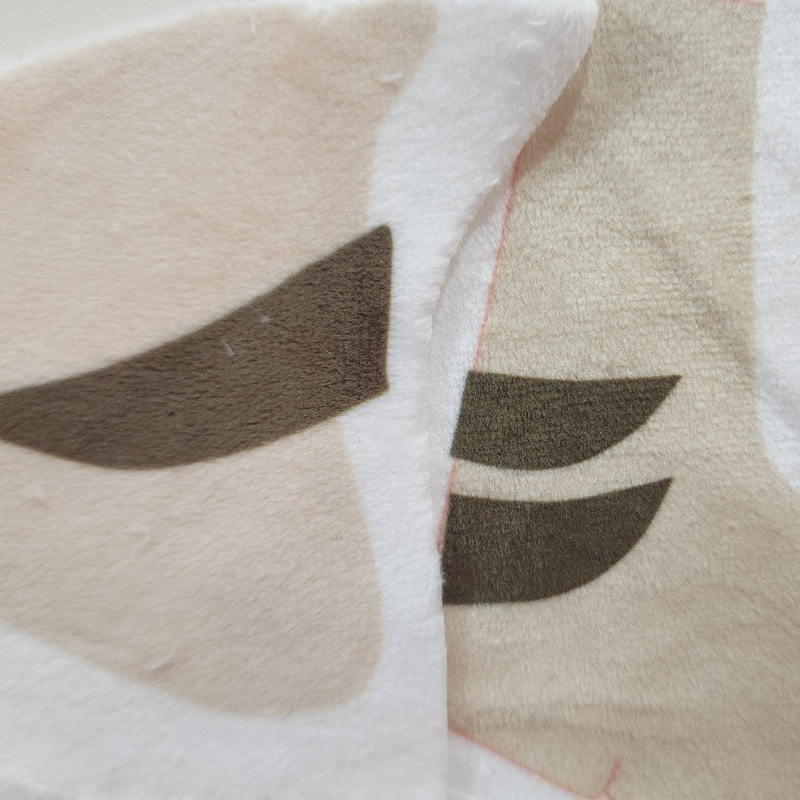
You can see the difference between the sublimation in these two plushies. The one on the left was done with high pressure at 375F for 5 minutes. The one on the right was done with light pressure at 375F for 5 minutes. The plush on the right is much softer abut has less defined markings.

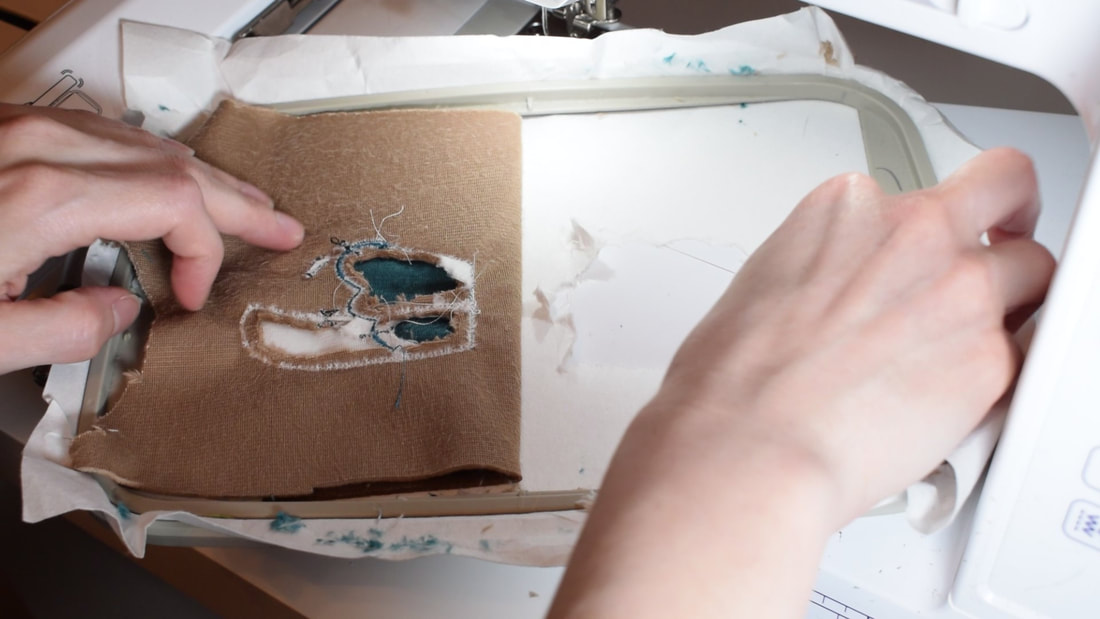

Her wings are magnetic and were made from normal minky for a texture contrast. I used a new technique I learned from dollphinwing for double sided ITH patterns: using tear-away stabilizer, you put both sides in a single embroidery file with them mirrored between a line that is stitched down the middle. You tear off one side from the stabilizer and pull it taught against the middle line, lining it up with the mirrored design. Then you stitch the line, completing the object. It is SO MUCH EASIER than trying to line it up yourself!!!
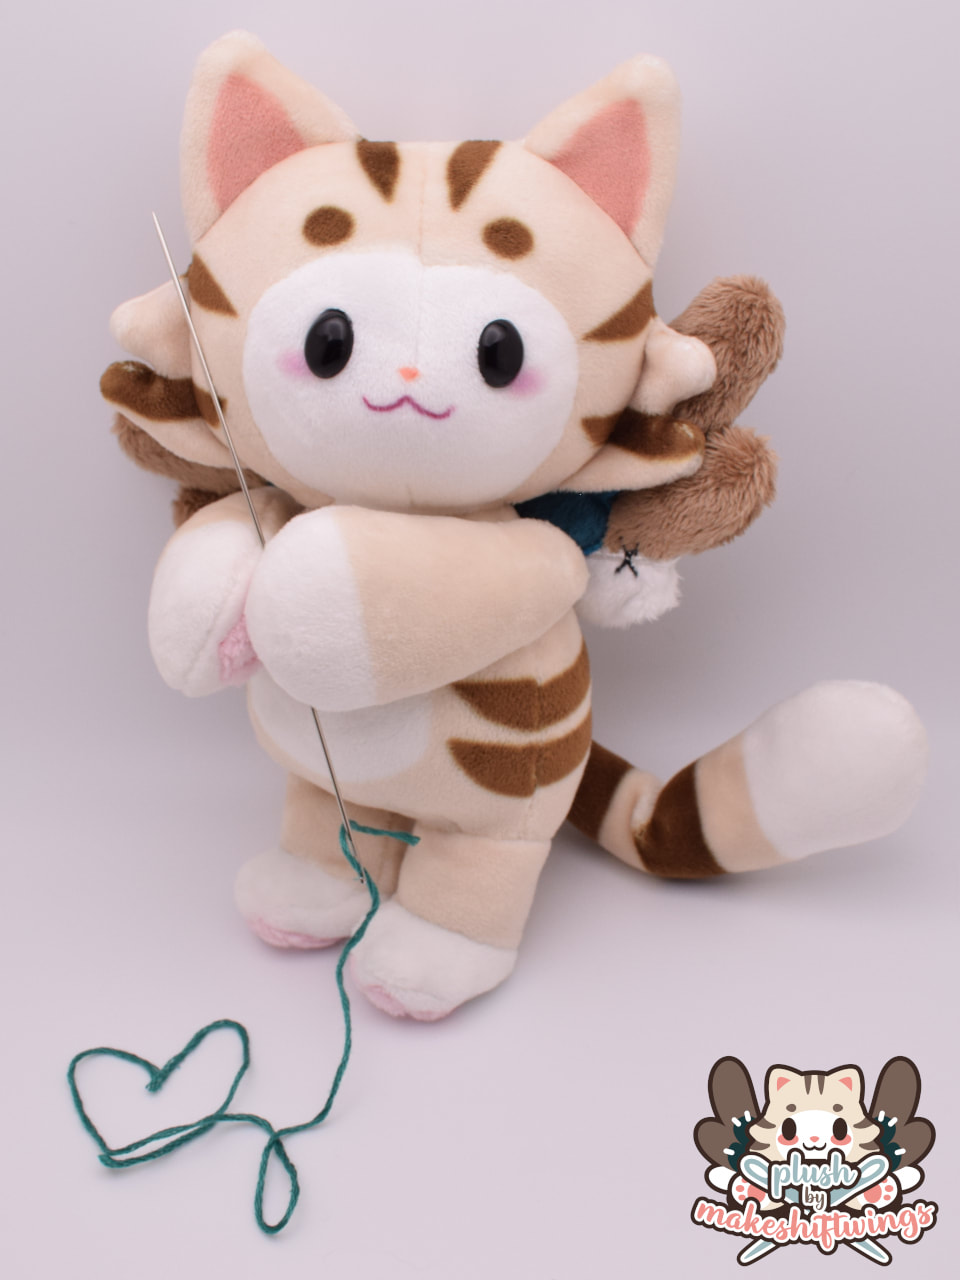
Shifty's arms were jointed with plastic joints. I bought a new smaller size, but these were some of the "new" kind where you can't connect them without a tool or heat. I used my heat gun to heat up the locking piece, but the joints have become very loose, and I think it's because the heat gun caused the lock to become less tight. I figured it was poor application but after making Biv whose arms have the same issue, it's clear it's a problem with my application ? I used some floral wire I had lying around to make her legs and tail posable. Fine for my purpose, but I decided for my next nuiMO that I would switch to a plastic coated wire so there was no risk of it poking through the soft and thin mochi. 
She also had mochi paw pads and magnets in her hands for holding objects and a magnet in her butt for going for rides!
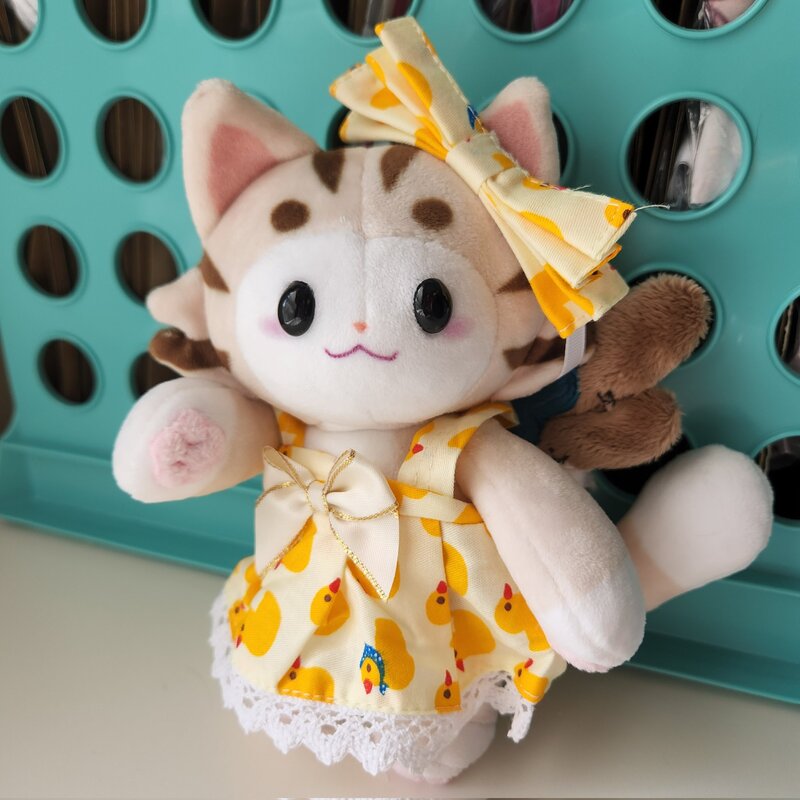
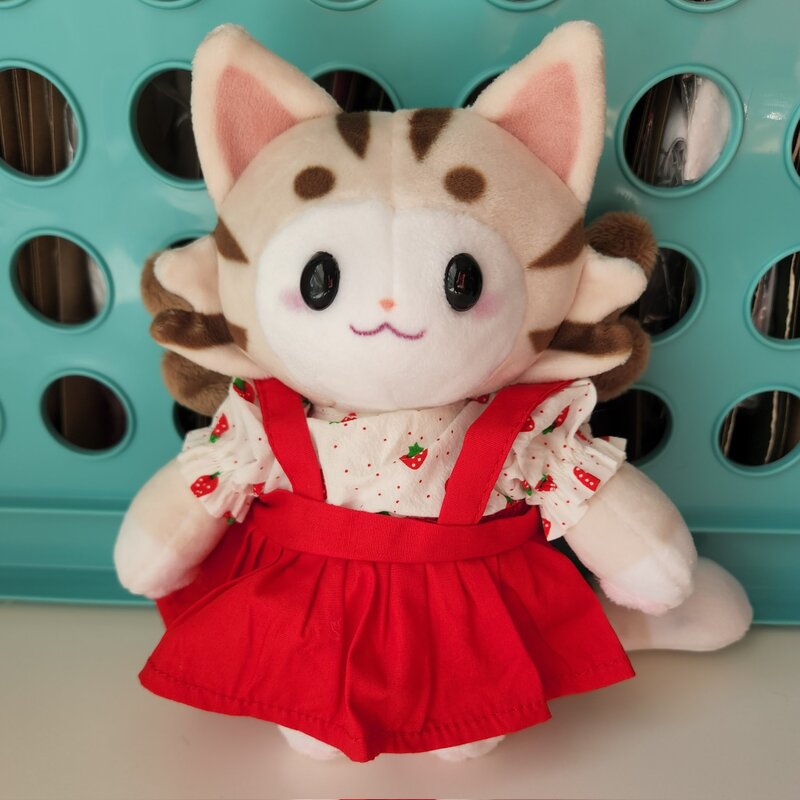
While it's a tight fit, she was also able to fit in nuiMO clothes. She can also fit in some 20cm and 15cm K-Pop/idol doll clothing!


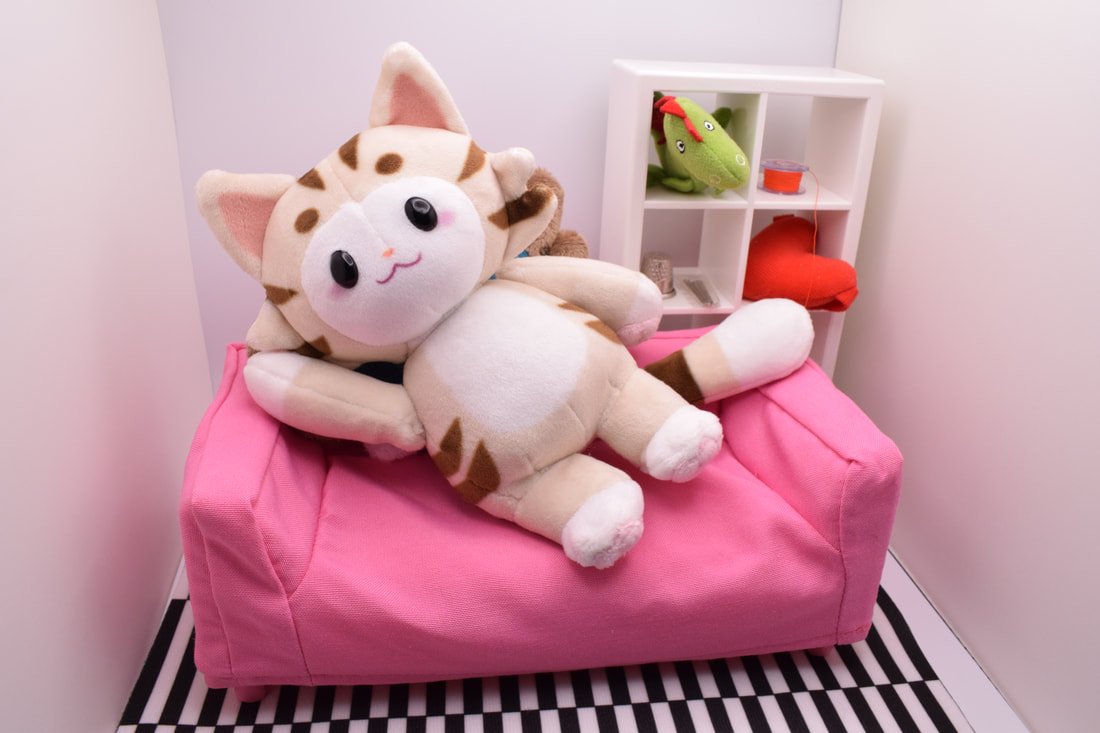
I also did some research and found that IKEA sells doll furniture that is a great scale to nuiMOs!
Specs
4 Comments
Hazel Johnson
6/7/2023 03:14:58 pm
Will you ever release this pattern for purchase? I'd like to make a nuimo-esque plush of my own character but have such a problem drafting my own patterns!
makeshiftwings
6/8/2023 01:54:47 pm
I dont have any plans ATM but you never know!
Ash!
6/28/2023 09:31:43 pm
YES PLS! I’ve been wanting to make my own as well but I have no clue how to do so! I’d love to use this SO CUTE pattern to make my oc!!
Serina
11/23/2023 01:21:24 pm
Have you released this pattern or do you do comissions for a oc with these patterns? Leave a Reply. |
Archives
December 2022
Categories
All
|


 RSS Feed