|
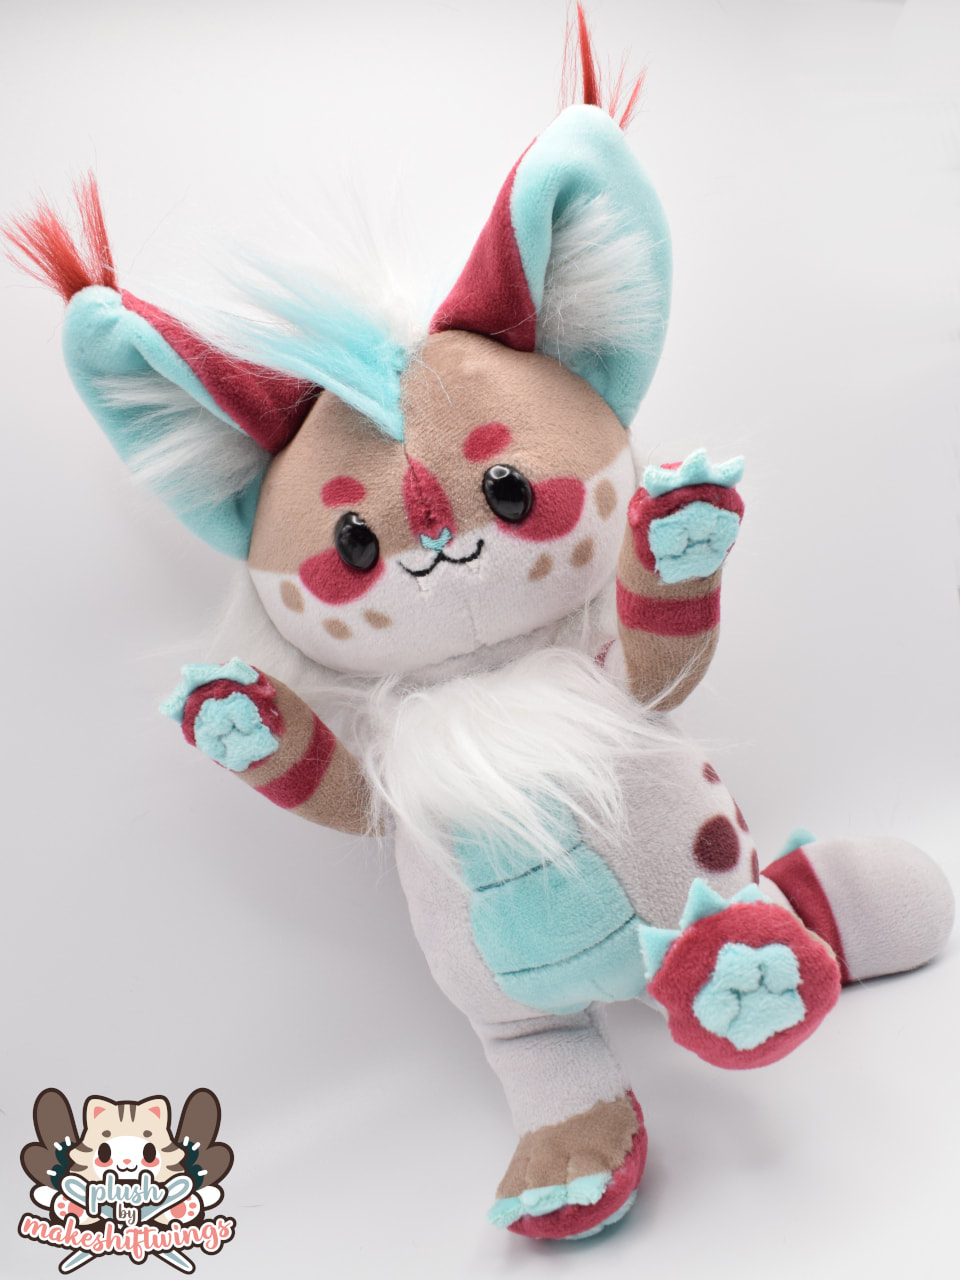
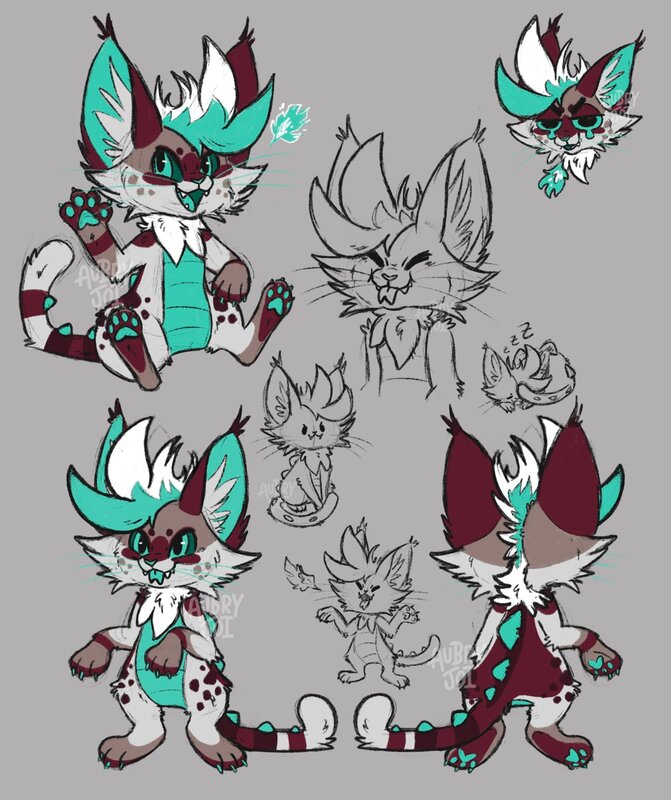
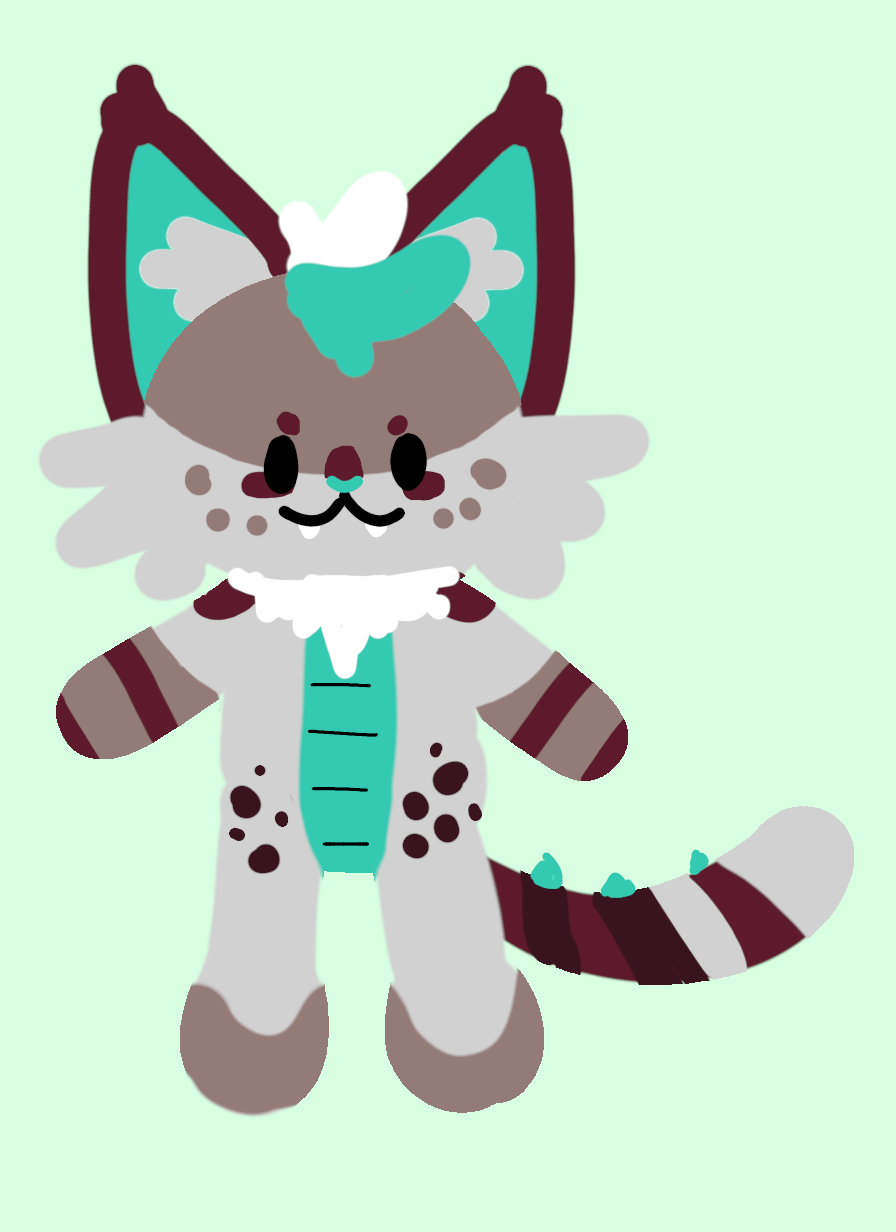
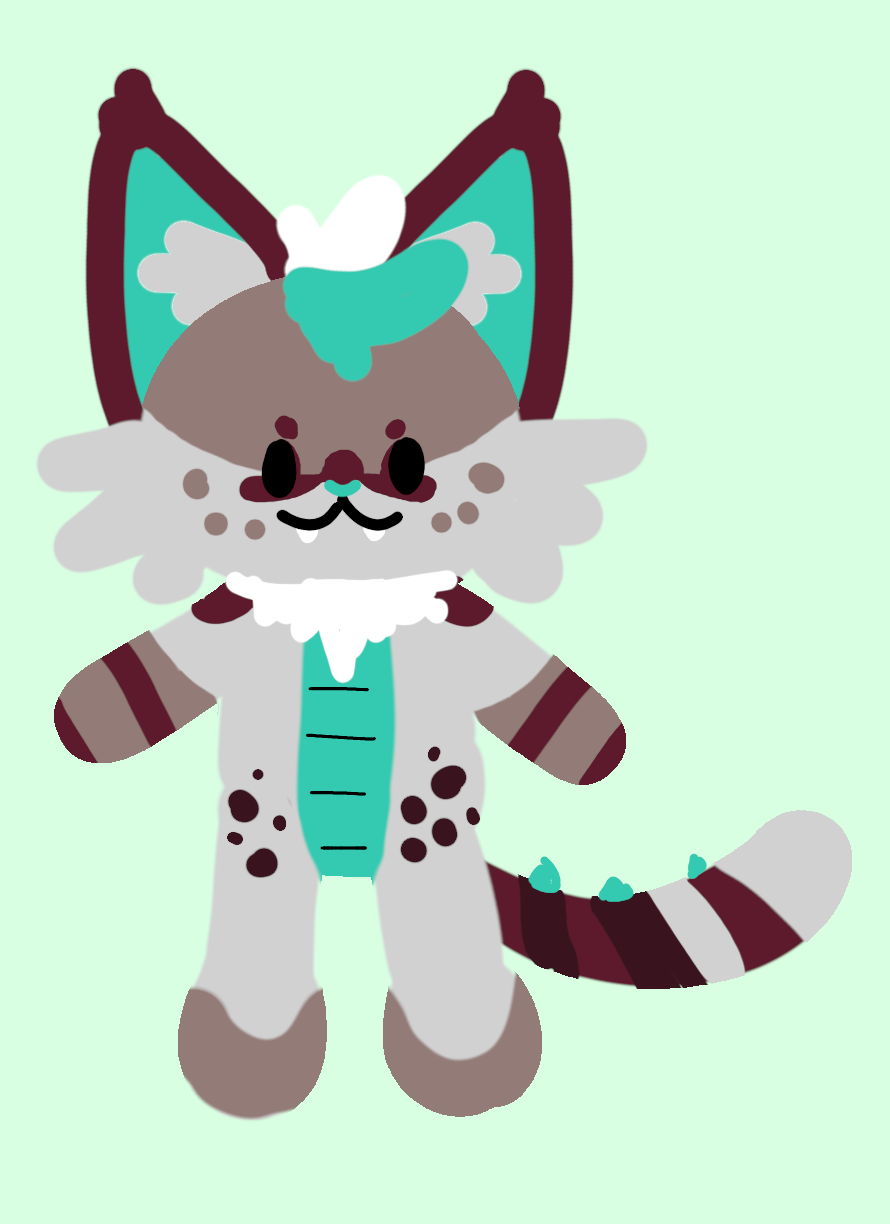
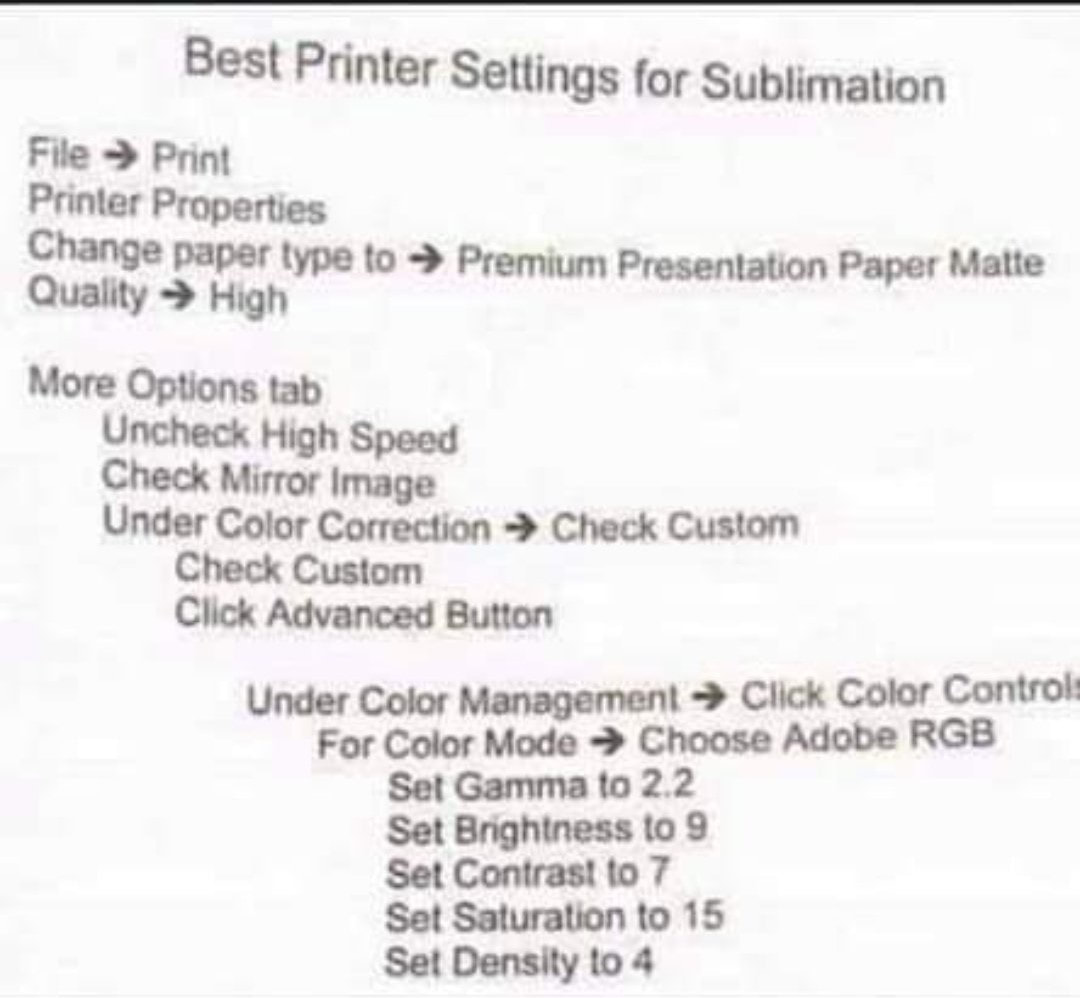
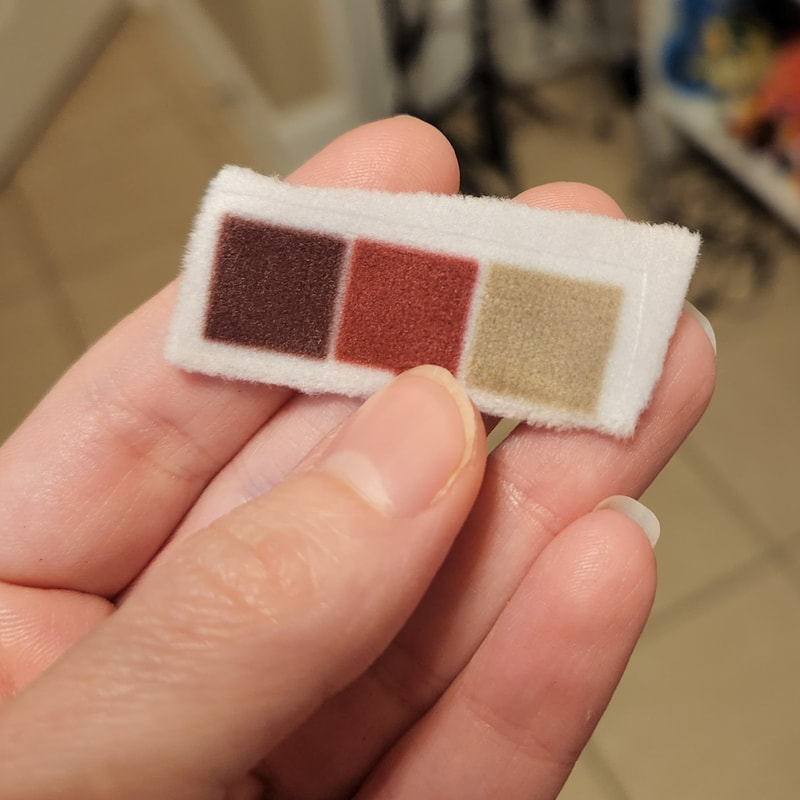
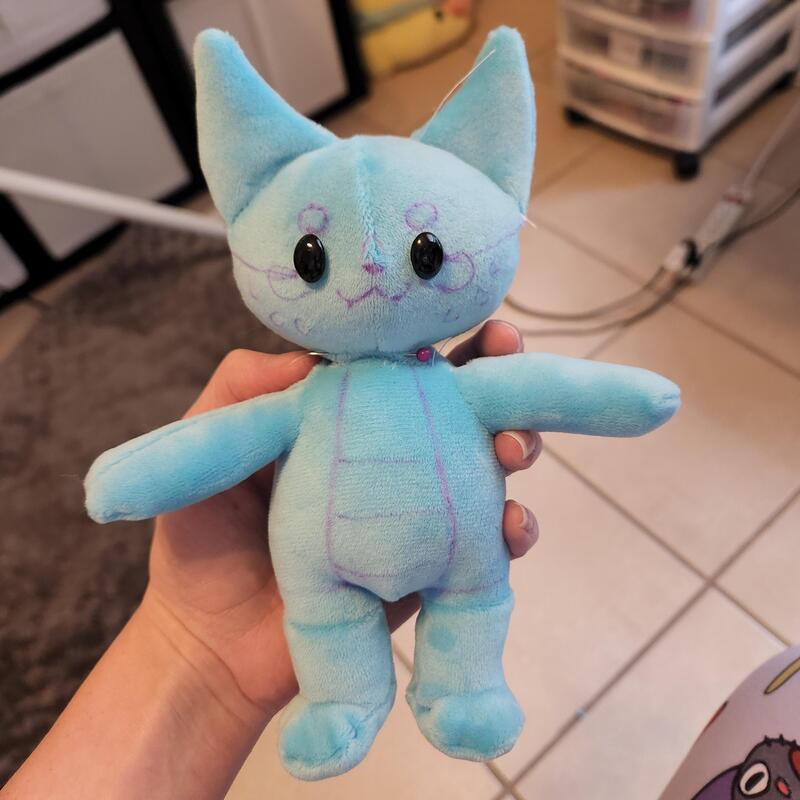
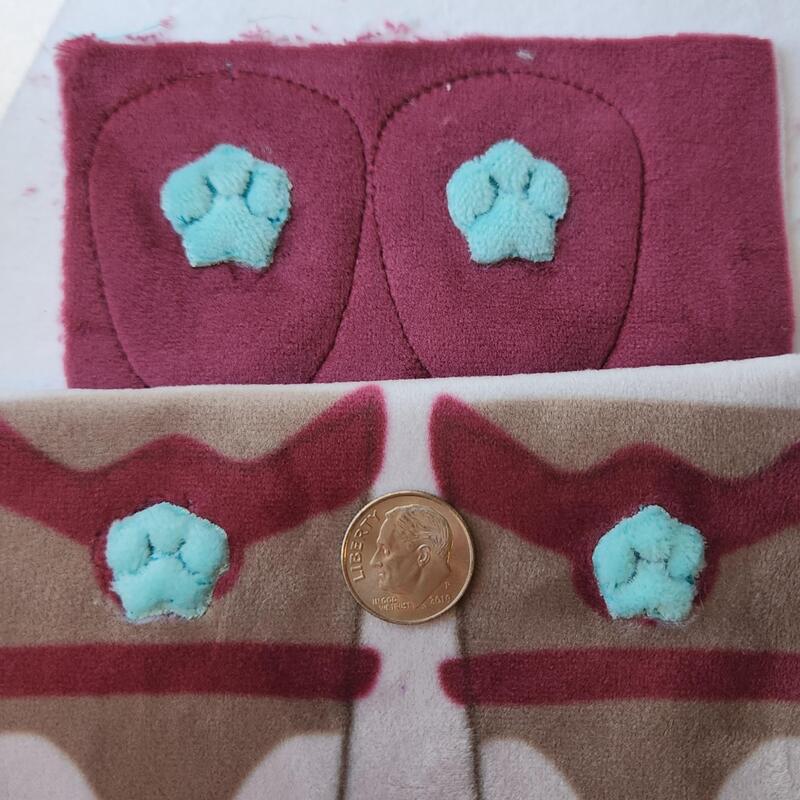
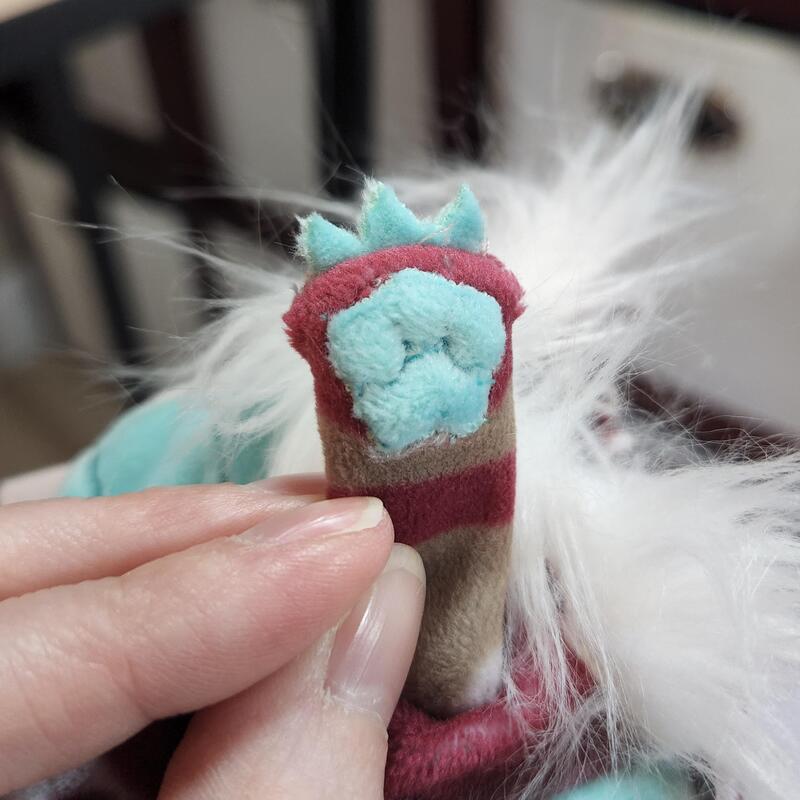
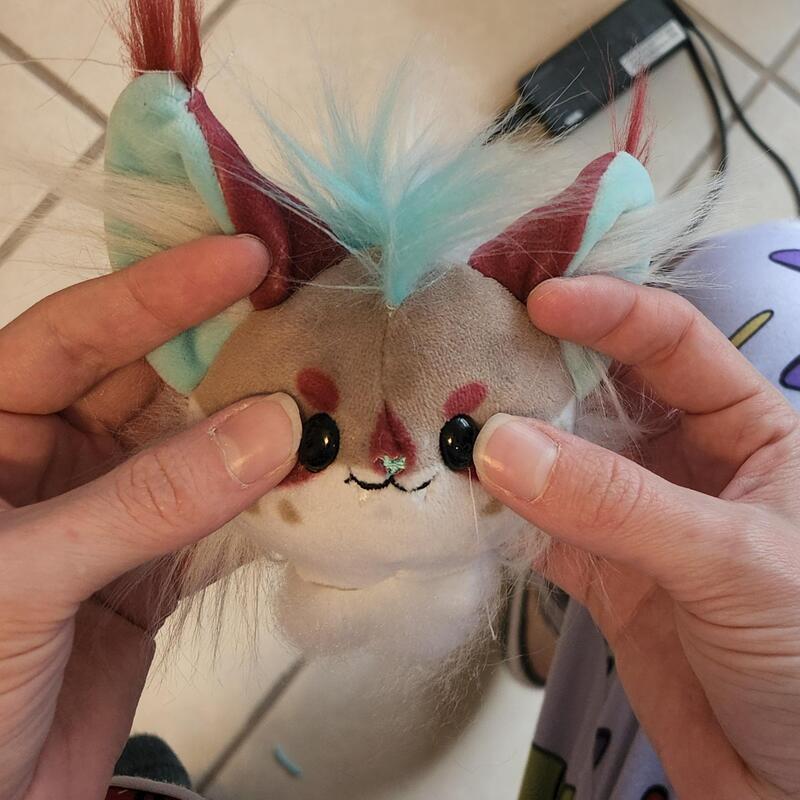
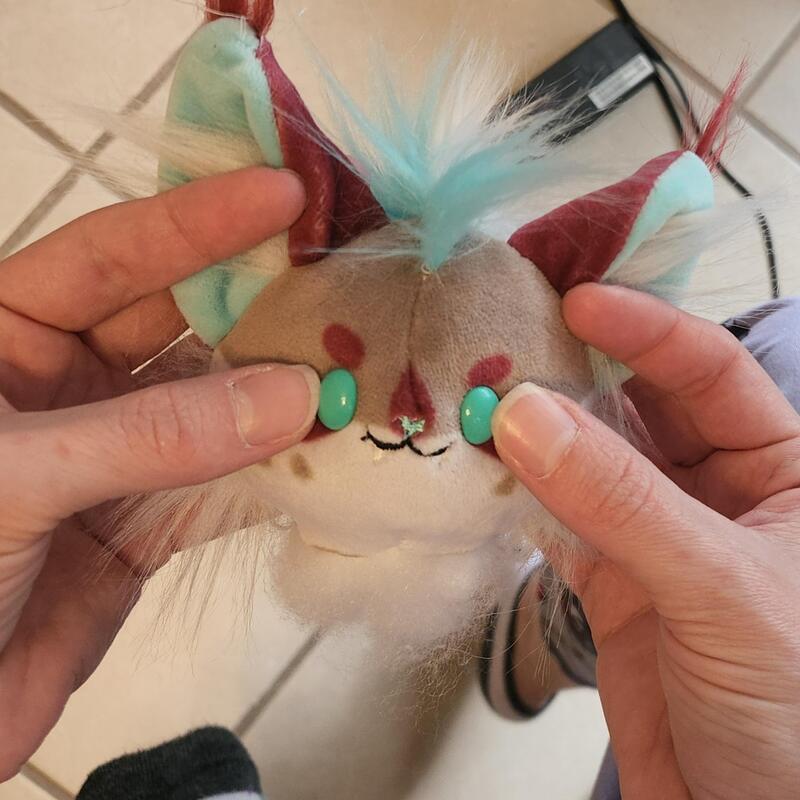
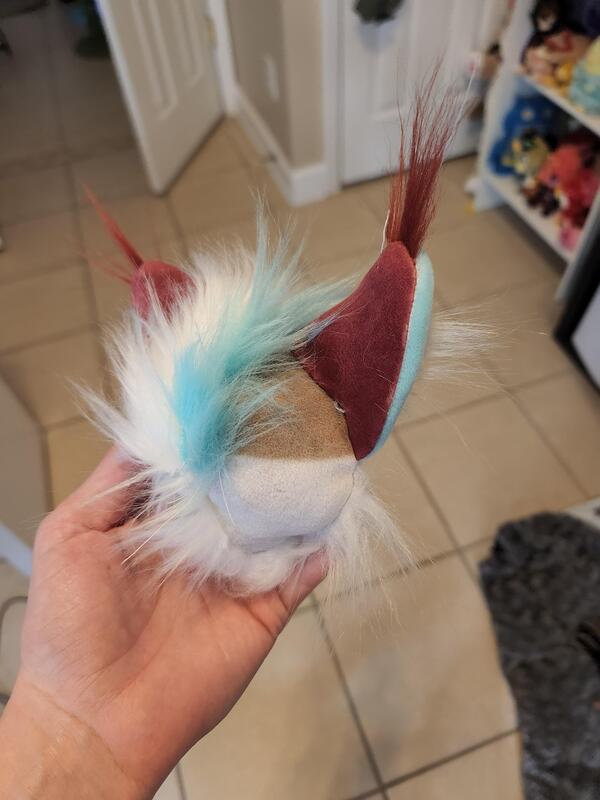
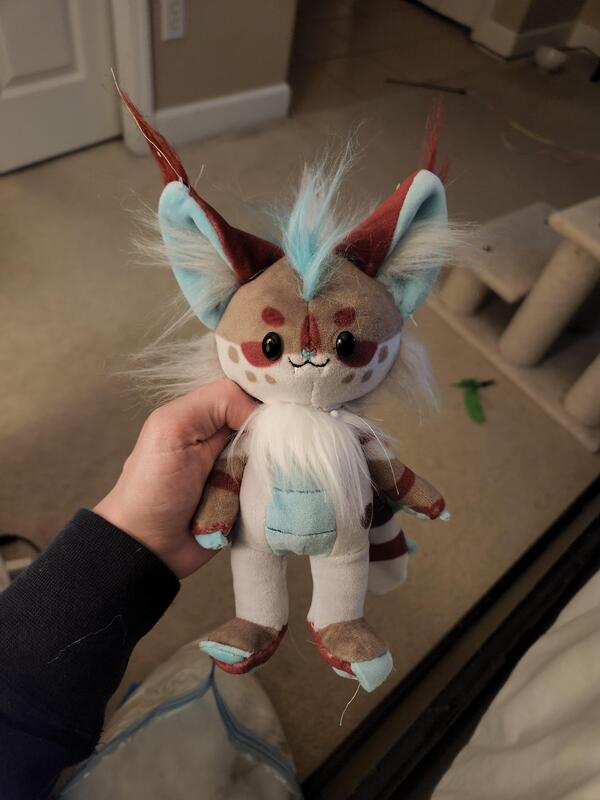
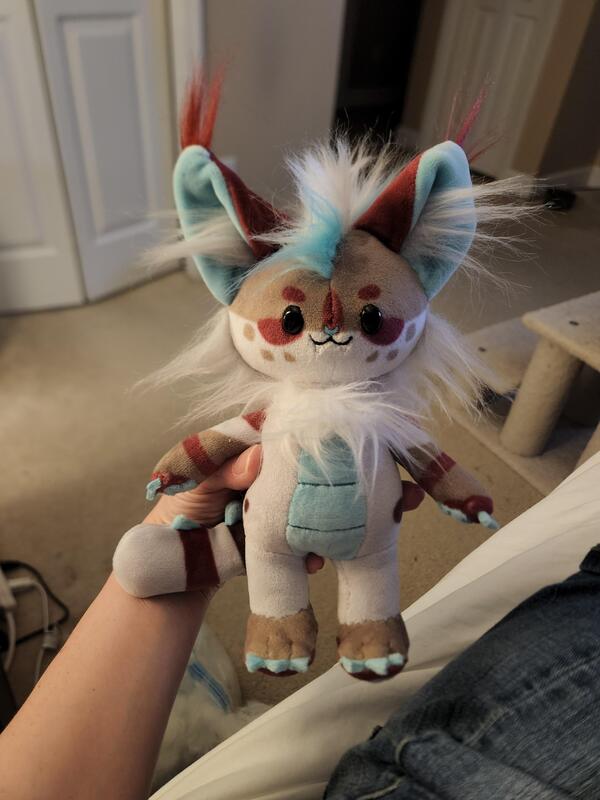
While designing my Shifty nuiMO, which was a much chubbier version of a nuiMO inspired pattern, I decided I wanted to make a pattern with more traditional nuiMO shapes to offer for commissions as well. Aubryjoi revealed their new OC, Metro, and I knew I was doomed! They were kind enough to let me use Metro as a guinea pig. I knew it would also be a good challenge to see how detailed I can get these little plushies as well! Metro was quite detailed but I could get most of his features across in a simple design. The one area that needed to be tweaked was around his eyes. The red area connects around the eyes and nose, but with a simplified, flat face, I didn't think that this would translate well. I mocked up both versions but Aubry and I decided that the non-connected version was better. The hair, ear tufts, inner ears, cheeks, and neck ruff would be made from faux fur. The rest would be made from mochi minky. I would use grey as the base and sublimate the rest of the colors. I had a suspicion that I would not be able to get a bright teal color; when I made Taro , I had issues getting a similar bright teal on their shirt. I believe this is an issue with my ICC profile, which I can't really work around at the moment. As a backup I could use Big Z's new aqua mochi. and color block in the belly. It always takes me several hours and lots of tests to figure out the right colors for sublimation. Because sublimation dye is transparent, the color you sublimate onto changes what it looks like from your monitor significantly. On top of that, your ICC profile, printer settings, time, temperature, and pressure of your heat press all play factors. At the beginning I was using auto color correction for my printer. Besides making Metro, I was also making nuiMOs of Aubry's other character, Taro, and Jade's OC, Biv, as well. I was having issues getting bright colors for those characters, so I decided to try out the settings shown above, which I had found on a sublimation facebook group. I got much better results with these settings overall, so this is now my preferred way to print for sublimation! However, I still could not achieve a bright teal color to my liking. I decided to use Big Z's aqua mochi instead. This was the runner up set of colors for Metro. I wanted the brown to be a little darker and closer to taupe, and the reds to have a bit of a pink undertone. (Changing the brown would cause a problem later :/) The pattern was made by modifying my chubby nuiMO pattern. The belly needed to be shrunk, the legs lengthened, and the arms sewn into the body rather than being jointed. I was not worried about it warping the shape of the body since the arms were significantly skinnier. The first test was pretty good, but I didn't like the way the legs looked where they connected to the body. I also wanted the body to be more bean shaped. The plush was also too big. I was really liking the shape of this plush but where the legs connected with the body was still giving me issues. I lowered the seam too much here. This area of the plush is very tough to sew; there are bulky seams in the crotch area and when sewing it together, it's really hard to see what's going on. I also didn't like how the ears were bowing inward, but it would be an easy fix. Since I was going to use a different color mochi for the inner ears rather than making them sublimation, I was going to make a folded ear and sew it into the head anyway. Since the plush would be posable with wire, the arms T-pose without any wire in the plush. Makes for some funny photos 🤣 One more test and we were good! The leg issue was fixed and I liked the body shape. It had some chonk, but not too chonky to not fit comfortably in nuiMO clothes. Due to how small the plush is, the faux fur neck ruff would be top-stitched onto the mochi rather than color blocking it in. His markings were drawn on. I took apart the plush to scan the pattern pieces in and designed the sublimation in Affinity Designer. These nuiMOs really push how small I can make plushies! Their claws were made by creating double-sided mochi minky by applying heat-n-bond. Then I sew a piece of this double-sided minky into the seam of the foot or hand and trim the claws into shape after turning the piece right side out. I ended up making Metro's face with embroidery instead of sublimation for a few reasons: He has white fangs sticking out of his mouth. Since the sublimation is done onto grey fabric, I would have to sublimate the outline of a fang and pretend the tooth is white (because you cannot sublimate white). The high temperature required to get the colors deep into the fibers meant the details would be blurry. I was sublimating Metro's colors at 375F for 5 minutes. The high temperature and long press meant the edges of the designs get blurry. This would not be good for the outline of the fang especially. His nose was also teal, which I had a hard time sublimating. It was also so small that it was getting lost in the design. Doing sublimation and then embroidery on top of it is trickier because you have to ensure that your fabric is perfectly aligned. To do this, I copied an image of the head pattern with sublimation into my embroidery program, designed the embroidery on top of that, printed out a centering object from the program, transferred the centering object to the sublimated fabric, and then used that to line up the fabric in the embroidery hoop. I use safety eyes for my nuiMO plushies. For Metro, I wanted to try spray painting the eyes teal. However I felt like something just felt off - he felt more lifeless, or more demonic maybe, with the teal eyes rather than black. I think it's because they are less glossy. So we ended up choosing black! I ended up redoing their face for a couple reasons: 1. to make the face slightly larger on the head and 2. I ended up making the freckles the wrong color brown, because somehow I missed changing the color from my 2nd to last test of color 🤦♀️ The hair was quite challenging for this size. It begins at the bottom as all white, then has teal running down either side, then transitions to white again, and finally ends in a teal tip at the forehead. This required a transition for each segment. The plain segments just needed a single piece of fur sewn into the seam. These pieces were raw, without any sides finished, and just the faux fur itself sticking through the seam, To make the segment with teal on either side, I top-stitched together rows of fur. This big fur piece was then sewn into the seam. It was VERY fiddly work for such a small head and required hand basting to get it right, then finishing it off once I got the placement right. I'm so thankful for sublimation at such a small size! Doing those color transitions with color blocking or applique would have been such a pain, and severely effect the stretch and softness of the mochi. The tiny spikes on the back were stitched together by my embroidery machine and then sewn into the seam, rather than hand-sewing them on. The body is wired for posability. I have traditionally used just plain floral wire from Joann's, but I wanted to try and use plastic coated wire to help with softness but also to help prevent the wire from poking through the thin mochi. I found some coated wire at Lowe's that is used for electrical work, but it had a good strength. I created a skeleton by tracing the stuffed body in it's T-pose and then cutting and wrapping wire around a wire "Spine". The wire was not tight/strong enough to hold together, so I hot-glued the wrapped pieces into place. The head is jointed with a hardboard joint. Rather than use the cotter pins that come with it, I use a technique taught to me by planetplush. Using two of the hardboard disks, I thread a bolt through the disc that goes into the neck and glue it in place. This bolt sticks outside of a hole in the neck part of the plush. The head also has a hole where the neck meets. The bolt is put through this hole, and another hardboard disc is placed on top as well. This disc is fastened with a hex nut and a locknut. After stuffing the plush I decided that the legs were a little too long, so I needed to take them off, shorten the legs, and reposition the feet to face frontward. Stuffing the plush around the armature is definitely a pain, but is made easier with a pair of forceps/hemostats! Some needle sculpting helped the feet look a bit less plain. I decided not to do any on the hands because they are so incredibly small. All Metro needed was a haircut! Metro also has a little pouch with a magnet in his butt so they can ride along on their owner! Specs
0 Comments
Leave a Reply. |
Archives
December 2022
Categories
All
|









 RSS Feed